How To Take Aesthetic Profile Pictures! (6 Super Simple Tips)
This post about aesthetic profile pictures includes paid collaboration with Adobe Express and Movavi.
If you're anything like me, you love anything that's pretty! You probably spend hours on Pinterest and Instagram obsessing over aesthetic pictures and collages, and this leaves you feeling super inspired to take your own aesthetic profile pictures!
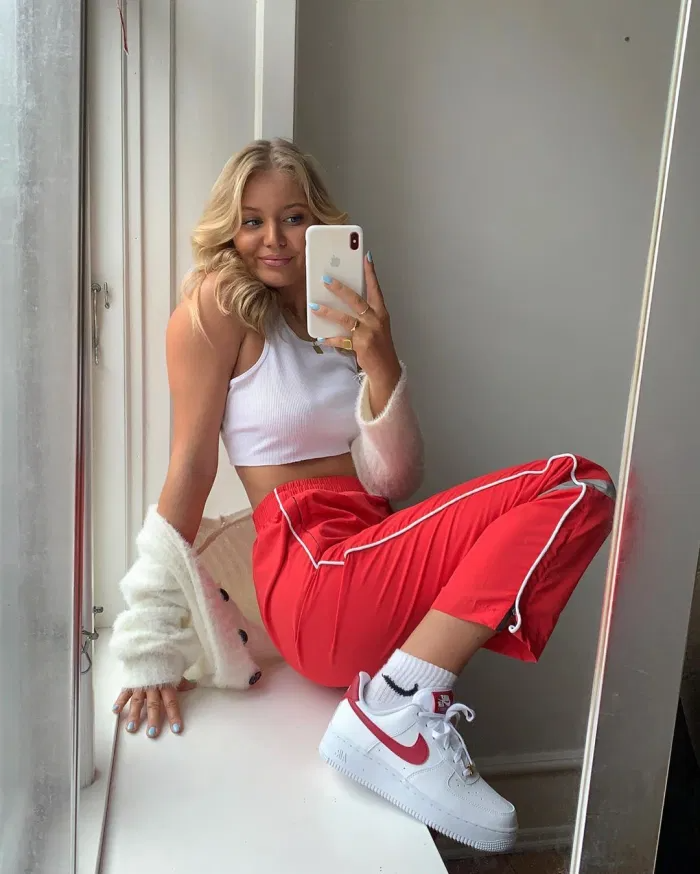
If you've ever tried it, aesthetic Instagram/Pinterest-style photography is harder than it looks!
If you've ever felt frustrated that your pictures don't turn out as good as the ones you see online but you're not sure how to improve your photography, this article is for you.
In this post, I'm sharing 6 simple tips on how to take aesthetic profile pictures for your social media. I'll break down some specific visual techniques and photography trends I see all over social media and show you the best examples of each to take inspiration from.
I'll be focusing on visual techniques for this post, so you don't need a fancy camera or extra equipment to practice these tips. You can certainly use them if you have them, but if not, your phone camera will work perfectly!
How To Take Aesthetic Profile Pictures
#1: Find Cool Textures
If you don't know where to start, try picking one visual feature to focus on. This can be anything from lighting, color, angles, (all of which I'll cover in this post) or one I'll touch on right now: texture.
To start, simply find an object you think has a really cool texture, and place it somewhere well-lit.
Try to really highlight the texture of the object in your photography, whether that be by zooming in on it, or framing the object in such a way that focuses on the texture. To help you see what I mean, here are some gorgeous examples:
Source: pinterest.com
Source: pinterest.com
Source: pinterest.com
If you love photo editing like me, you’re probably always experimenting with new tools and techniques to level up your edits. I’ve got a brand new (and totally free) tool from Adobe to share with you for doing just that.
Meet your new favorite image mirroring tool! This is a super easy way to create mirrored images in literally seconds - and you can do it from a computer or even your phone. Add graphics, make it your own, and share all right from this handy tool. Happy creating!
#2: Interesting Shadows And Lighting
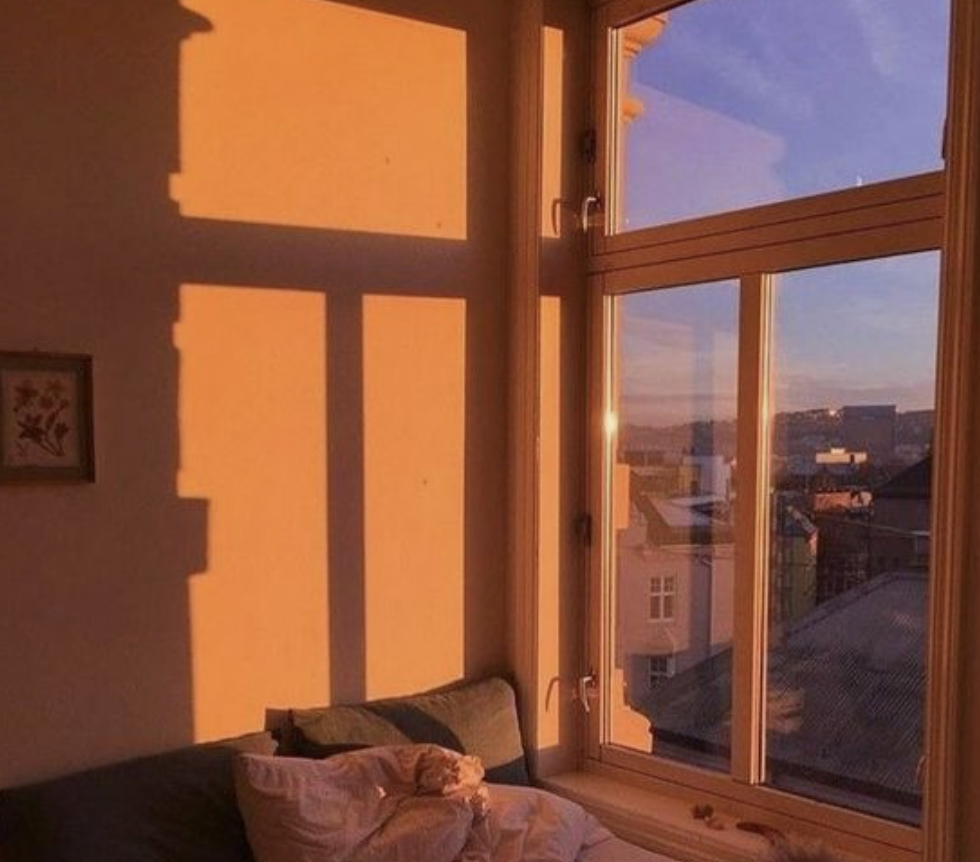
You've almost definitely seen super aesthetic profile pictures on Instagram or Pinterest with beautiful shadows and lighting. The key with this tip is to figure out which windows and which spots in your home have the potential to create the coolest-looking shadows.
Try observing the shadows around your house for a day and note which time of day and what spots create the shadows you like the best.
To start, try seeing what the lighting is like at either sunrise or sunset, as these times of day tend to produce long, harsh shadows.
You can also try obstructing the sunlight with objects to alter the shadow to create a more visually interesting profile picture. This can be as simple as opening your blinds to create awesome shadows like this:
Source: pinterest.com
Source: pinterest.com
Source: pinterest.com
Related: 26 Cute Desk Accessories That Will Make You Actually WANT To Be Productive!
#3: Stick To One Color Scheme
Color can be one of the most overwhelming parts of photography. If you're just starting out, try keeping it simple. Pick one color or color palette and try to have everything in your profile picture match what you chose.
For example, you can choose to have a neutral color palette focusing on browns, tans, and creams. You could try an all-white color palette, all blue, or even all pink!
The idea is to try and keep the colors simple, matching, and creating cohesion throughout your image. Shooting people is another concept, and I'll mainly focus on object photography in this post.
But a simple and relevant color tip for photographing people is to match the background of the photo to the color of the clothes they're wearing.
If you’re wearing a white shirt, find a white background to shoot in front of. If you want to shoot by the water, wear blue or green. Simple enough, yet it works super well!
Source: pinterest.com
Source: pinterest.com
Source: pinterest.com
#4: Get Different Angles
If you're struggling to make your profile picture seem less flat or boring, try playing around with angles. This can mean keeping your camera in place and titling the objects of your photo, or physically moving the camera so it's pointing upward, downward, or is even tilted.
This tip is a fun way to play around and get creative in your Instagram photography. Here are some beautiful photo examples that really emphasize angles for some inspiration:
Source: pinterest.com
Source: pinterest.com
Source: pinterest.com
#5: Blur The Background
An easy way to make your profile picture look higher quality is to focus on one or two objects in your image so that the background is out of focus.
This is a great tip to make your images look sharper if you don't have access to a camera or don't have the best camera quality on your phone.
Even if the object in focus isn't the sharpest, having a blurry background acts as an illusion to make it seem like the image is sharper than it really is. Plus, it always looks beautiful!
To further enhance the quality of your profile picture, you can use Movavi to easily apply a blur effect to the background while keeping the subject in focus.
This technique can help create a professional look even with lower-quality images, making your photos appear sharper and more refined without needing advanced photography equipment.
Source: pinterest.com
Source: pinterest.com
#6: Use The Rule Of Thirds
My final tip for how to take aesthetic profile pictures is a classic photography concept, but I think it's really relevant here. This is truly a super simple way to immediately improve your photography.
This concept, obviously, is called the rule of thirds. The simplest way to explain it is to imagine a grid placed over a photo, split into thirds, like below:
Source: Google Images
The trick is to align focal points in your image along the lines or where they intersect.
Landscapes are often the best examples of this:
Source: Google Images
Outro & Closing Thoughts
Today, I shared 6 simple tips on how to take aesthetic profile pictures for social media.
Hopefully, these 6 tips helped break down some beginner photography concepts and left you feeling inspired to go out and take some beautiful photo! Thanks for reading!
For handmade digital art prints, icon packs, wallpapers, & more designed by me, be sure to stop by my digital boutique: Designed By Nikki Lo.
Connect with me!


