
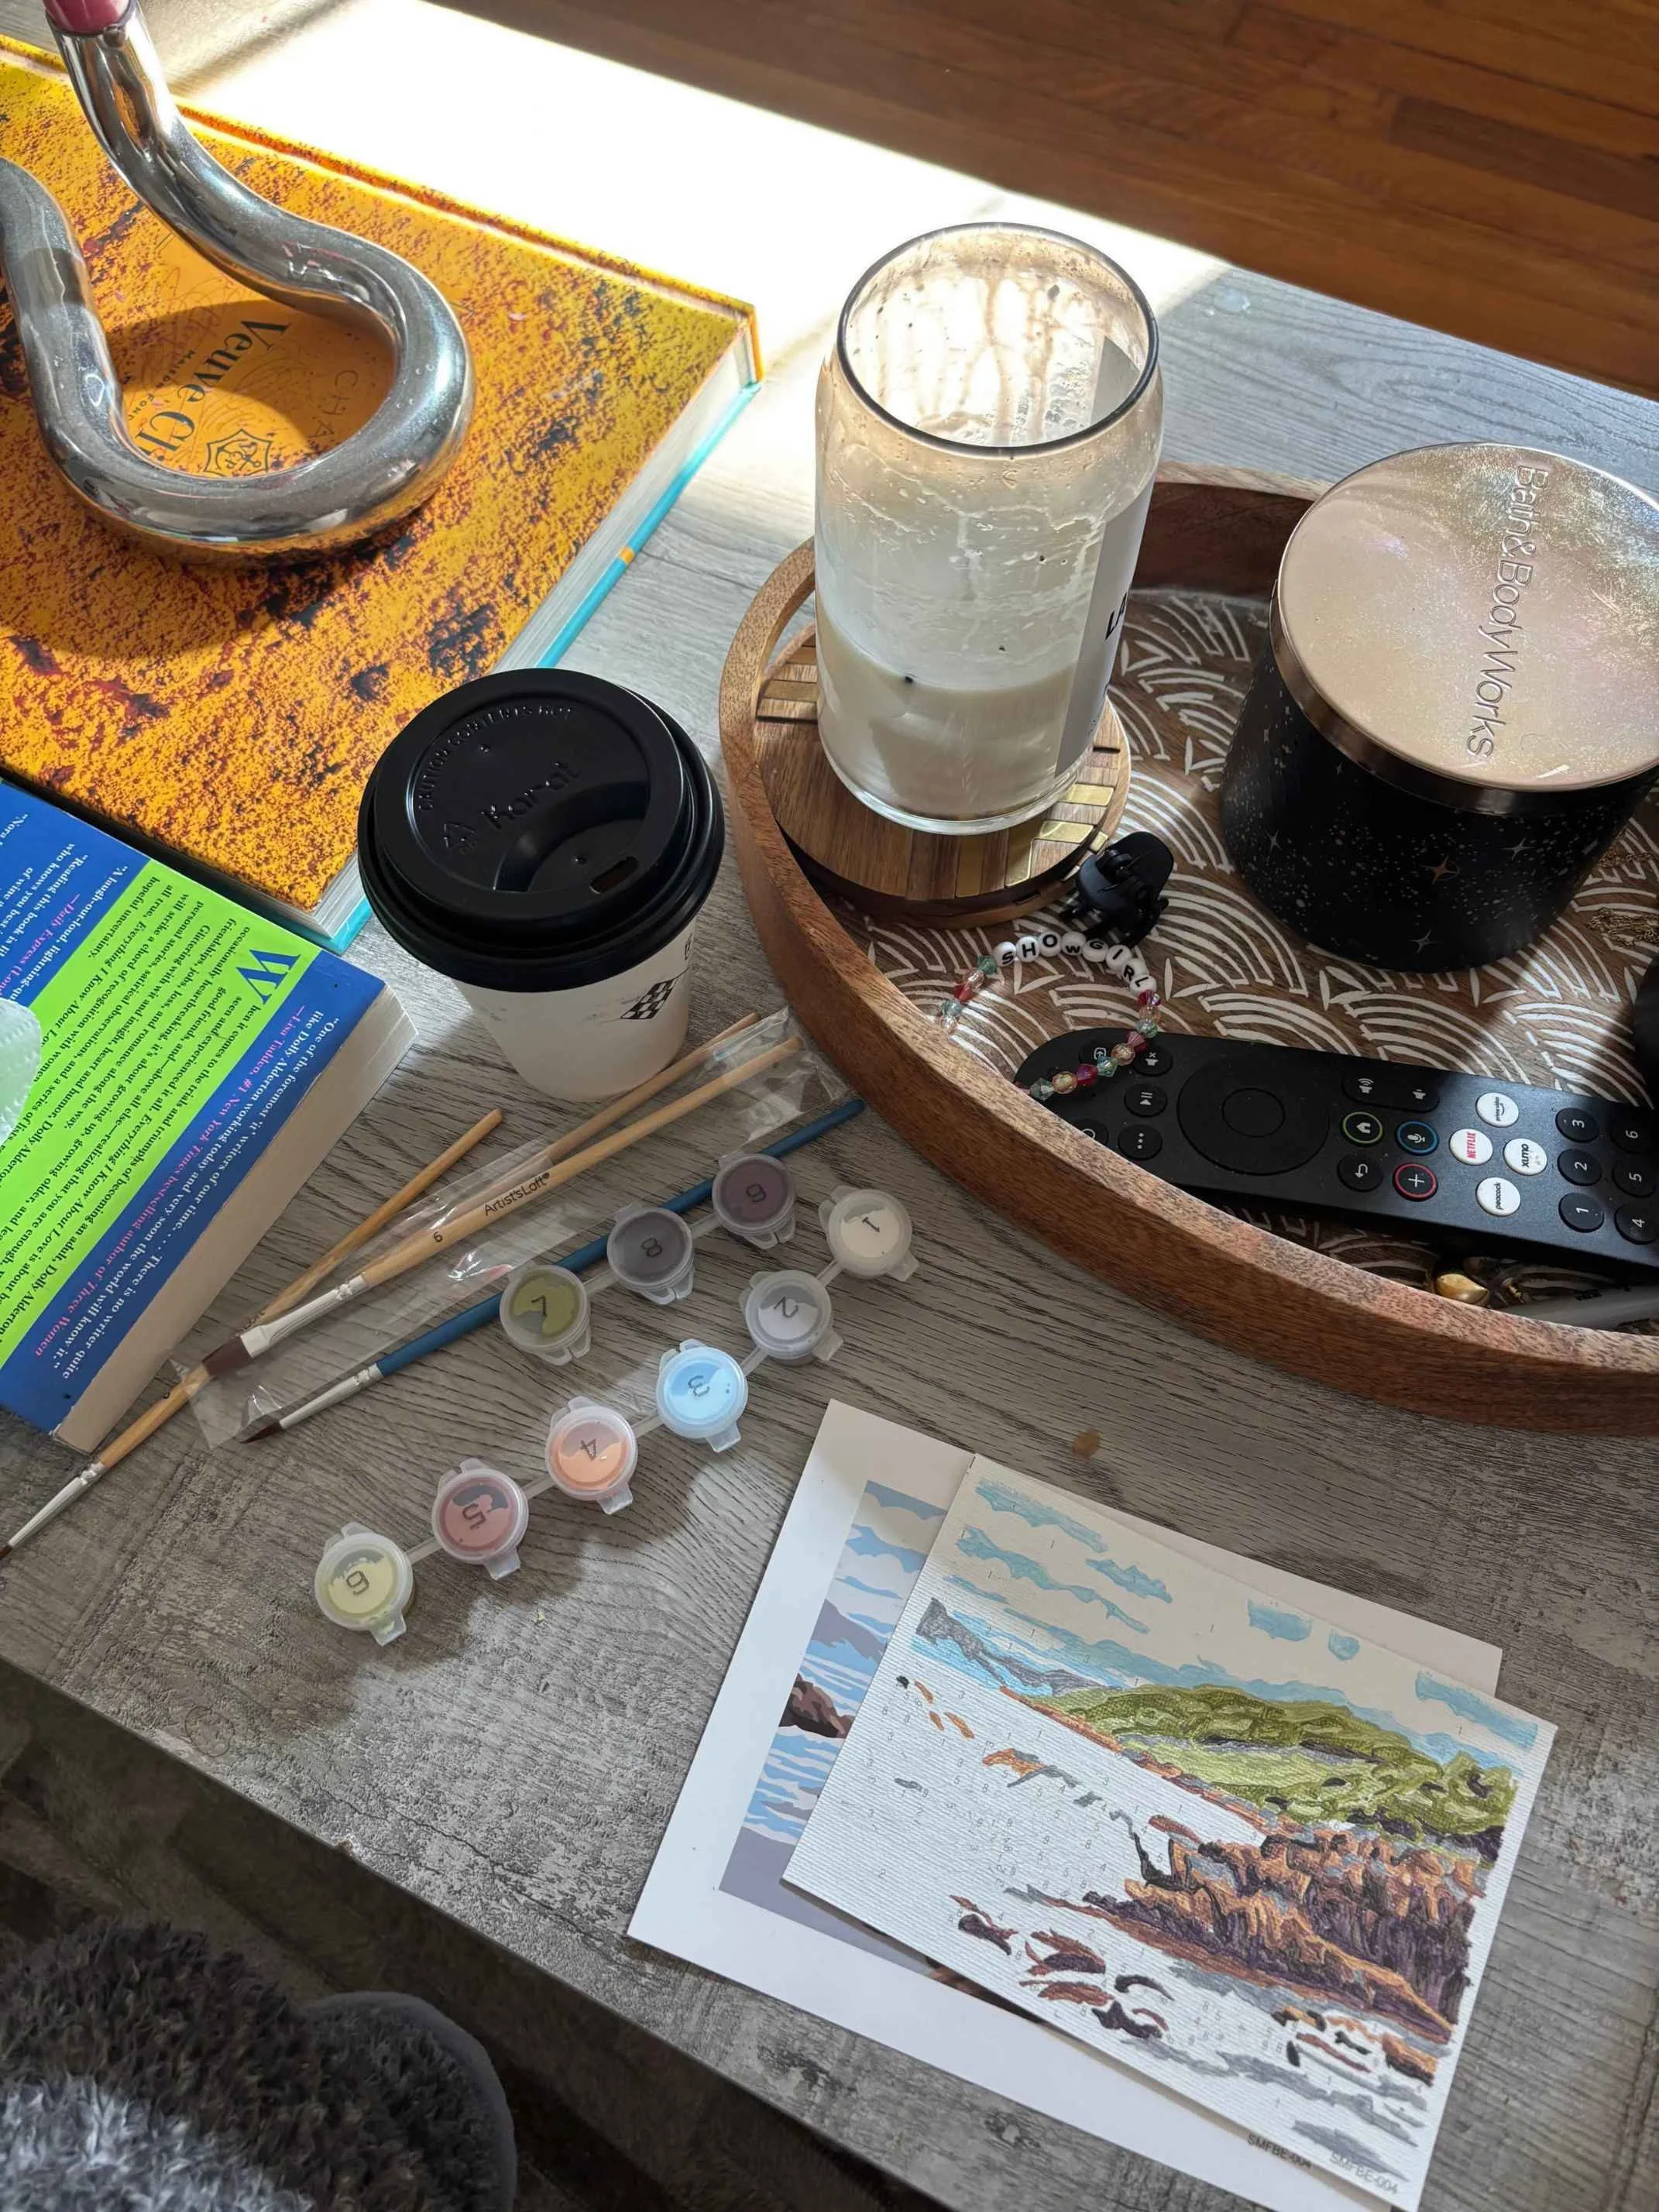
This post contains a collab with Figured'Art.
You sit down for an hour of painting, and then life drags you away. Two weeks later, the paint pots have dried solid, the canvas has curled at the corners, and the colors you mixed are long gone.
Knowing how to store unfinished paint by numbers projects safely between sessions prevents all of that; it also takes far less effort than most people expect! A few consistent habits are genuinely all you need.
How Storage Conditions Affect Your Unfinished Project
The materials inside any paint by numbers kit are more sensitive to their surroundings than they look. Paint by number sets for advanced levels often ship with 30 or more individual acrylic paint pots covering subtle tonal gradations, so when even a handful dry out mid-project, you're left without an easy color match.
Understanding what actually degrades your materials helps you make smarter decisions about where you set the project aside.
A project using paint by number sets for advanced levels requires you to seal each pot's cap tightly and store them upside down so the paint forms an air-tight barrier against the plastic lid, preventing the slow evaporation that leaves hardened residue inside the container.
Acrylic paint, which most modern kits use, is water-based. It skins over quickly in open air, and once a thin film forms across the surface of a pot, the paint underneath can thicken unevenly or separate.
The canvas itself responds to temperature swings and humidity: tightening in dry heat, puckering in a damp room. Neither problem is irreversible in the early stages, but both get worse the longer you leave them alone.
Storing the project well isn't about being precious; it's about protecting the work you've already put in.
Temperature And Light: The Two Biggest Threats
Acrylic paints stay workable longest at a stable room temperature, roughly 60°F to 75°F. Anything above that, a sunny windowsill, a garage in summer, the top shelf near a ceiling vent, accelerates skinning and evaporation.
Direct sunlight does double damage: it dries the paints faster and fades the printed color guide on the canvas, so you end up painting by a reference that no longer matches the printed numbers accurately.
The fix is simpler than it sounds. Store the project somewhere the temperature stays consistent, like a bedroom closet or an interior shelf. Keep it away from any window that gets afternoon sun.
If you live somewhere with strong seasonal swings, a breathable fabric bag inside a drawer outperforms a plastic bin, which traps heat. Consistency matters far more than hitting a specific number on the thermometer.
Humidity & Canvas Warping
High humidity swells the canvas fibers and causes the linen or cotton backing to bow. Low humidity, especially in winter when heating systems run constantly, pulls moisture out and can make the canvas brittle at the edges.
You won't see either type of damage happening in real time, which is exactly what makes them easy to overlook.
A humidity range of 40% to 60% is safe for most canvas-based kits. If your home runs dry in winter, a small room humidifier near where you store the project makes a noticeable difference. If it runs damp (basements especially), a desiccant packet tucked inside the storage bag absorbs excess moisture without requiring you to monitor anything.
The canvas should stay flat. Rolling it compresses the printed surface and can crack areas where paint has already been applied.
Practical Steps For Safe Storage Between Sessions
Knowing the right environment is half the answer. The other half is the physical routine you follow each time you step away from the project. The trick is keeping the whole routine under five minutes, four repeatable steps that don't feel like a chore.
Start by covering the canvas. A sheet of glassine paper, smooth, slightly waxy, and acid-free, laid across the painted surface protects it from dust without sticking to fresh or semi-dry paint.
Parchment paper works as a budget substitute. But don't place plastic wrap directly on the surface; it can lift paint in spots where the acrylic hasn't fully cured. Once the canvas is covered, lay it flat in a rigid storage folder or slip it between two pieces of foam board cut to size. Flat storage prevents warping far better than standing the canvas upright against a wall.
Sealing the Paint Pots Correctly
Open paint pots are the most common reason a project becomes impossible to finish. A single overnight exposure in a dry room can skin the surface of thinner colors completely.
The best seal is the original lid pressed firmly down, but lids on budget kits can fit loosely, so after pressing the lid on, wrap a small strip of painter's tape around the rim. It takes seconds and holds the seal even if the pot gets jostled.
For pots where the paint has already begun to thicken, add one small drop of distilled water directly into the pot before sealing it. Tap water works in a pinch, but distilled water won't introduce minerals that could alter the paint's consistency.
And store all the pots together in a small ziplock bag, grouped by project. That's especially helpful if you're working on more than one kit at a time.
Labeling & Returning To The Project
Here's the detail most people skip: label everything before you put it away. Write the project name and the date you last worked on it on a piece of tape stuck to the storage folder. Include a note about which numbered sections you've completed and which still need paint.
It takes thirty seconds, and three months later when you pull the project back out, you'll know exactly where you left off without squinting at tiny numbers under poor light.
Returning to a stored project also means checking the paint pots before you open them. If a pot has skinned over, peel the film off gently with a toothpick; the paint underneath is often still perfectly usable.
Stir it before applying it to the canvas, and if it's too thick to flow smoothly, a single drop of water brings it back. A project stored carefully can sit for months and still produce clean, accurate results.
Storing an unfinished paint by numbers project safely is less about special equipment and more about a few consistent habits you build into the routine each time you step away.
Keep the canvas flat, covered with a non-stick material, away from direct light and temperature extremes. Seal every paint pot firmly, store them grouped by project, and label the package with a date and your progress notes.
So follow those steps, and the project you set down today will be in the same condition when you pick it back up, whether that's next weekend or next season.
Thanks for stopping by my post “Taking A Break? Here's How To Store Your Unfinished Paint By Numbers Safely.”
For handmade digital art prints, icon packs, wallpapers, & more designed by me, be sure to stop by my digital boutique: Designed By Nikki Lo.
Connect with me!