How To Make Your iPhone Aesthetic With iOS 26! (Customization Tutorial + Cozy Brown Phone Theme)
This post is about how to customize your iPhone with iOS 26 with a cute brown (free) phone theme.
Let’s make our iPhones aesthetic! This post will teach you how to customize your iPhone with iOS 26 using this aesthetic brown phone theme. But of course, you can still follow these steps using any theme.
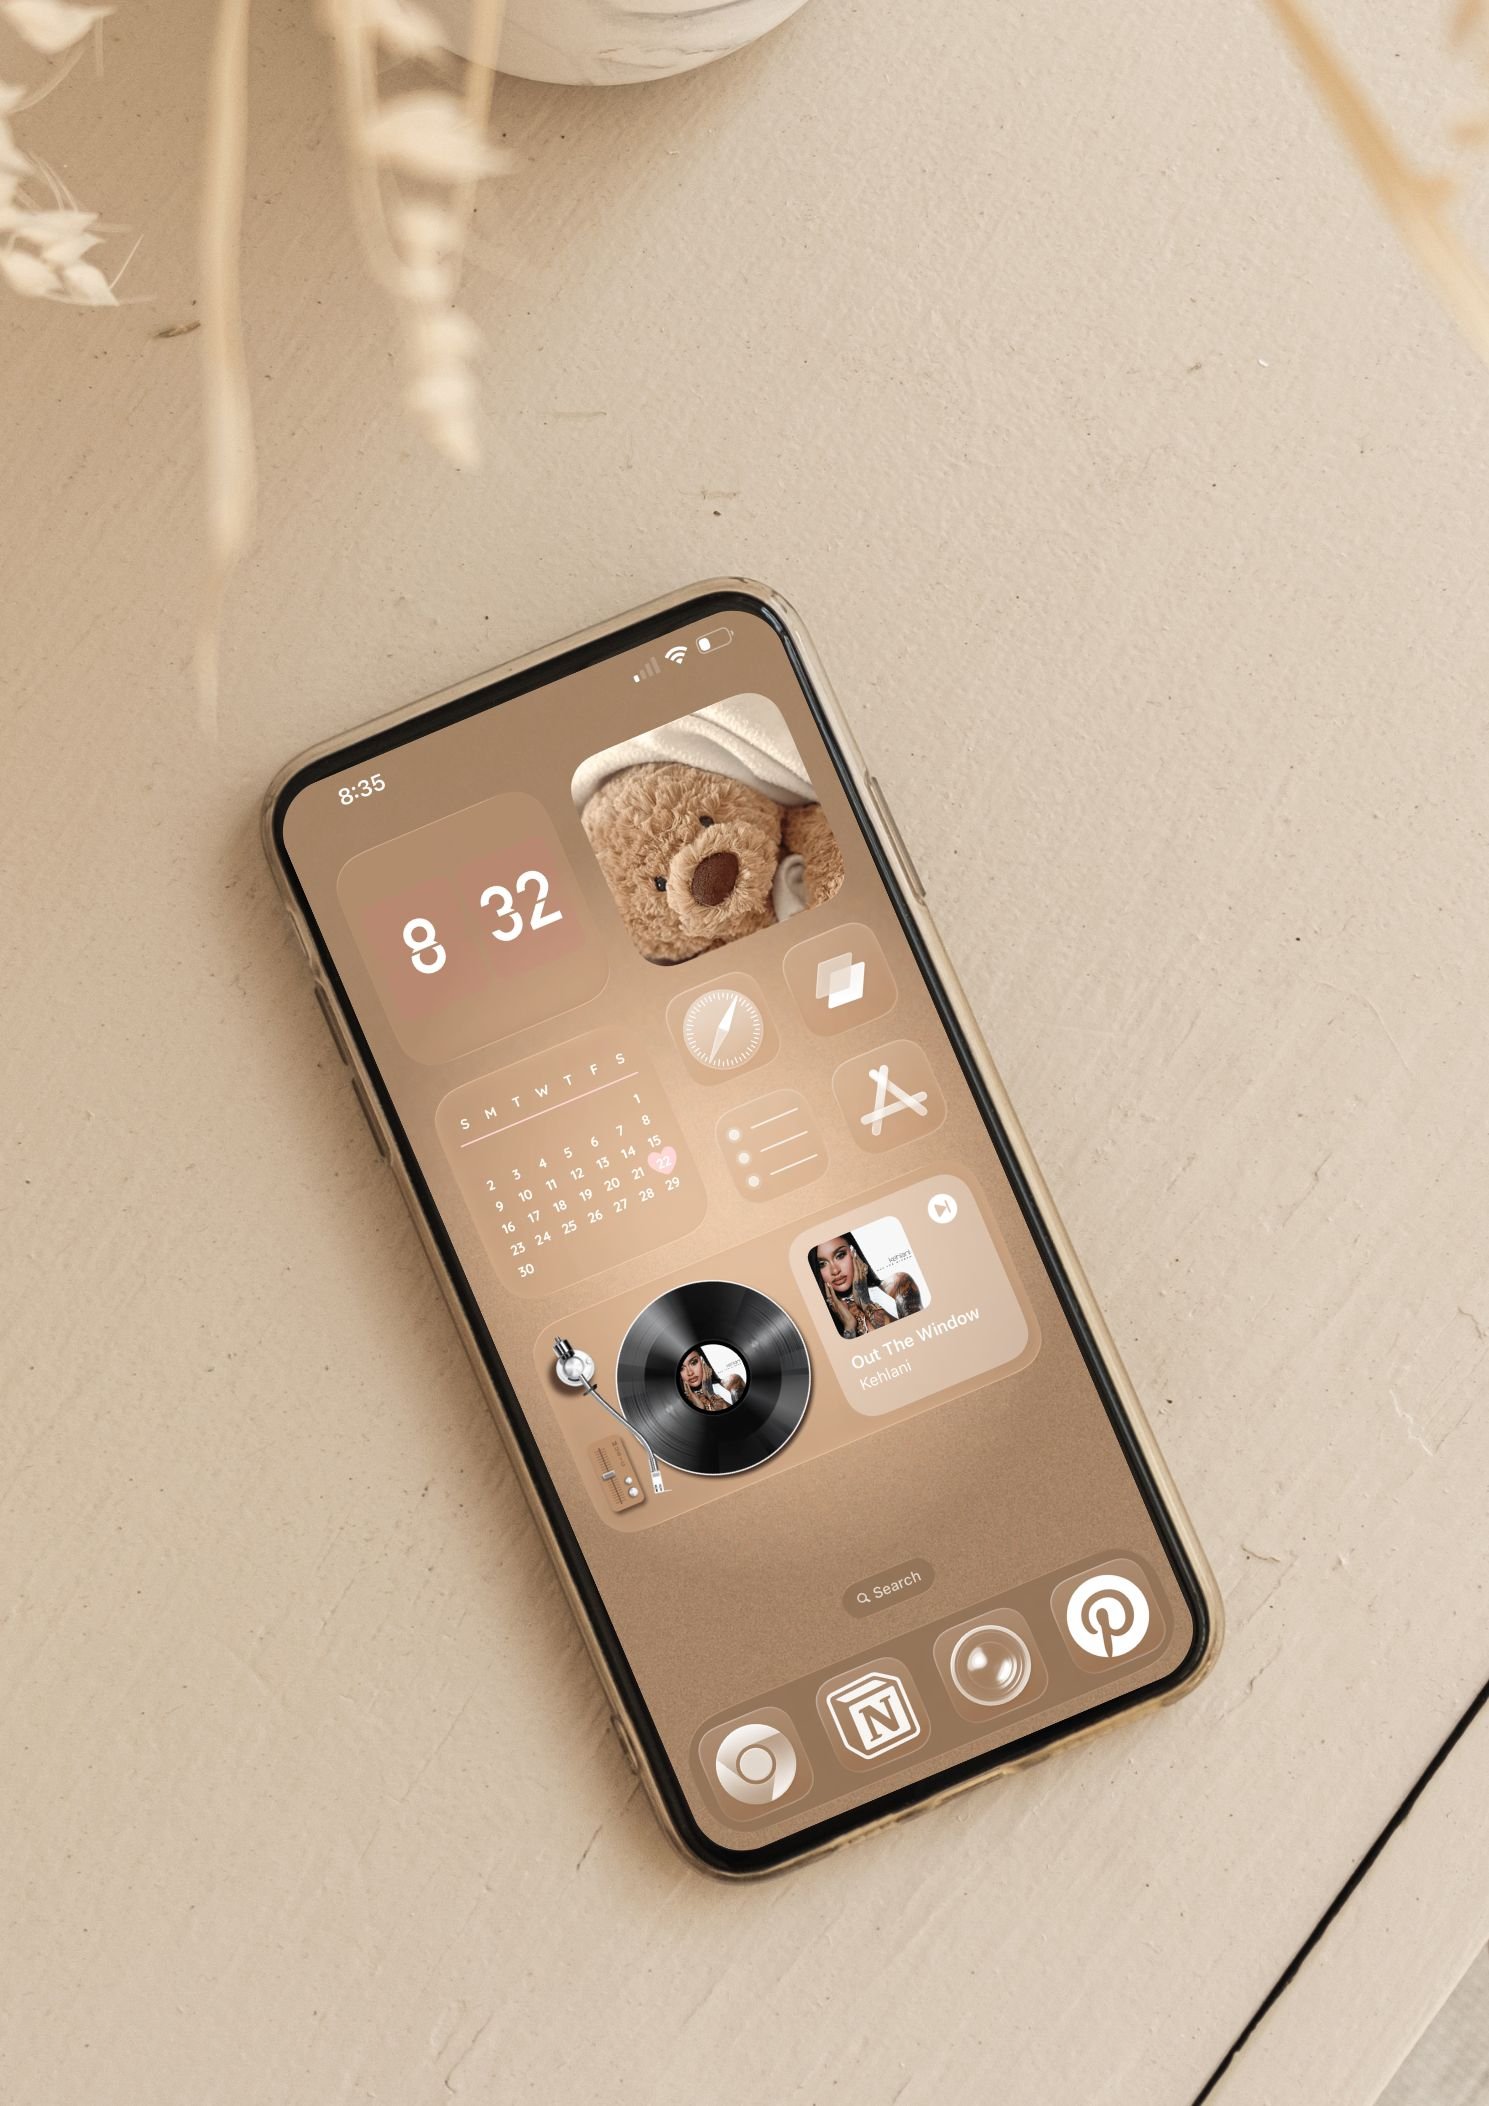
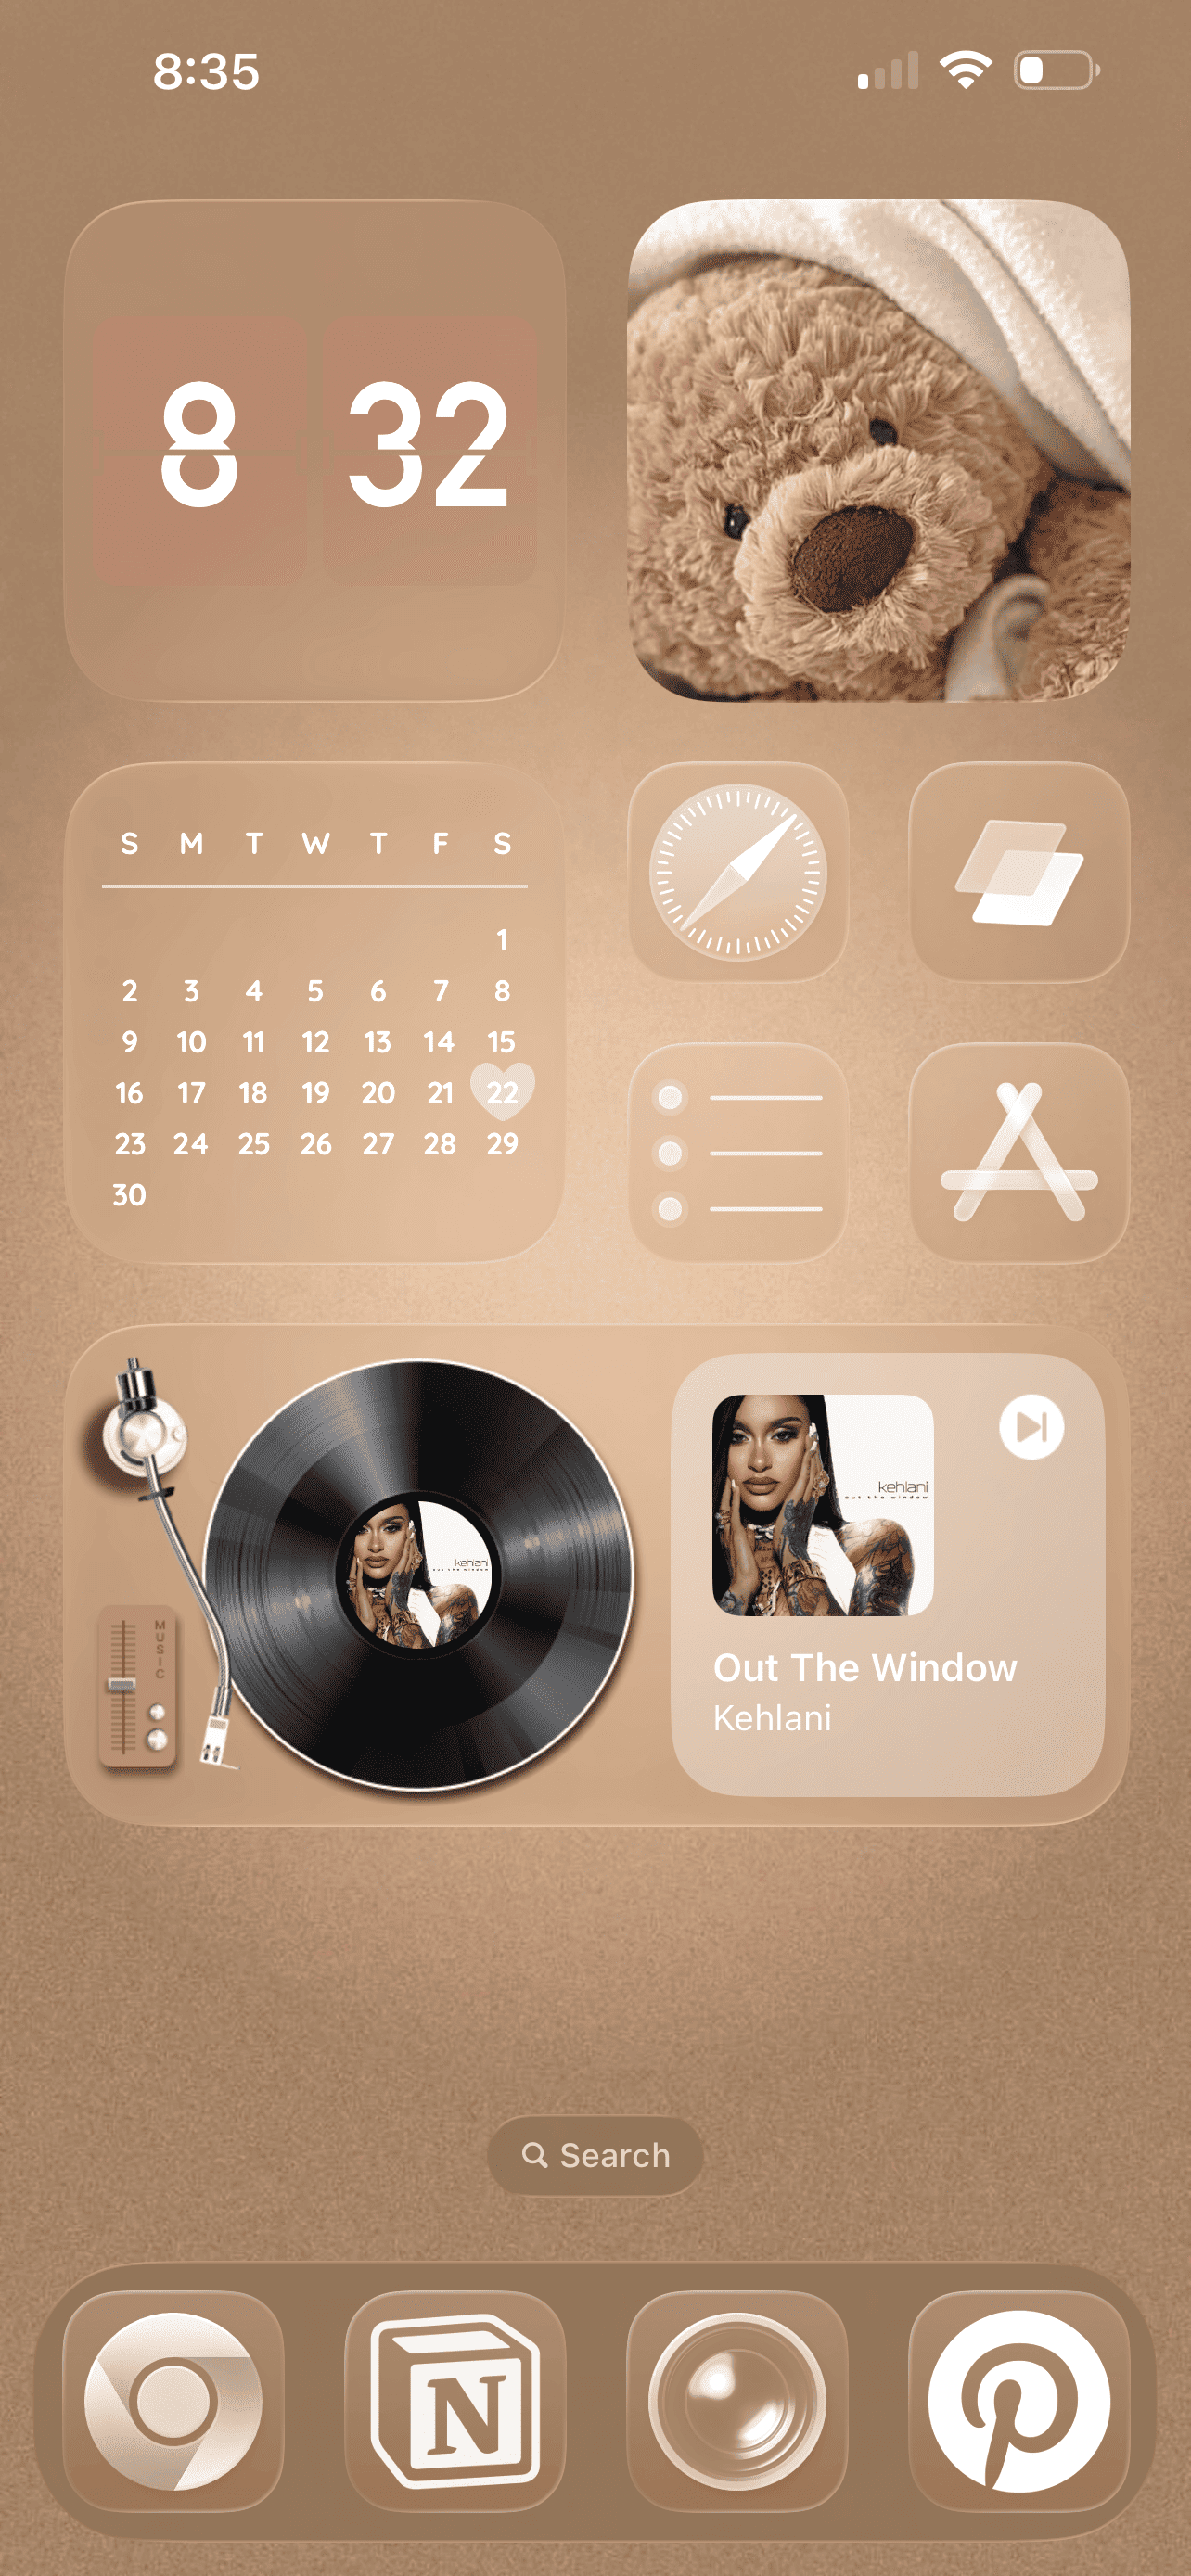
I’ll also be including all the wallpapers and widget images I used for this theme so you can use them too if you want. Here’s what the theme looks like:
Download all the elements you’ll need to get this theme below.
How To Customize Your iPhone With iOS 26
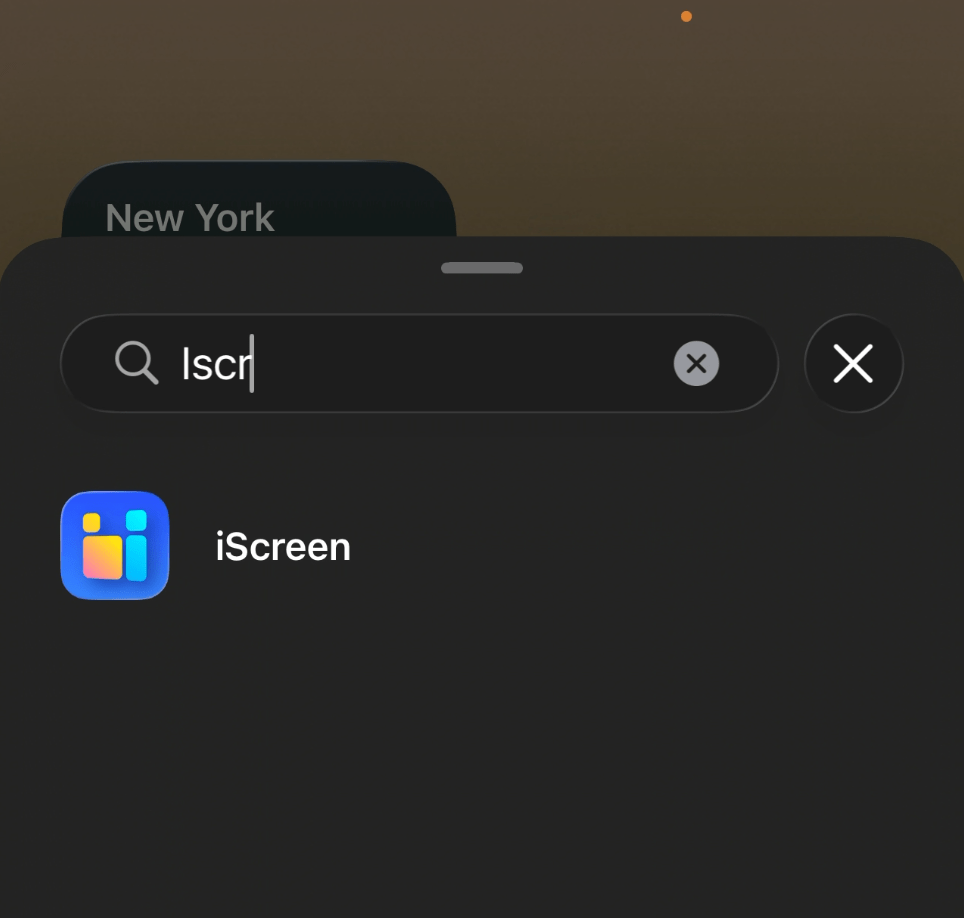
#1: Download Your Wallpapers, Widget Images, And The Mico, iScreen, And Widgetsmith Apps
Before you start, I recommend having all of your assets downloaded and saved in your camera roll. I’ve included ready-to-go assets that you can use as is, including wallpapers and some of the images I’ll be putting in my widgets.
For some of the widgets in this tutorial, I’ll be using the Mico, iScreen, and Widgetsmith apps - which are free in the app store. So, go ahead and download those before starting.
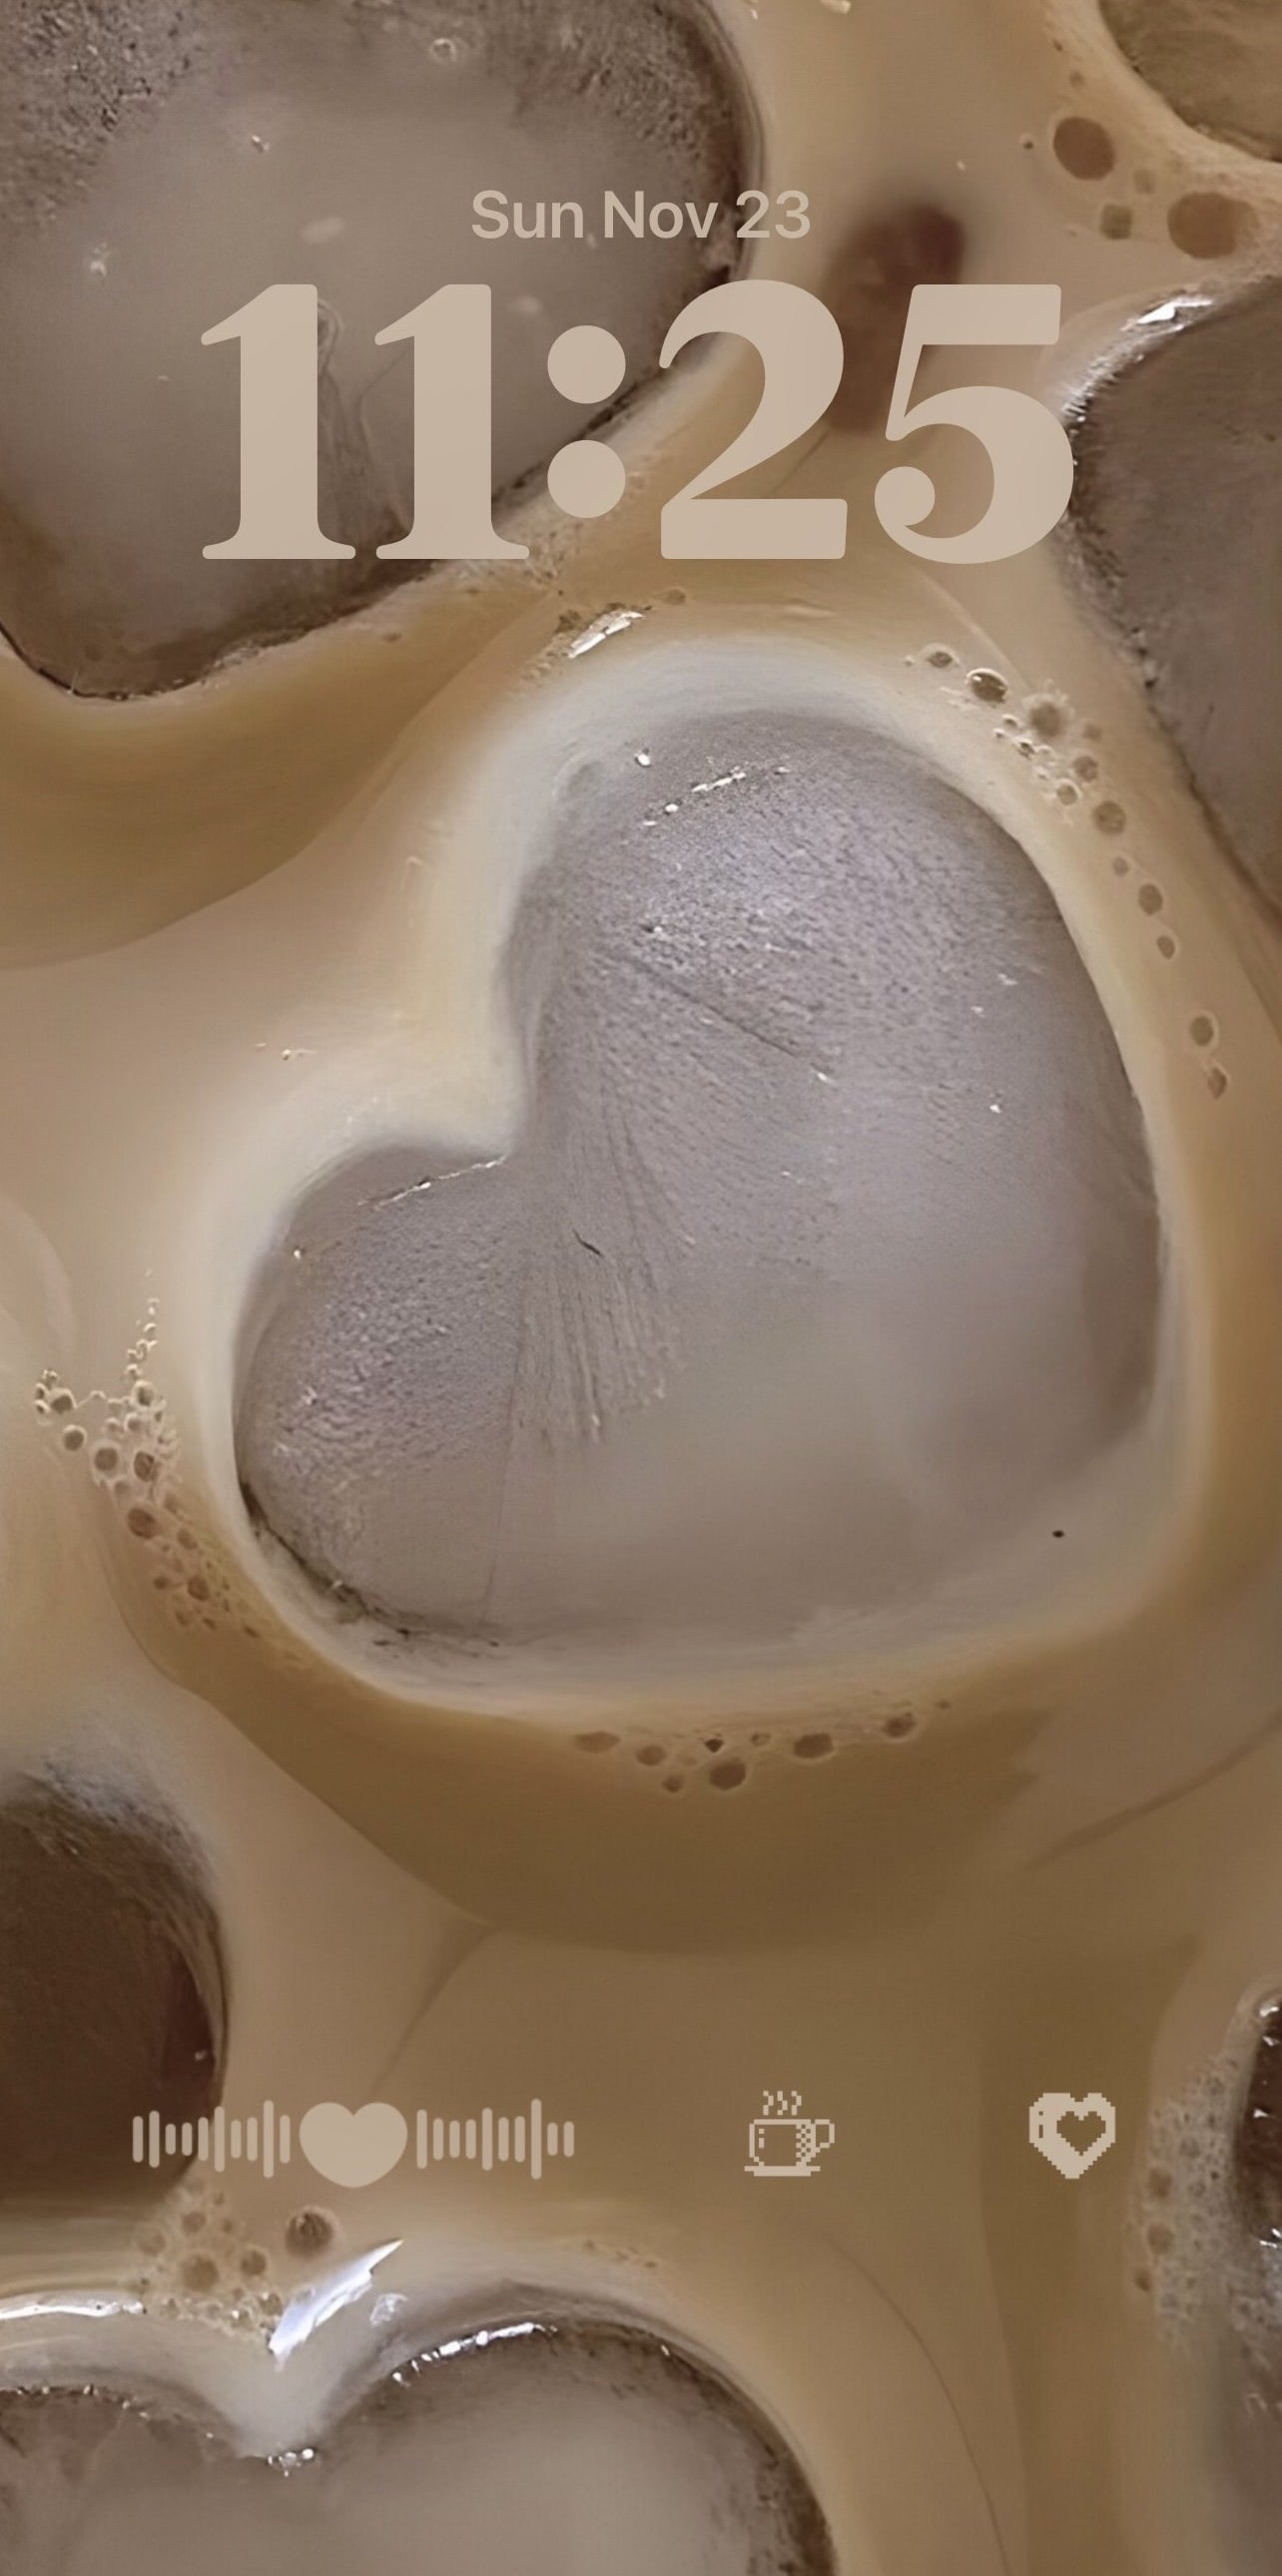
LOCK SCREEN WALLPAPER:

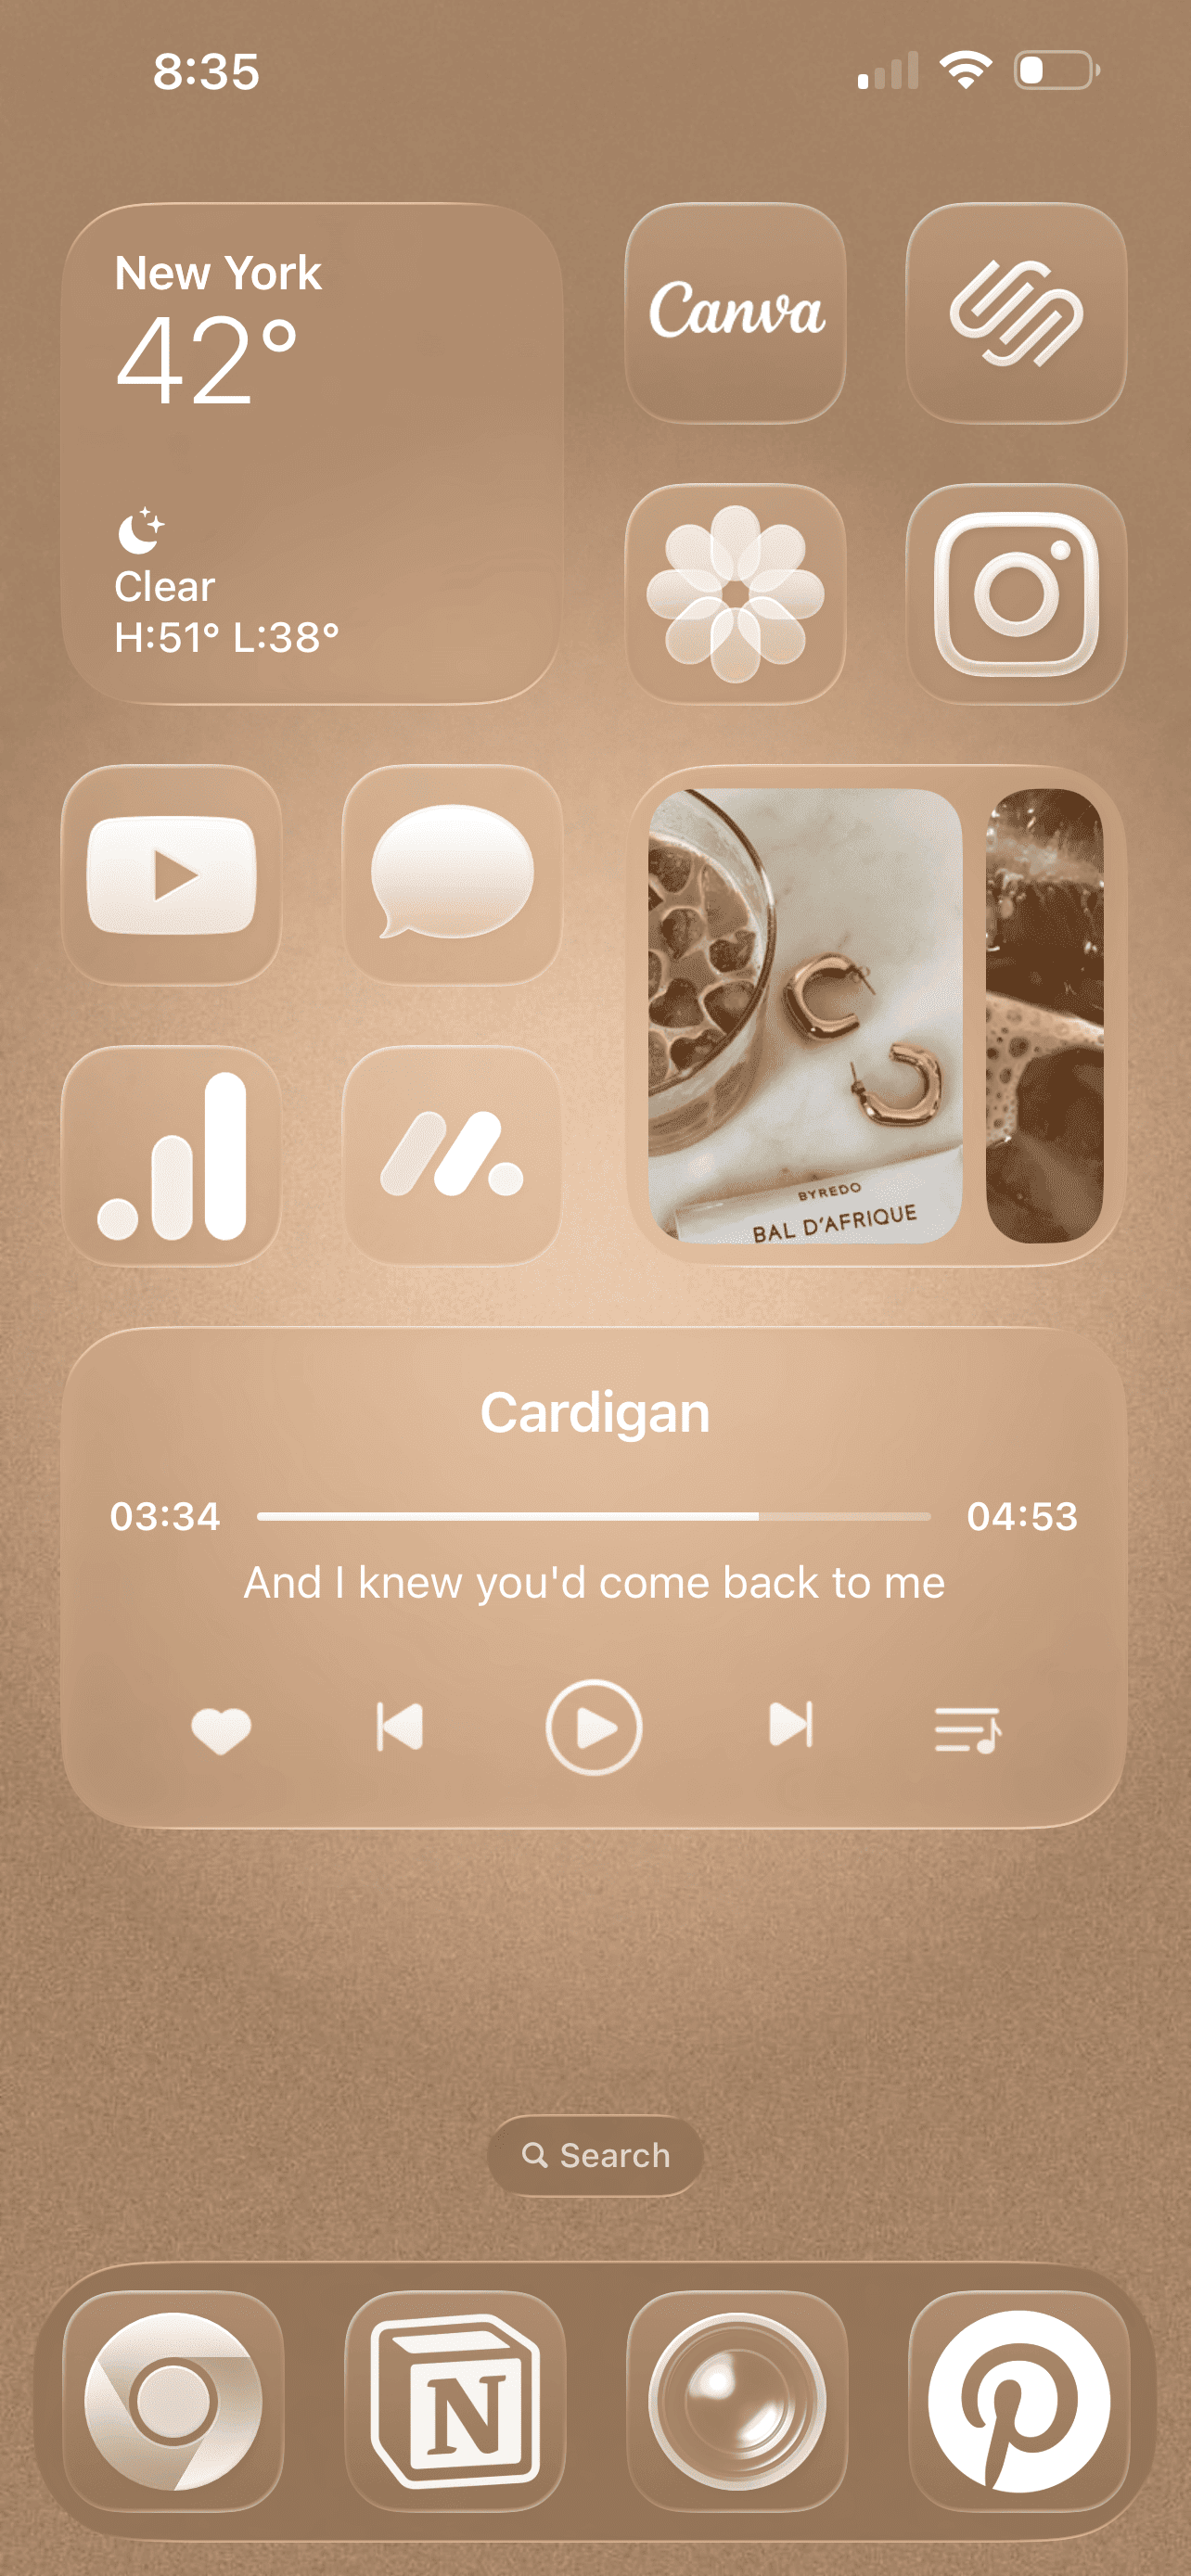
HOME SCREEN WALLPAPER:

WIDGET IMAGES:


Download them all or mix and match and save them to your camera roll!
#2: Add Your Wallpapers
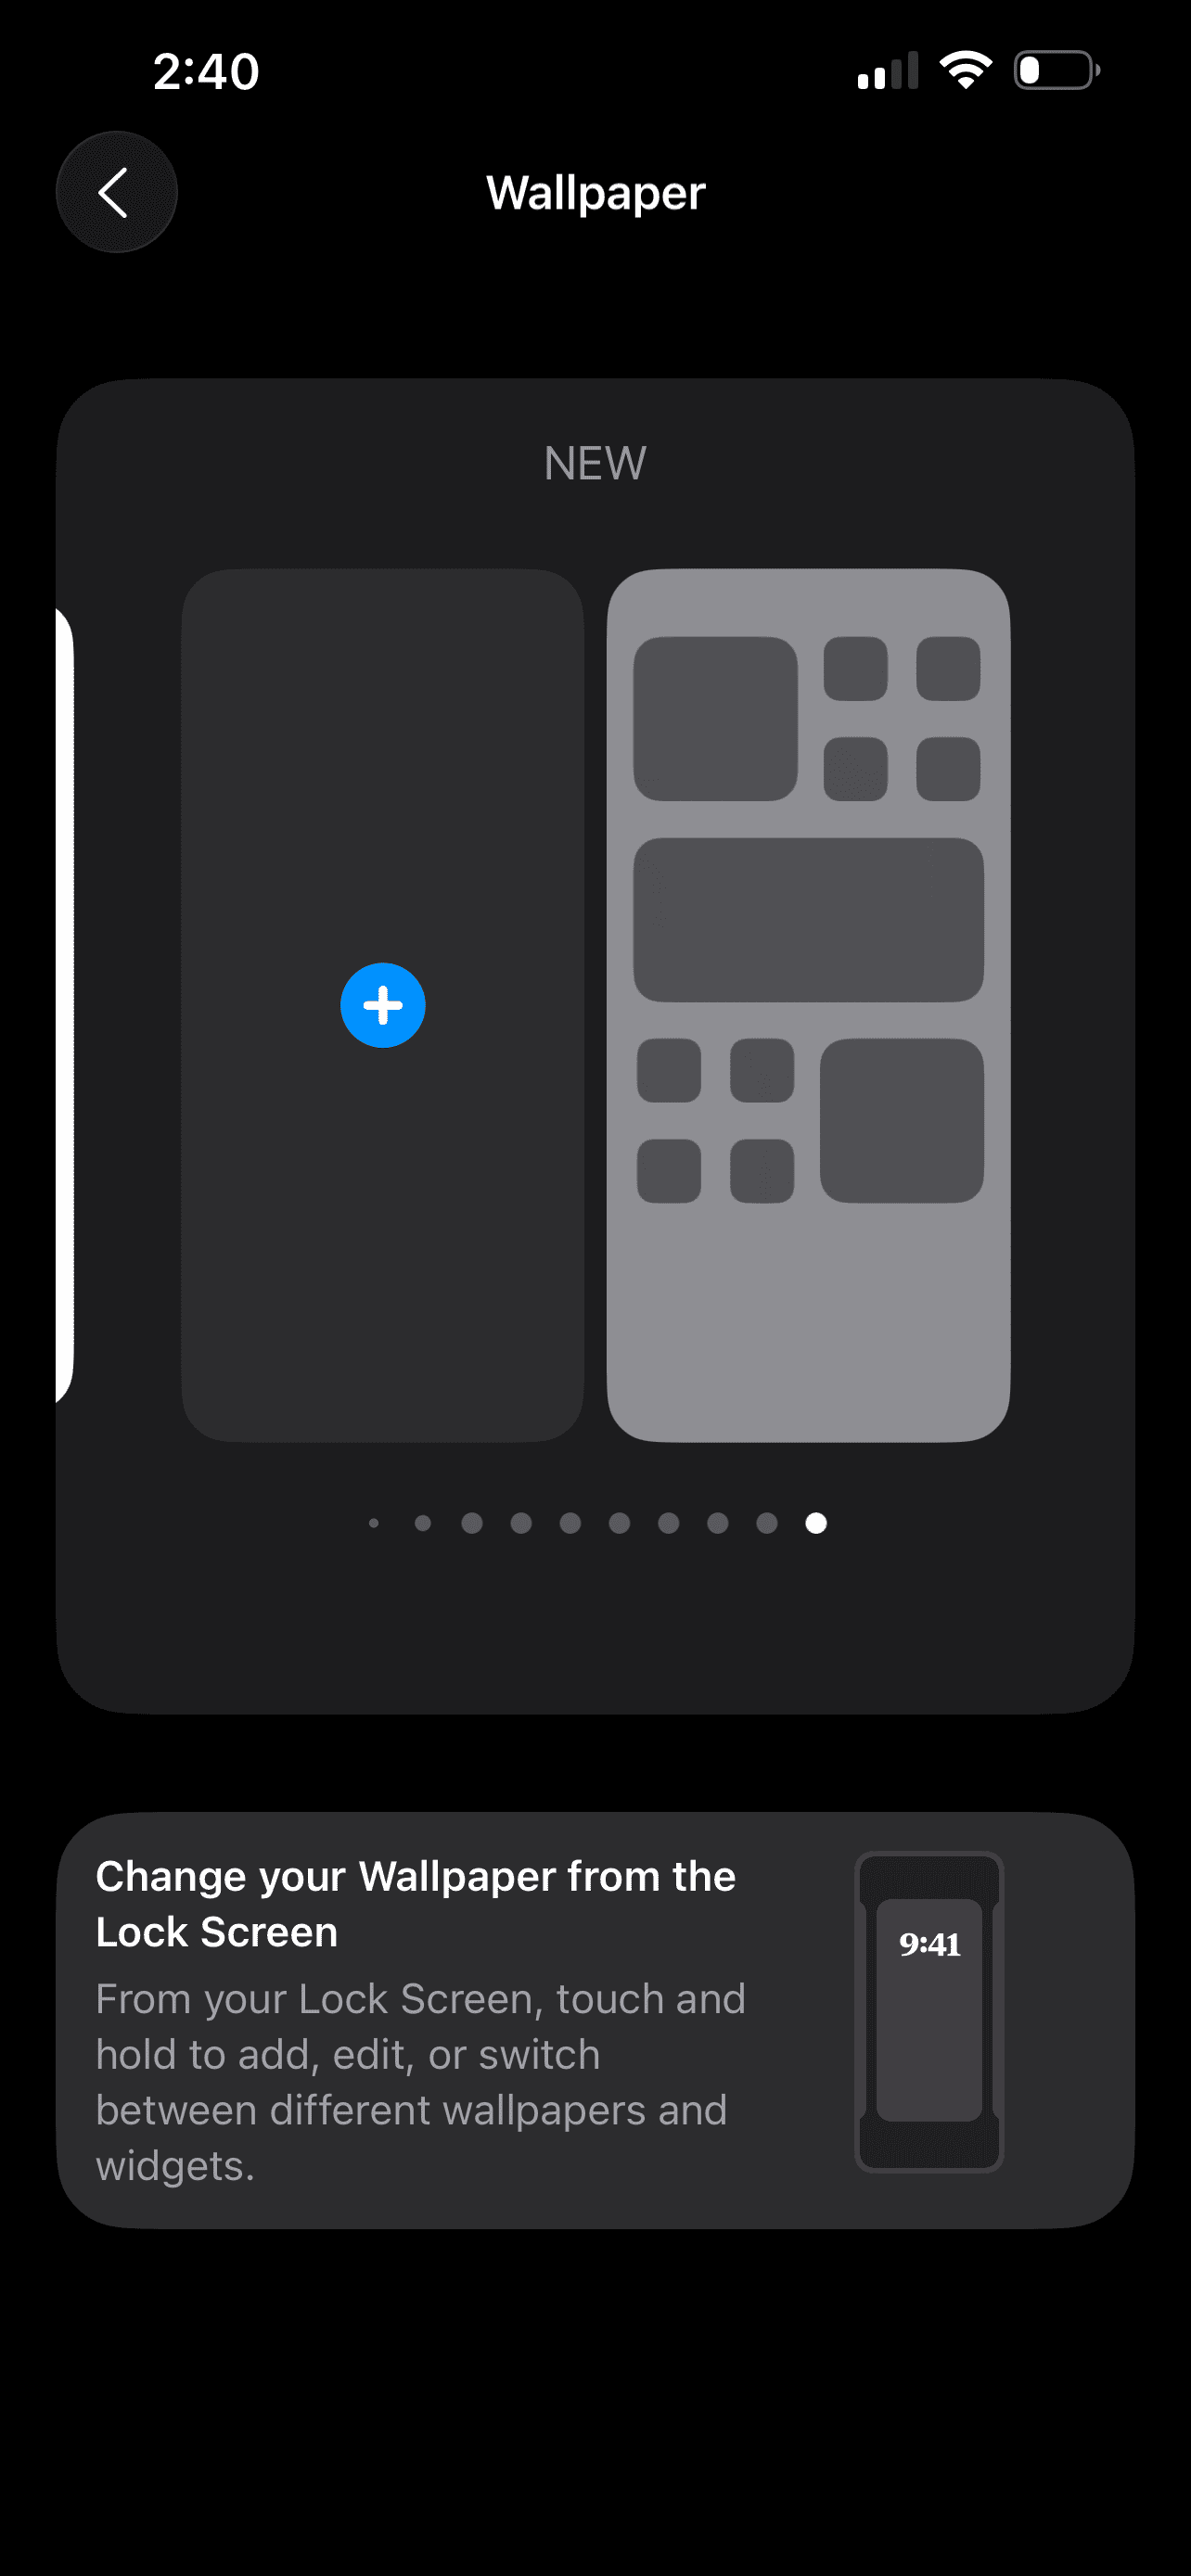
Now that you have all your assets downloaded, go ahead and change your lock screen and home screen wallpapers. Go to settings > wallpaper > add new wallpaper > photos > add your wallpaper from your photo library > add > customize lock screen.
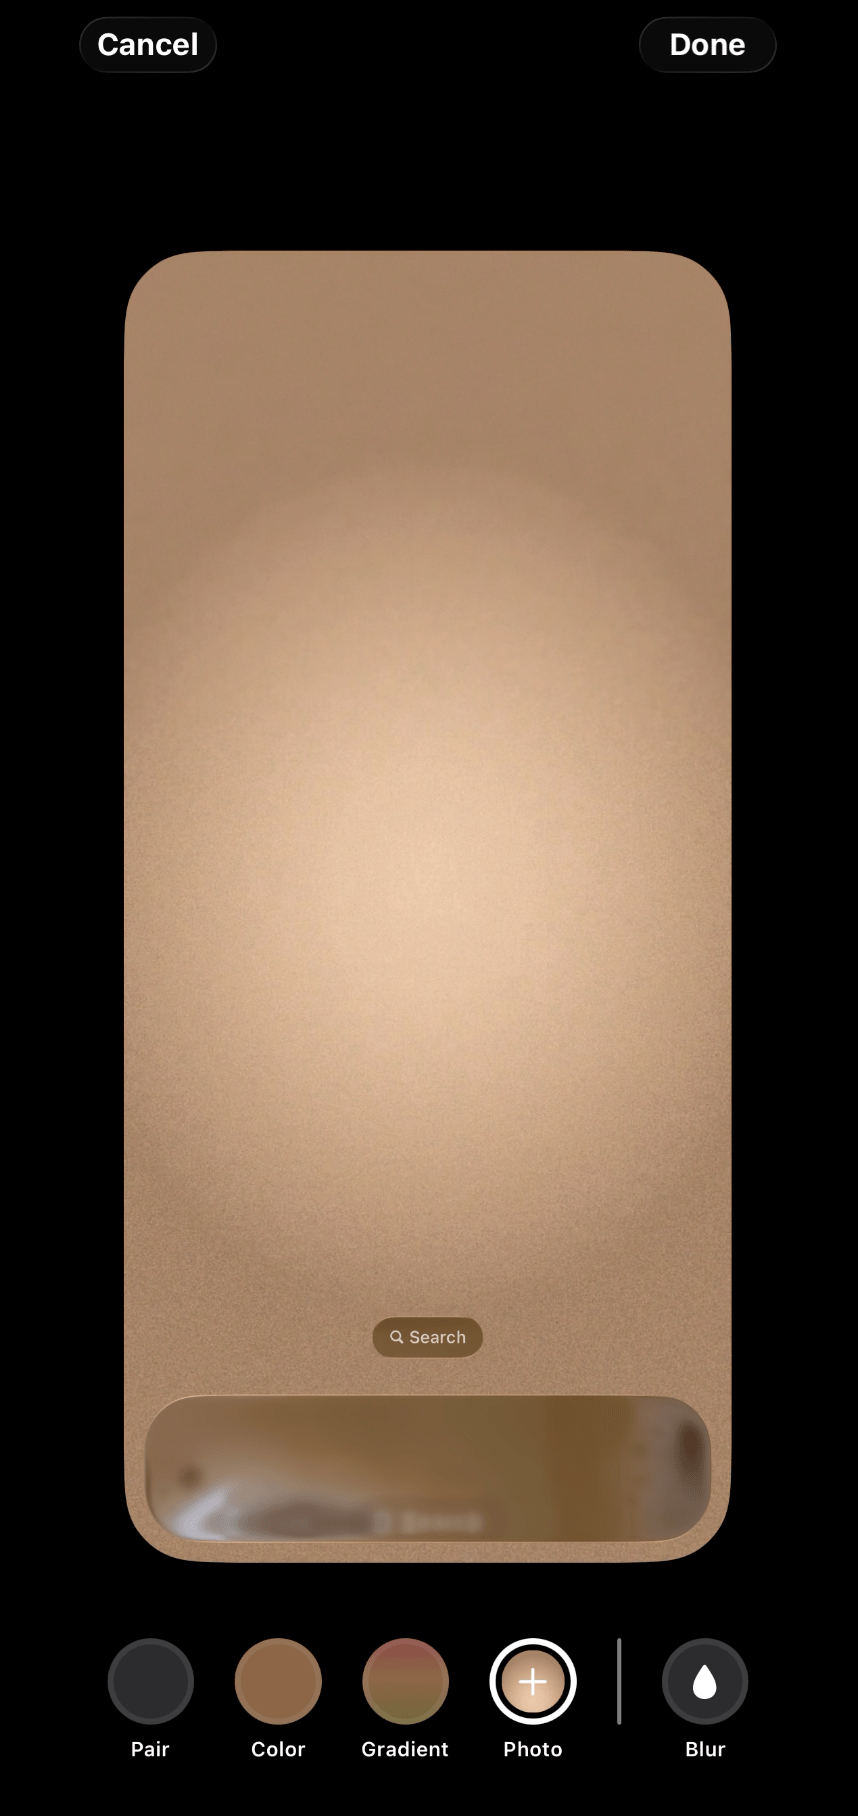
#3: Upload And Customize Your Lock Screen Wallpaper

Tap the photo icon and upload your lock screen wallpaper from your camera roll, then and done.
Related: 15 Ways To Customize Your Phone With iOS 26 (And Make It Aesthetic!)
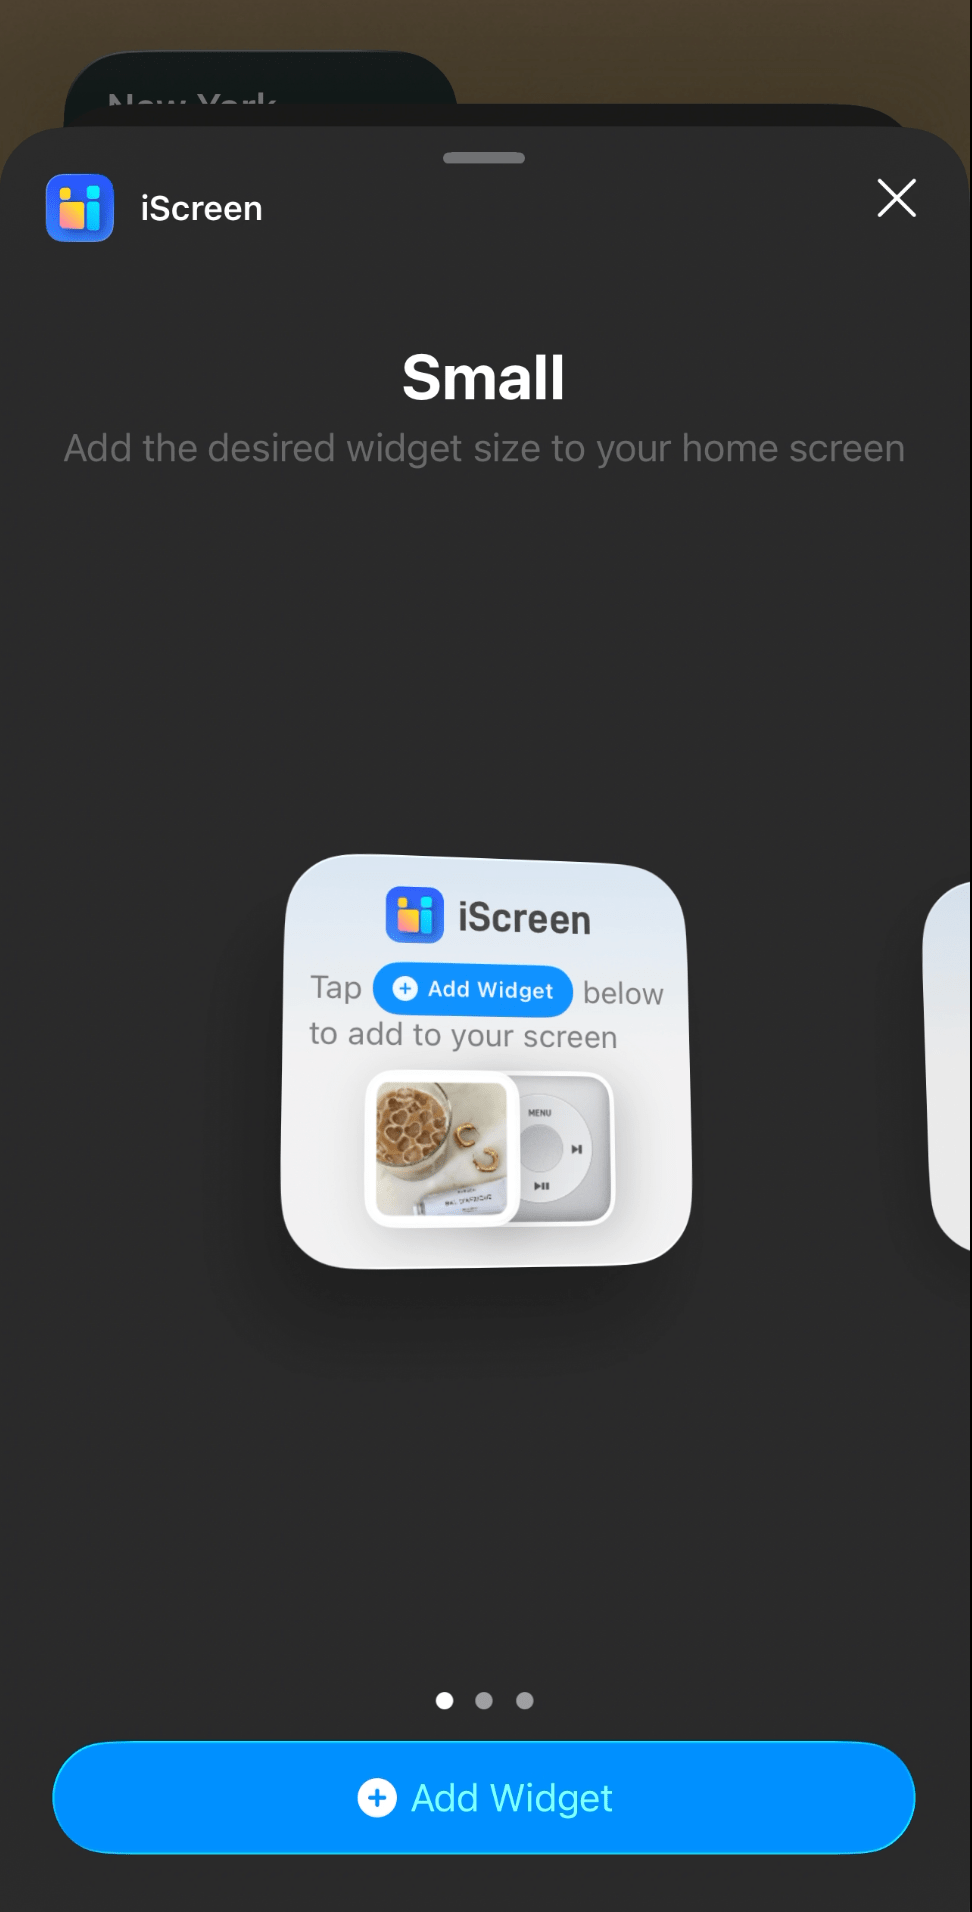
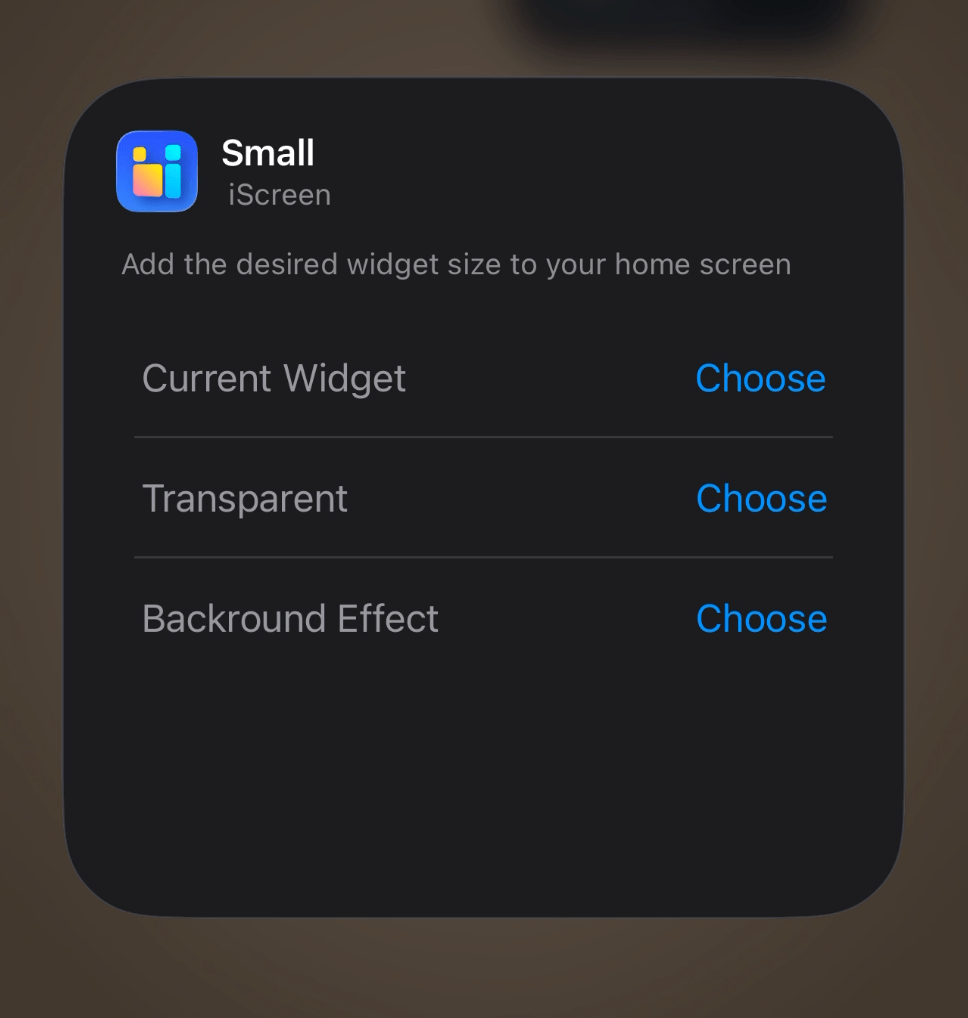
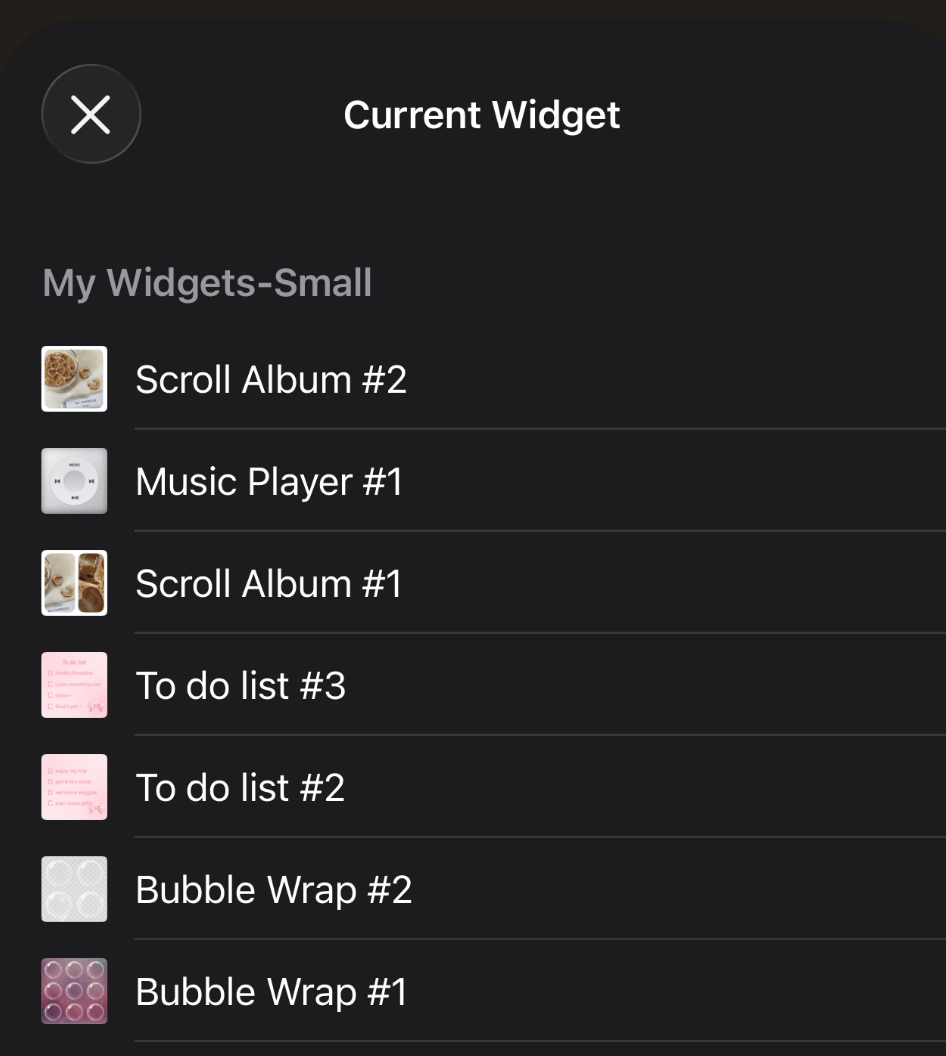
#4: Customize Your Widgets In The Mico, iScreen, and Widgetsmith Apps

Now that your wallpapers are set, it’s time to add widgets. First, we have to customize and set our widgets in the Mico, iScreen, and Widgetsmith apps before we can add them to our home/lock screens.
Once you open the apps, browse the widget library and select your favorites. The ones I’m using along with their sizes are below.
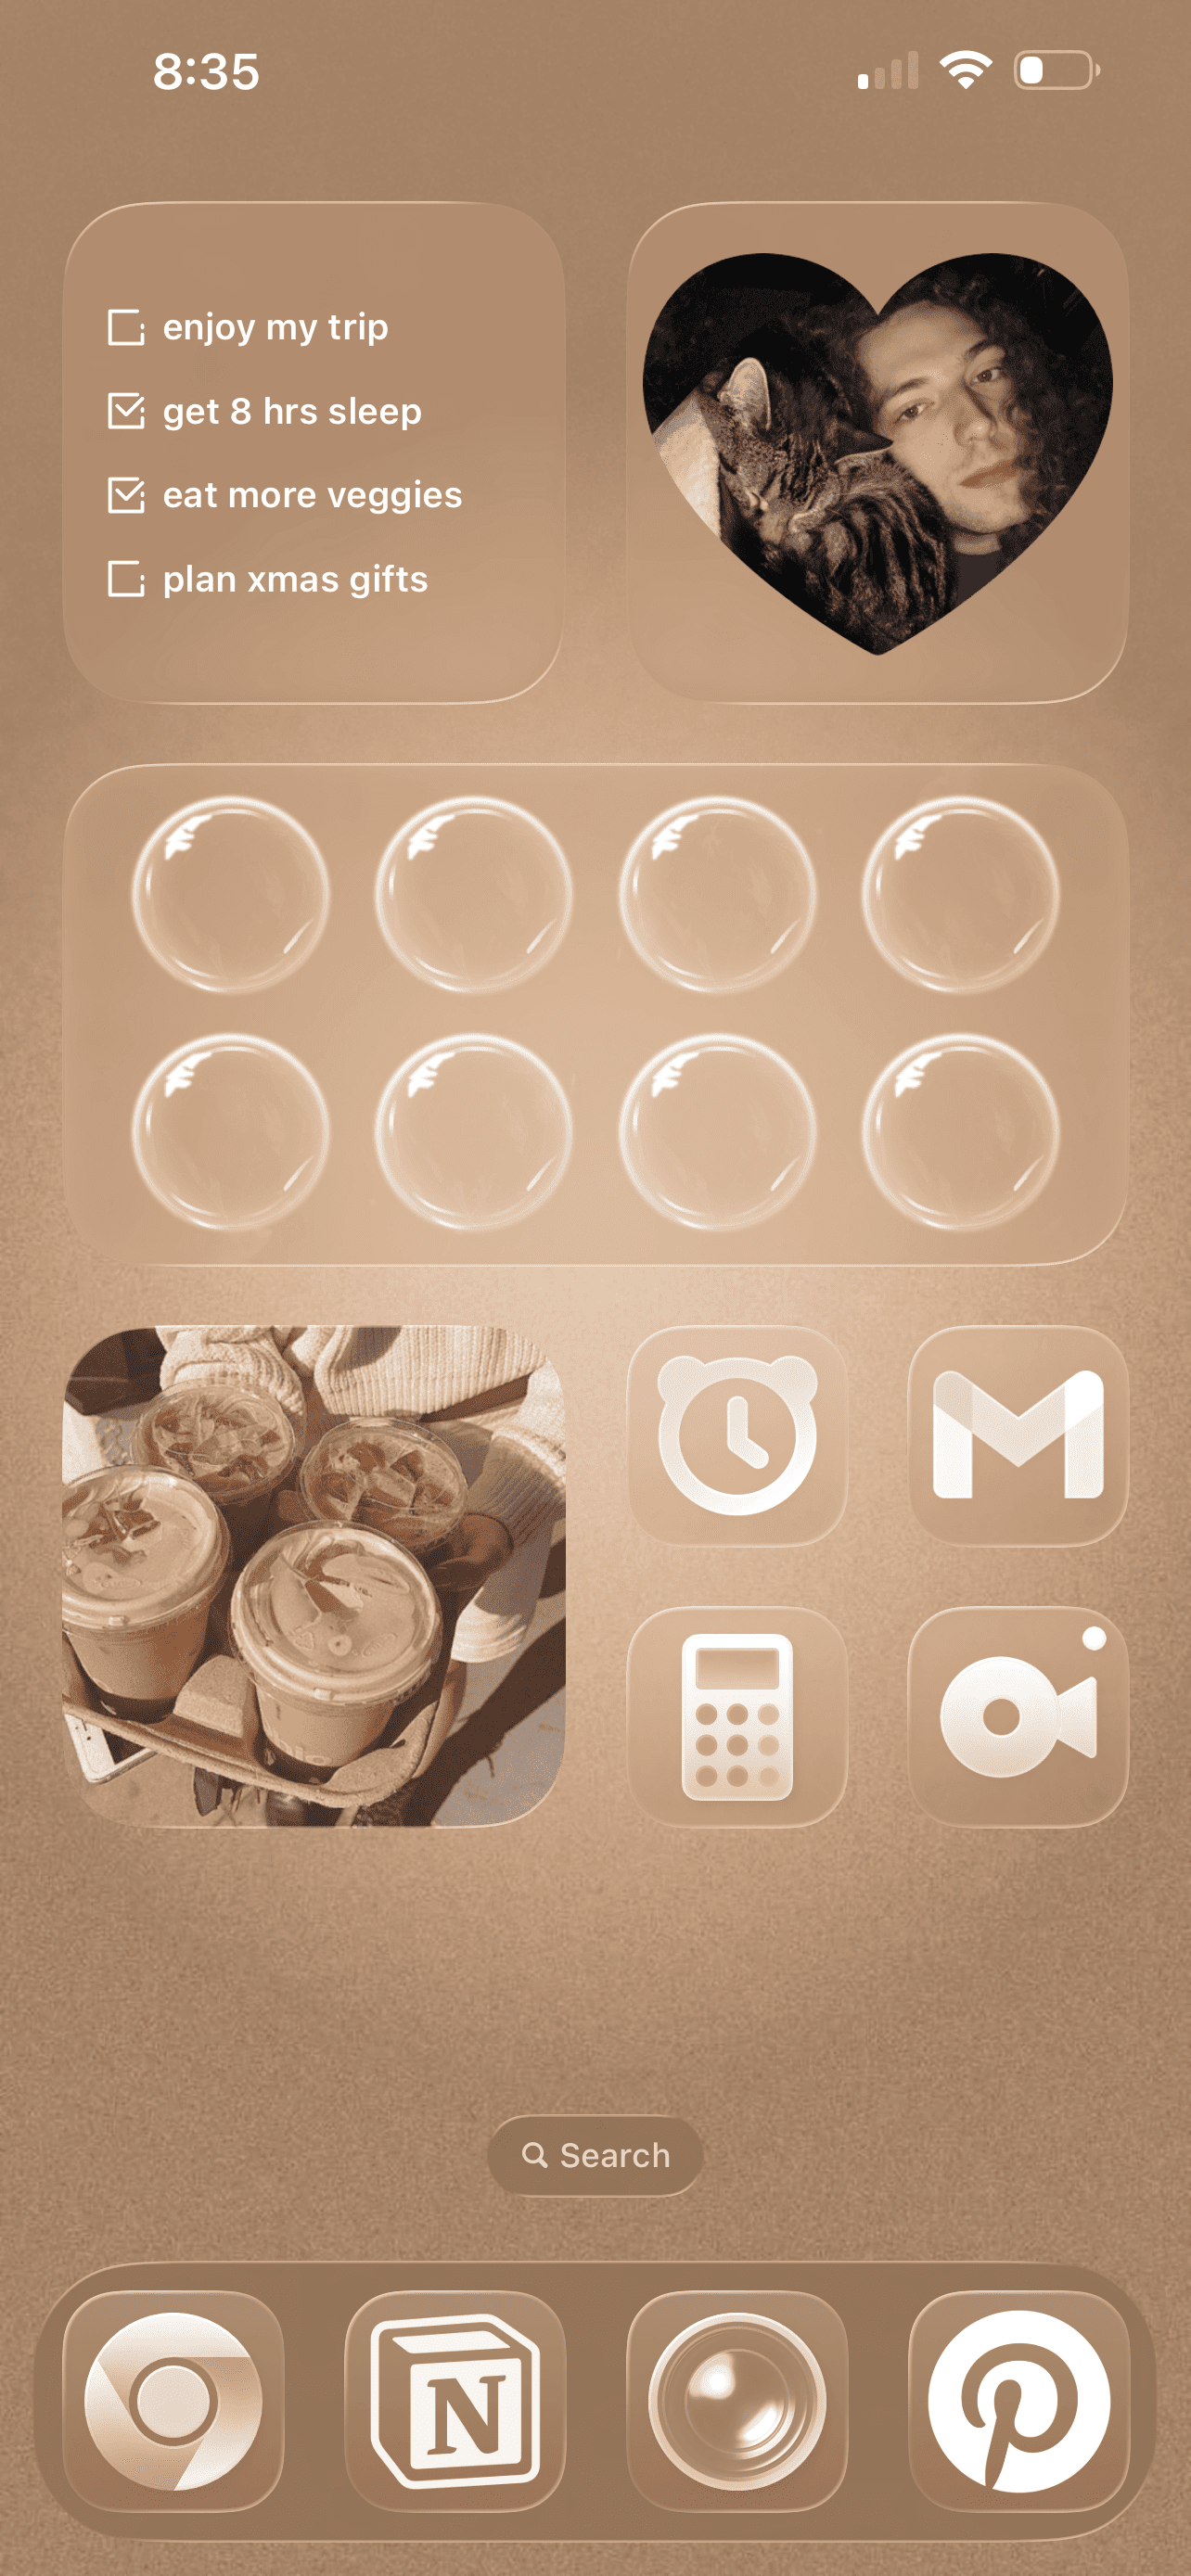
iScreen: Scroll Album (small), To do list (small), Music Wall (medium), Bubble Wrap (medium), Music Player (medium)
Mico:
Home screen widgets: Photo-Heart Frame (small), Clock & Date-Flip Time (small), Clock & Date-Pink Minimal Calendar (small)
Lock screen widgets: Dynamic Heart Audio, Heart (tap on it then select “more” to find the rest of the icon options for the animated coffee and heart widgets I used).
For each one, tap on it and use the options to customize it to your liking. Be sure to choose a “launch action” if available. This lets you select which app will be opened when you tap this widget. If you want your widget to be purely decorative, then don’t worry about that.
For some widgets, you’ll have the option to upload custom images from your photo library. You can also usually adjust the opacity of the background as well. When you’re done, tap “save widget.”
Widgetsmith: This is the app I use to make standard photo widgets. To do this, simply open the app, tap the blue plus icon, add your photo from your library, and save.
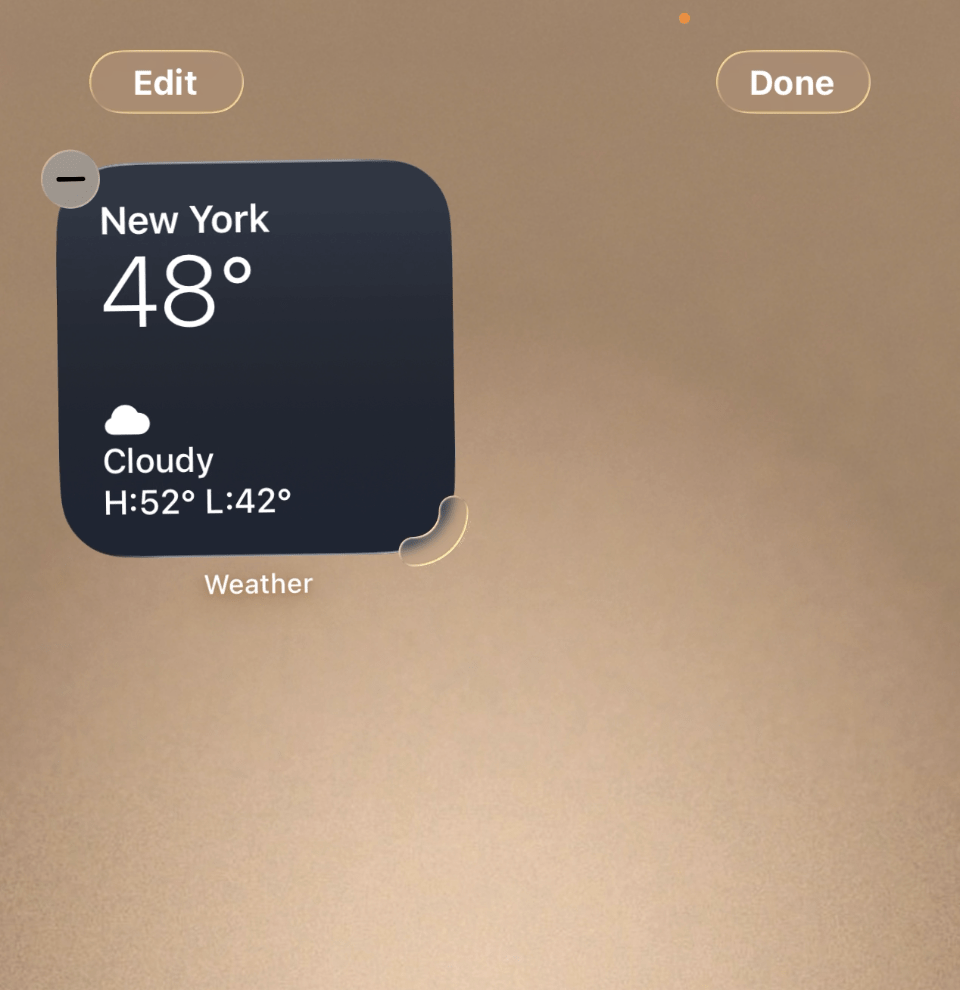
Weather: This widget is native to your iPhone. If you have the Apple weather widget, you should be able to add this widget without downloading anything. Add this widget by long pressing > edit > add widget > search for “weather.” Then, long press on the widget to set your custom location.
#5: Add Your Widgets To Your Lock Screen
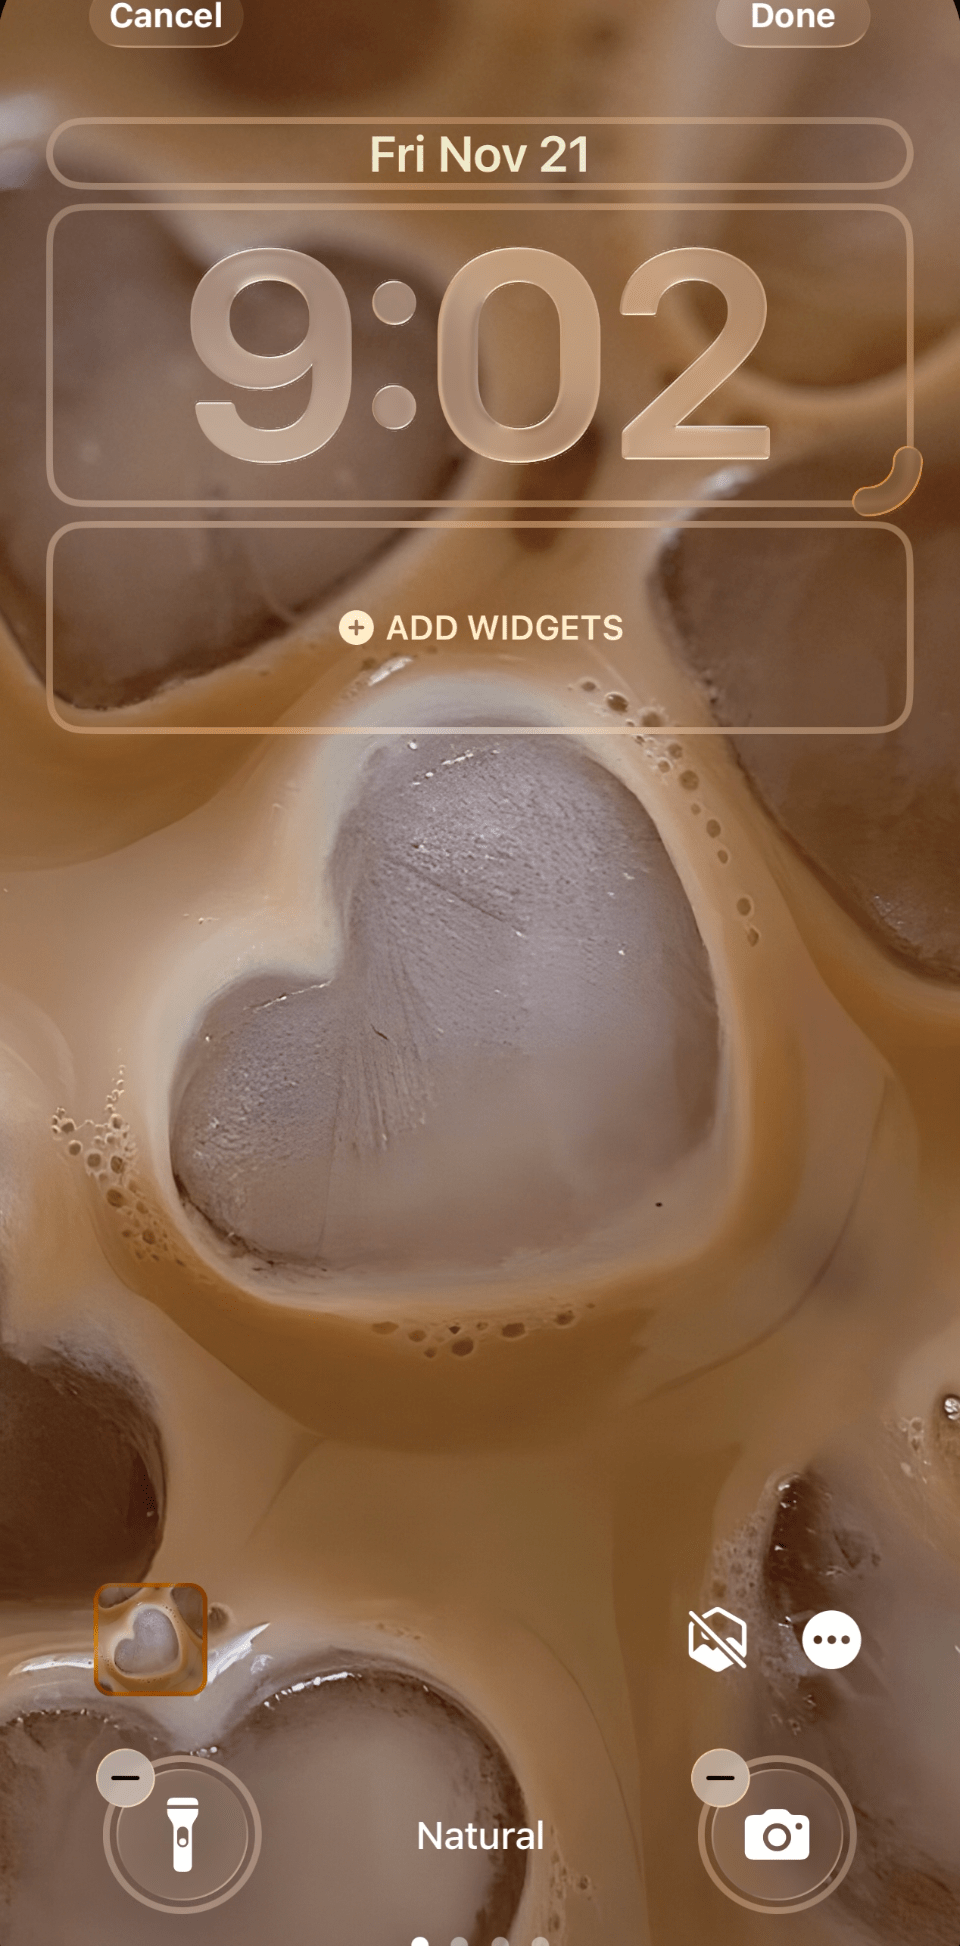
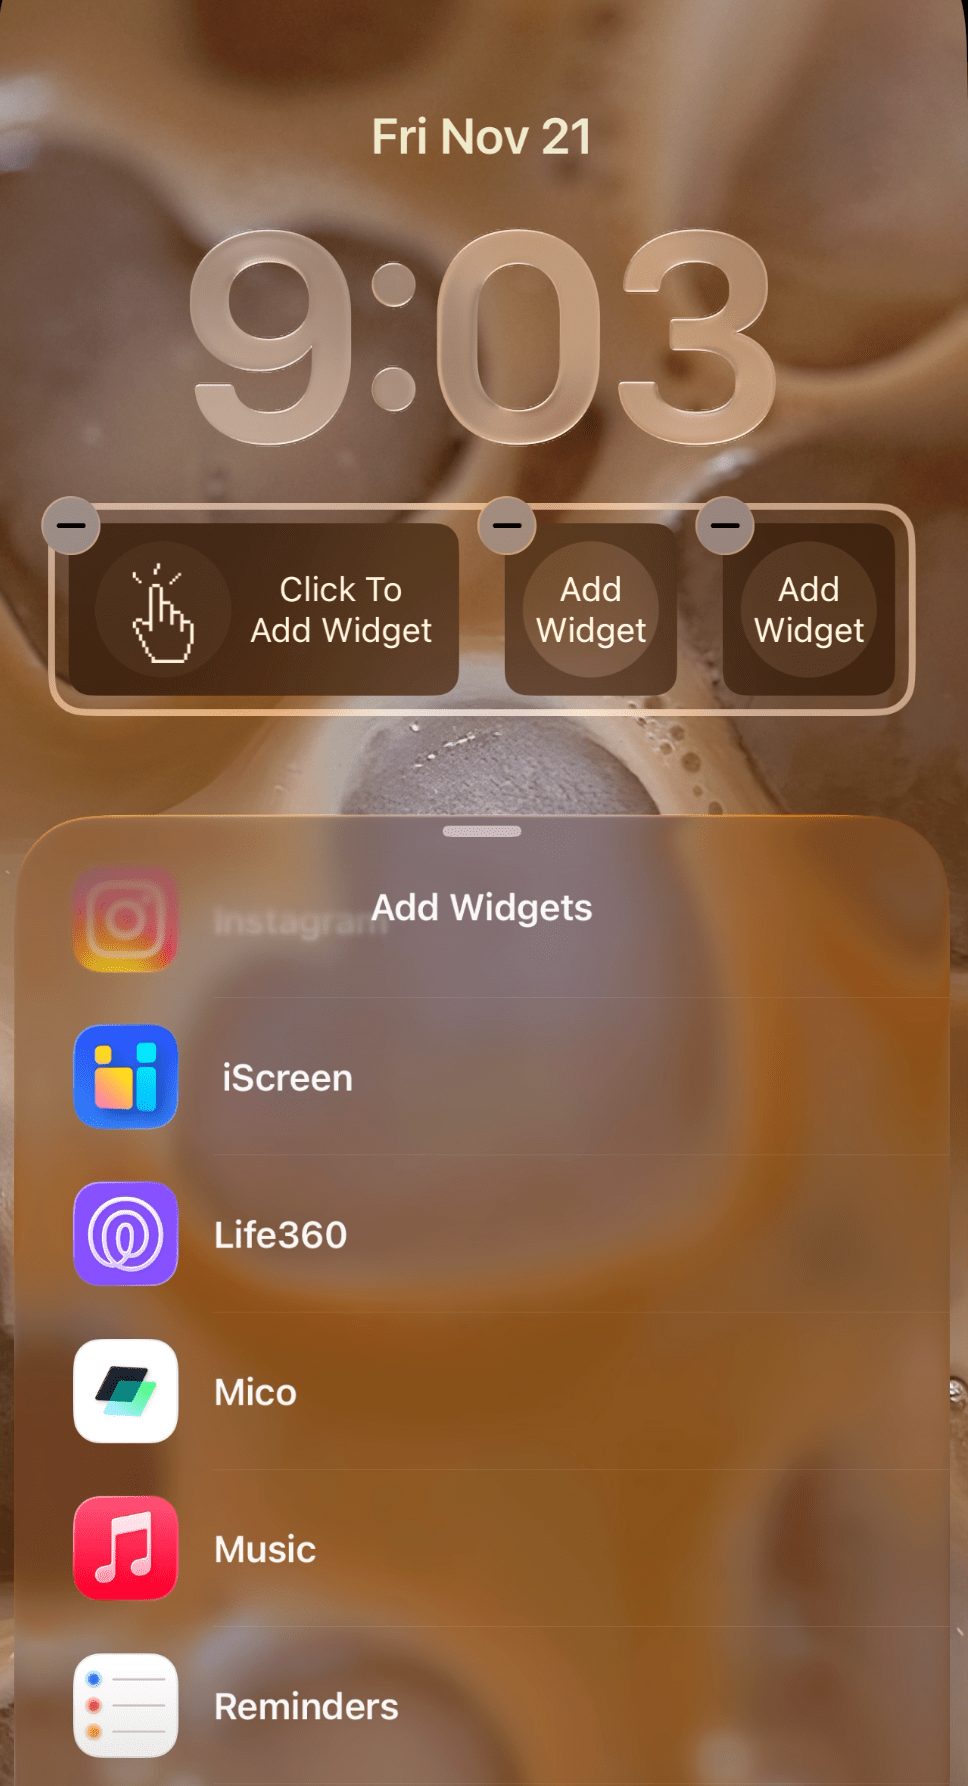

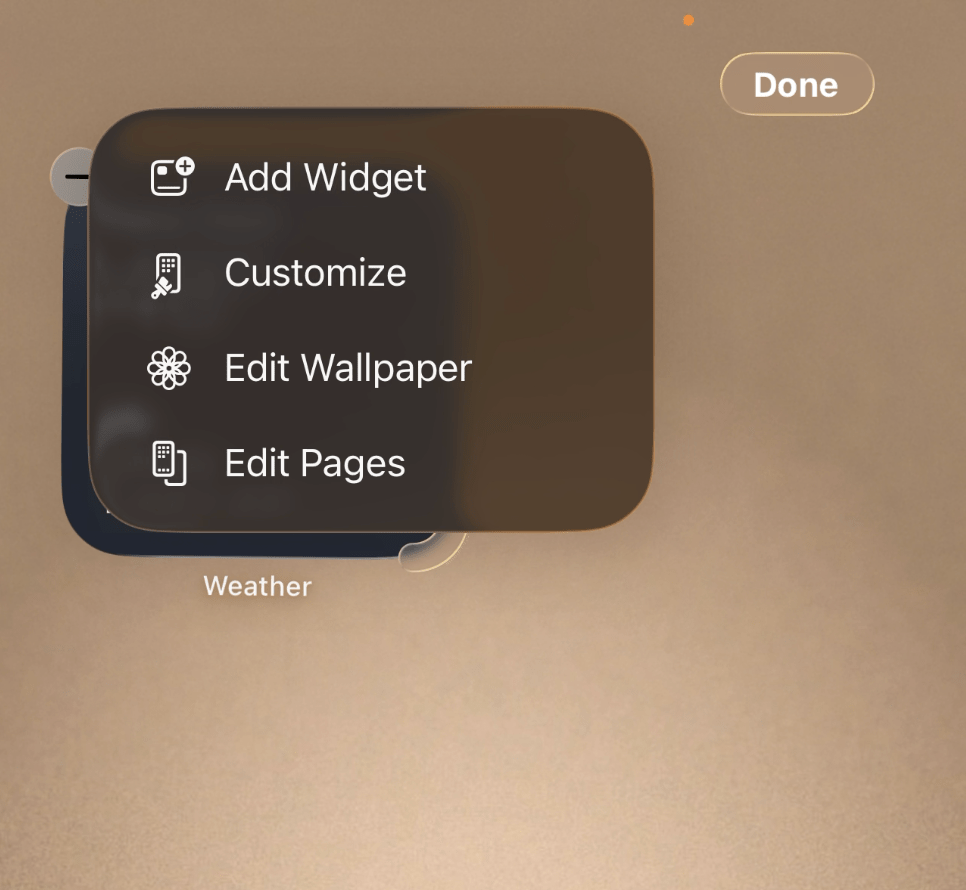
Go to your lock screen and long press, then select “customize.” Long press where you want to add your widget and then scroll down until you see “Mico” in the menu that comes up. Tap it! Then, select the size of the widget you want to add.
Mico will add a default widget where you specified. To add your custom widget, tap the default widget and select your custom widget from the menu that pops up.
To add non-Mico widgets, long press on your home screen, select “customize,” and select your widget from the menu that comes up.
In this step, you can also use the color sliders/eyedropper/grid tool to customize the color of your time.
#6: Add Your Widgets To Your Home Screen
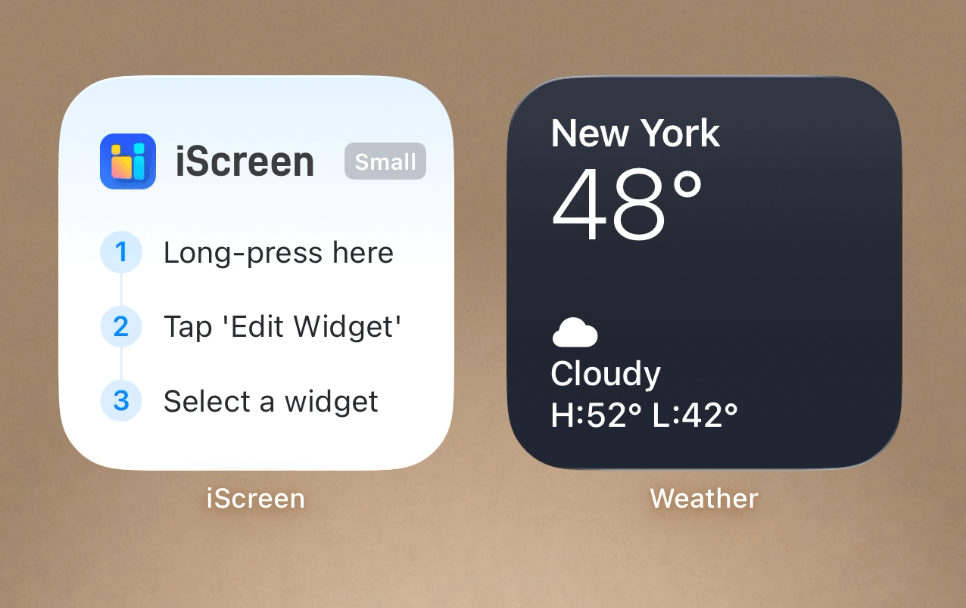
Now that your widgets are in your app, you can add them to your home screen. Long press > edit > “add widget” > search for iScreen/Mico/Widgetsmith > choose your widget size > choose “add widget.” Repeat for all widgets.
Related: How To Customize Your iPhone With iOS 26 (Step By Step Tutorial + Free Aesthetic Phone Theme)
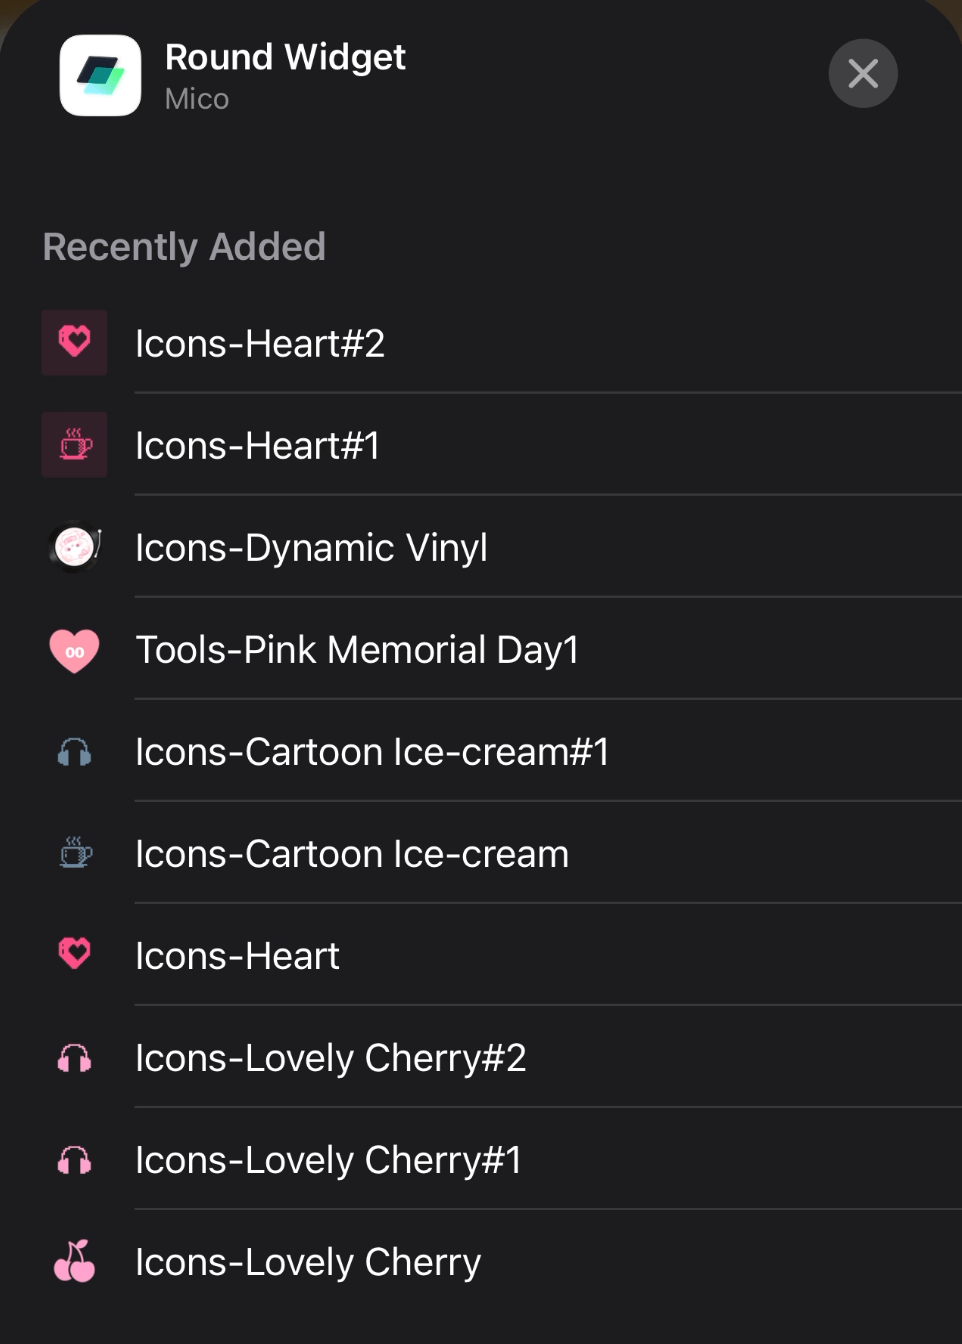
#7: Customize Your Widgets
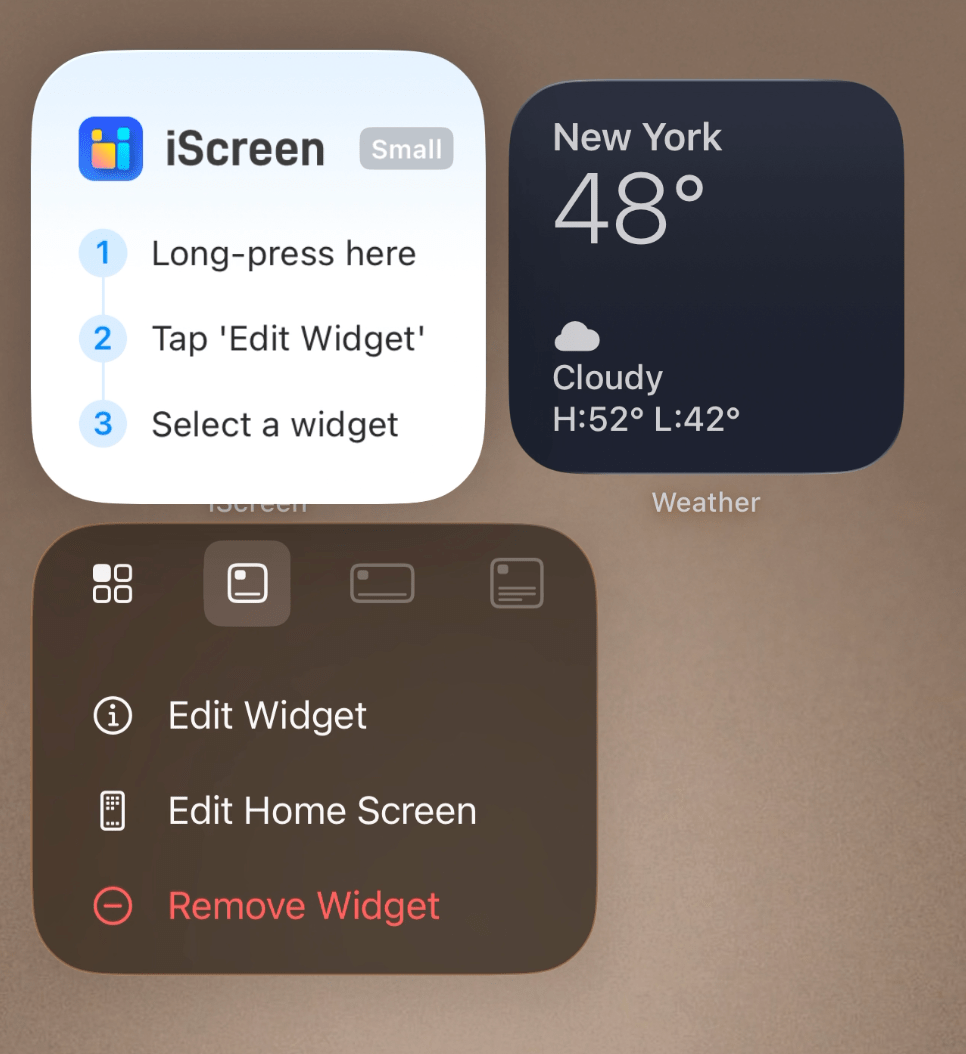
Go ahead and add your custom images to your widgets. Do this by long pressing on each widget > choose “edit widget” > tap “choose” > choose your widget from the list. Repeat for all your widgets and you’re set!
Related: 40 Totally FREE Aesthetic iPhone Widgets You’ll OBSESS Over! (iOS 26)
#8: Add/Arrange Your Apps
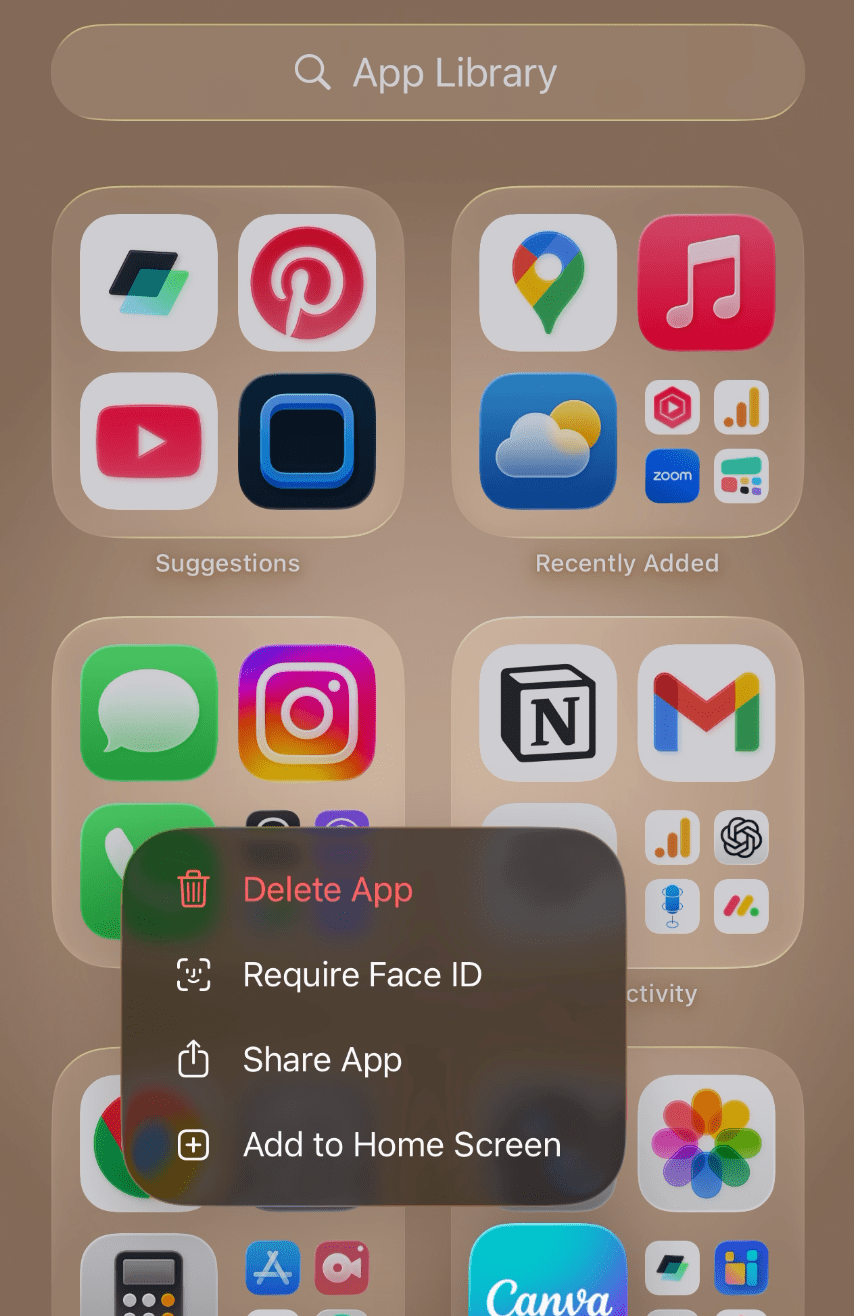
Add any apps to your home screen by scrolling all the way to the right until you reach the app library. Long press on an app you want to add and select “add to home screen.” On your home screen, long press and drag your apps where you want them.
#9: Customize Your App Icon Color
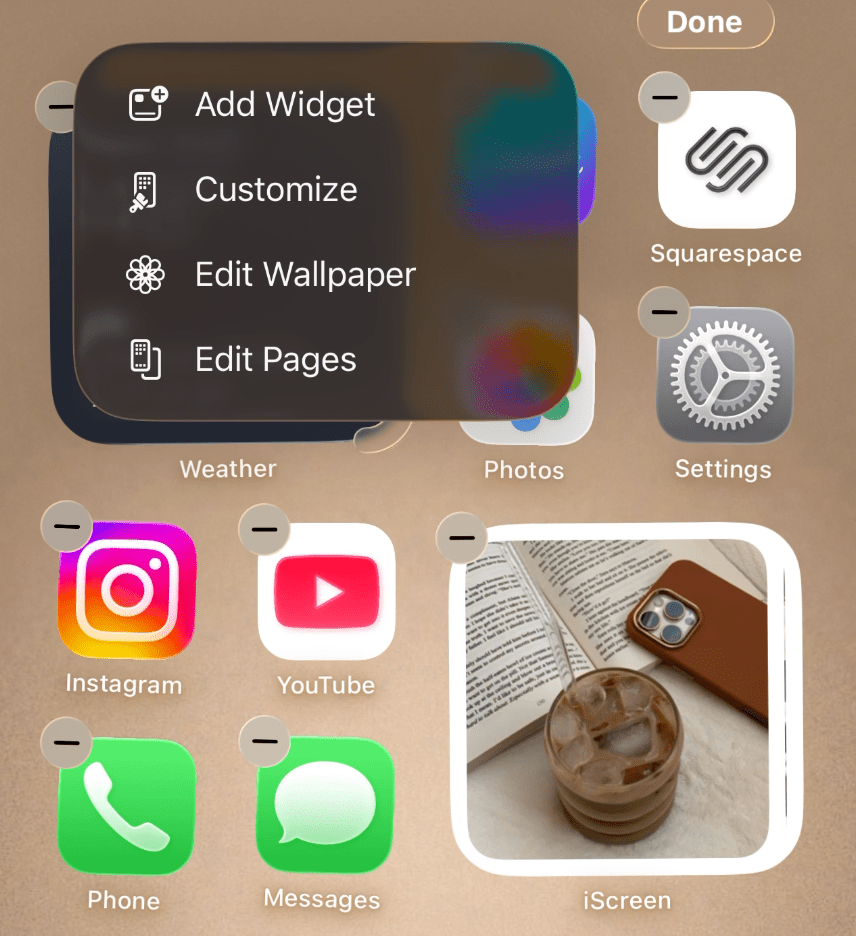

Long press your home screen and tap edit > customize. Use the sliders to find your perfect color. Or, a helpful tip is to use the little eye dropper tool to choose a color from your wallpaper. This helps create a cohesive look for your phone and is what I did to get that soft brown color for my apps.
The other customization options I selected were “tinted” and “light mode.” I kept the light background by tapping the little sun icon. I also made the icons bigger/removed the app names by tapping the icon with the two little squares in the upper right corner. You’re done!
Related: How To Make Aesthetic Aura Wallpapers (EASY Canva Tutorial)
Closing Thoughts
Thanks for reading my iOS 26 customization tutorial! Hopefully this guide helped you get more comfy with some of the new customization settings or that you found some inspiration to decorate your home and lock screen. Happy cozy season!
Read this next: 15 Ways To Reset & Refresh Your iPhone (Digital Declutter & Organization Routine)
For handmade digital art prints, icon packs, wallpapers, & more designed by me, be sure to stop by my digital boutique: Designed By Nikki Lo.
Connect with me!