19 Aesthetic Ways To Customize Your MacBook With macOS 27 Golden Gate
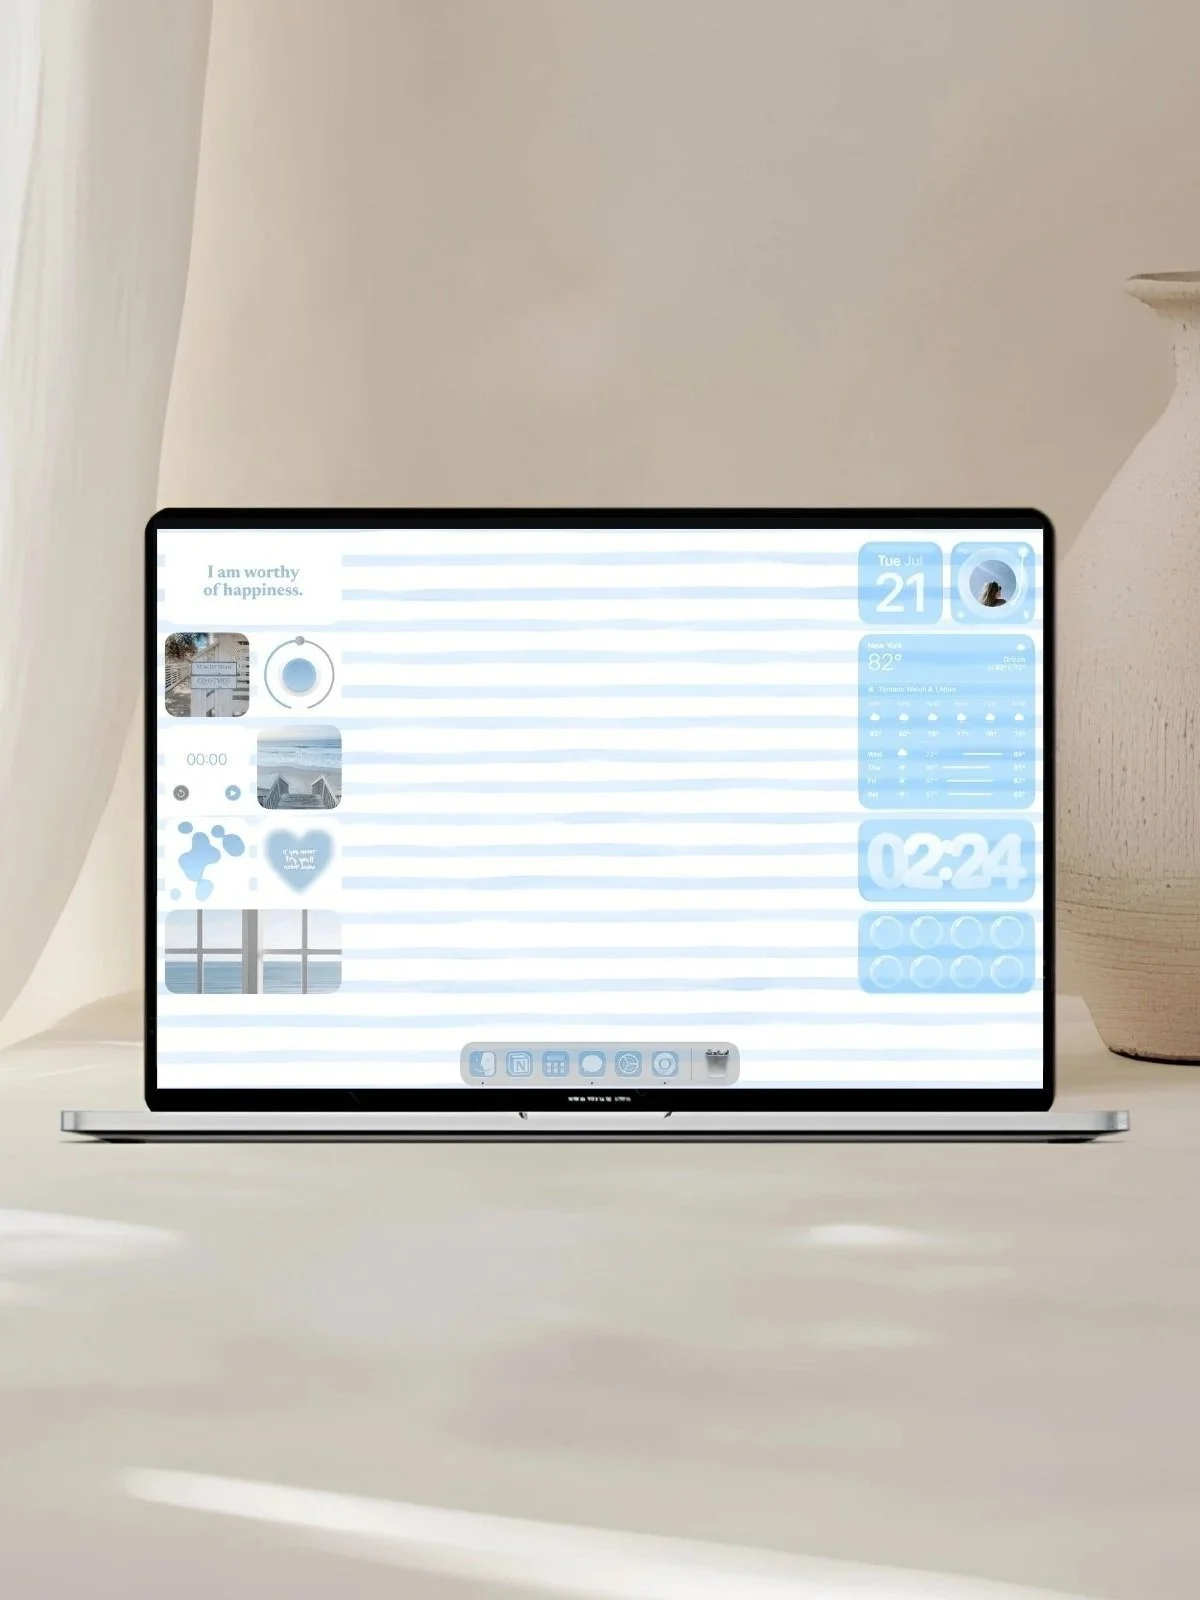
This article is about aesthetic customization features in macOS 27 Golden Gate.
There’s nothing better than giving your Mac a refresh! With macOS 27 Golden Gate, Apple is making it even more fun to personalize your setup and turn your desktop into a space that feels uniquely you.
I’m gonna walk you through features (liquid glass slider, app tinting, wallpapers) that anyone obsessed with tech customization and personalization will love. I’ll be highlighting some new features and going over some older ones that are absolutely essential to know.
Overall, the focus of macOS 27 has been refining last year’s major update in macOS 26 and making things smoother and faster for users - as opposed to the dramatic redesign we got last year. Let’s get into it!
How To Make Your MacBook Aesthetic With macOS 27 Golden Gate
#1: Liquid Glass Intensity Slider

This is probably the biggest customization feature brand new to macOS 27! Last year, we got the liquid glass interface redesign with beautiful transparent visuals, but a lot of people found the transparency made things harder to see/read.
So now, we have a slider where you can adjust the intensity of liquid glass on your MacBook and make it more or less transparent. I think this is such a great addition in terms of accessibility and general personalization!
Find the slider in system settings > appearance > liquid glass. Slide to the left to make liquid glass more intense (more clear/transparent) and to the right to make it less intense (less transparency). There’s also a helpful visual preview to see what each transparency level looks like.
#2: Customize Your Lock Screen Clock
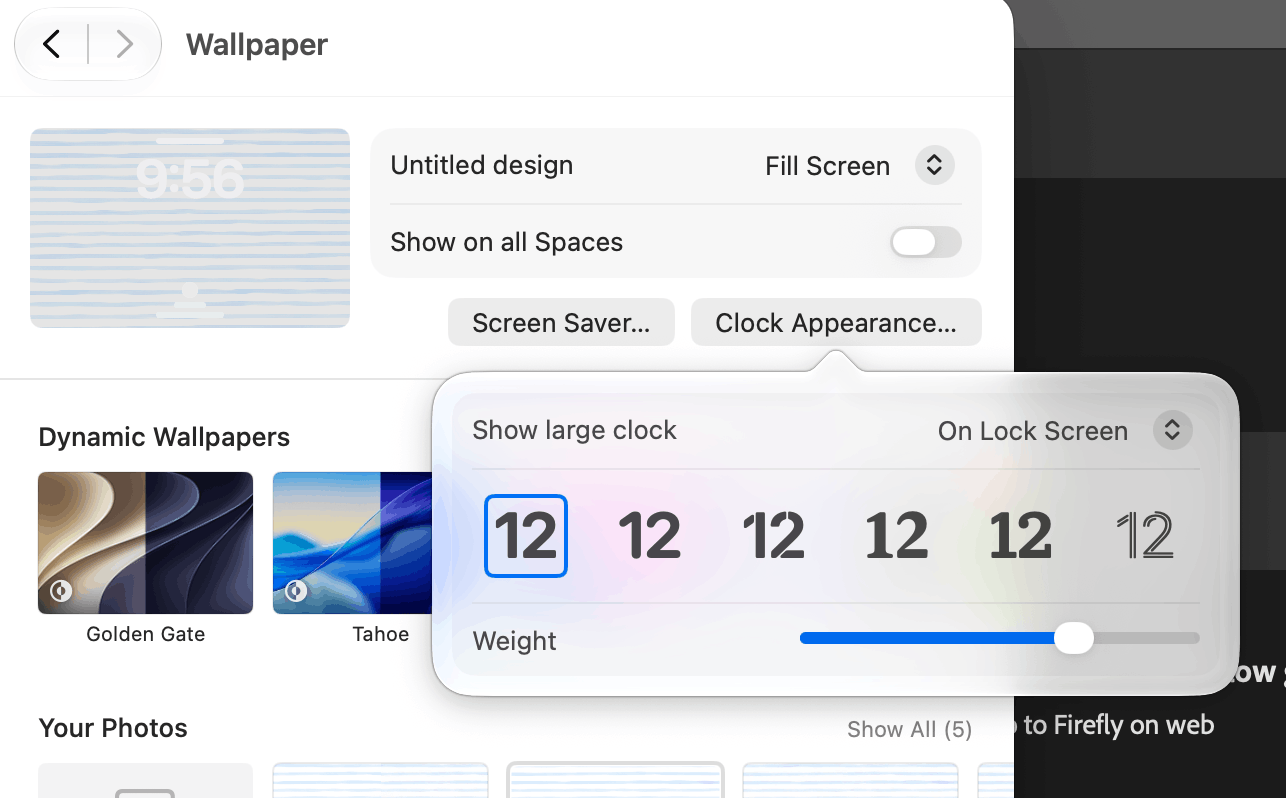
One of the easiest ways to make your MacBook feel more personal is by customizing your lock screen clock.
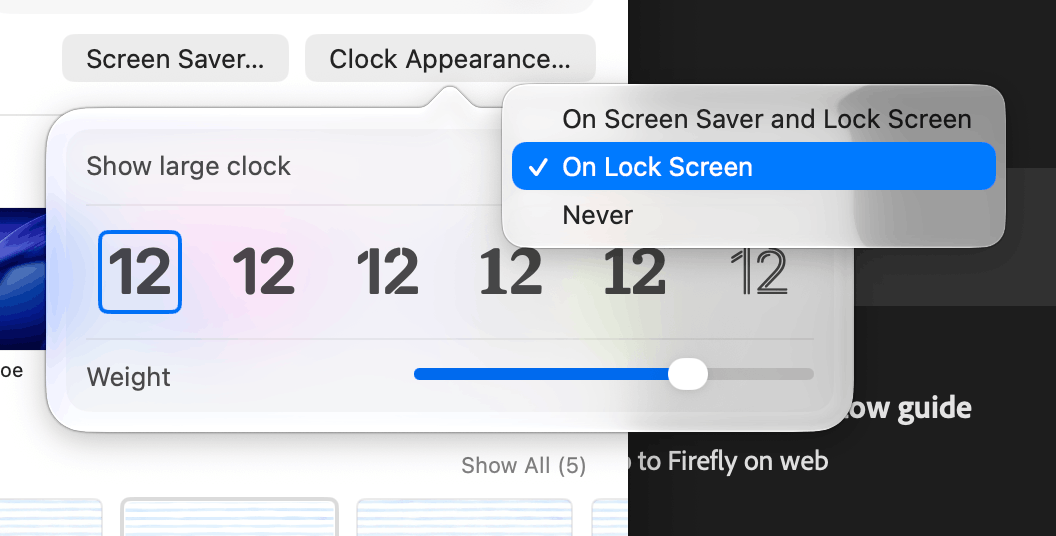
To customize your lock screen clock, go to system settings > wallpaper > clock appearance and choose the font/weight that fits your setup.
Under “show large clock,” you can also choose if you want the clock displayed on just the lock screen, lock screen + screen saver, or neither.
Related: How To Customize Your MacBook With macOS 27 Golden Gate (Easy + Aesthetic Tutorial)
#3: Customize Your Login Profile Picture
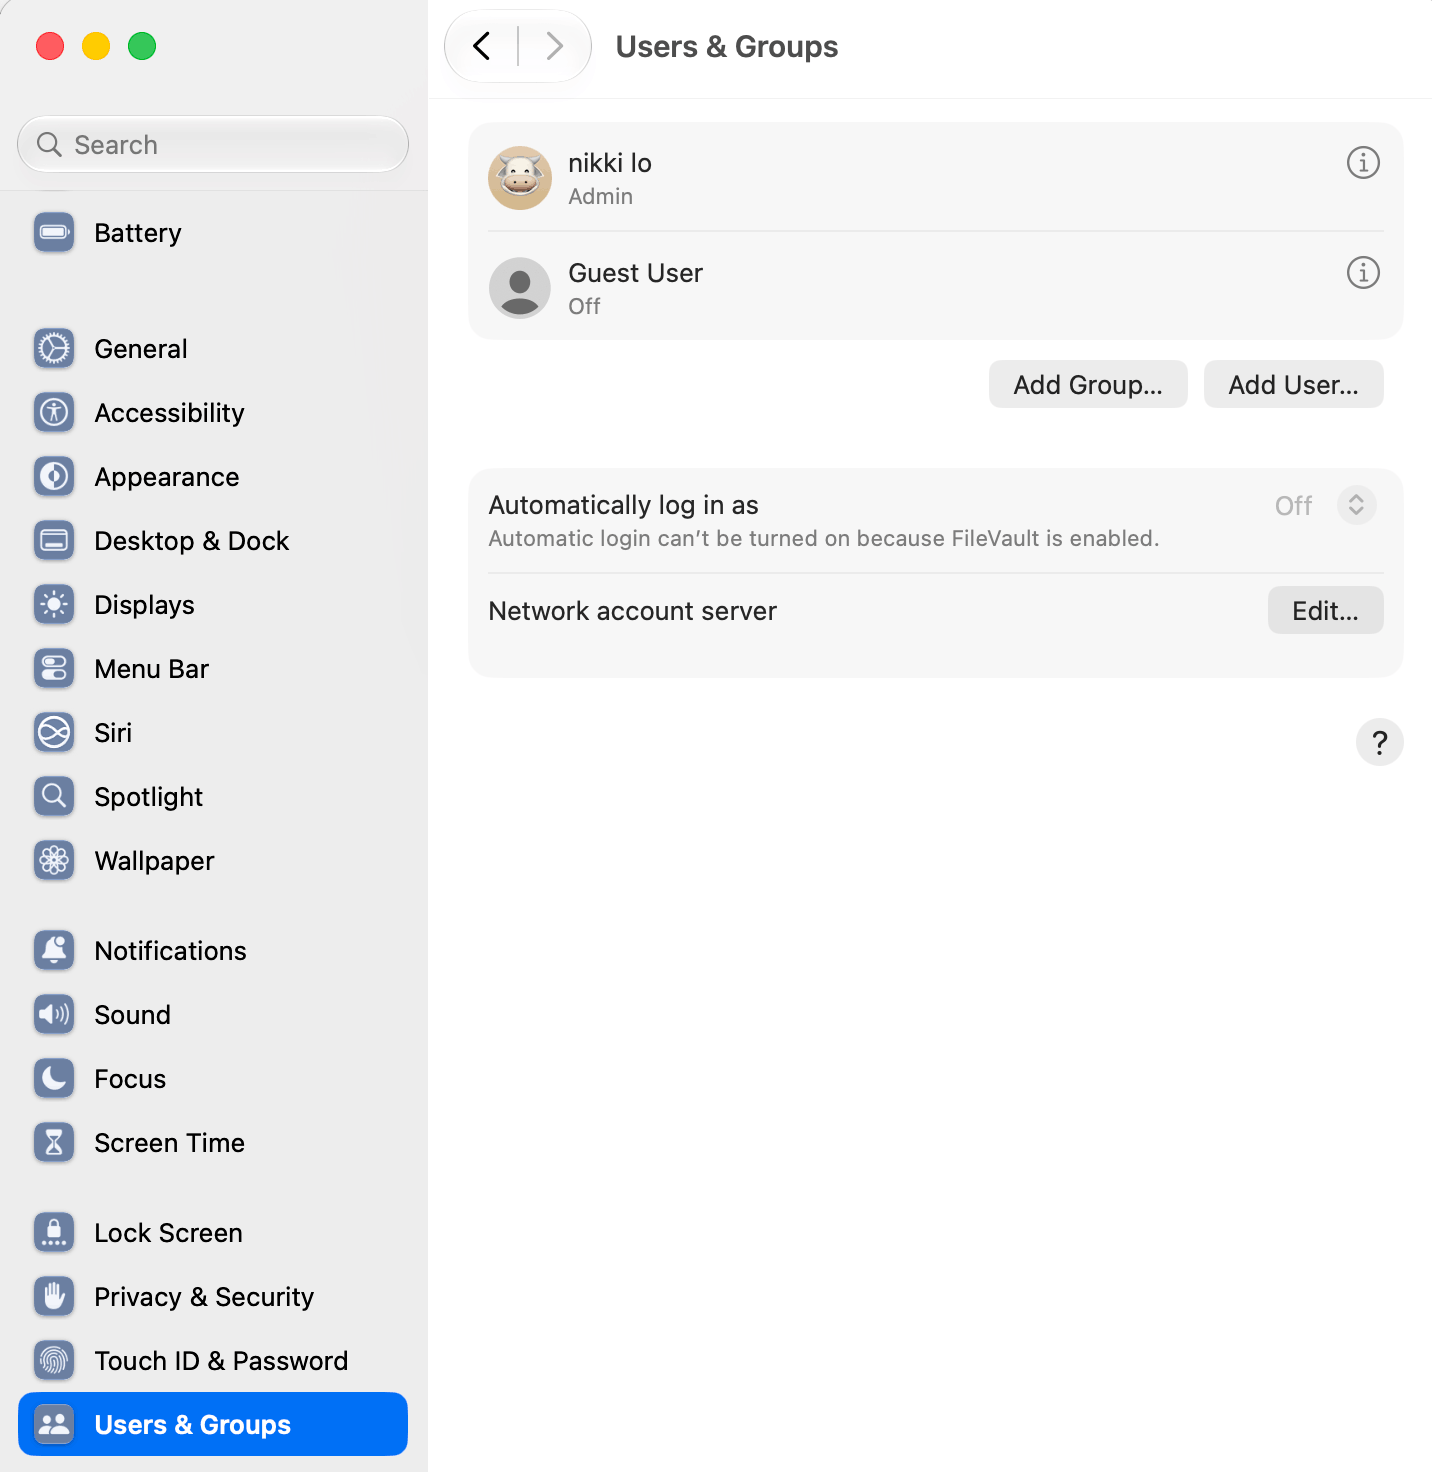
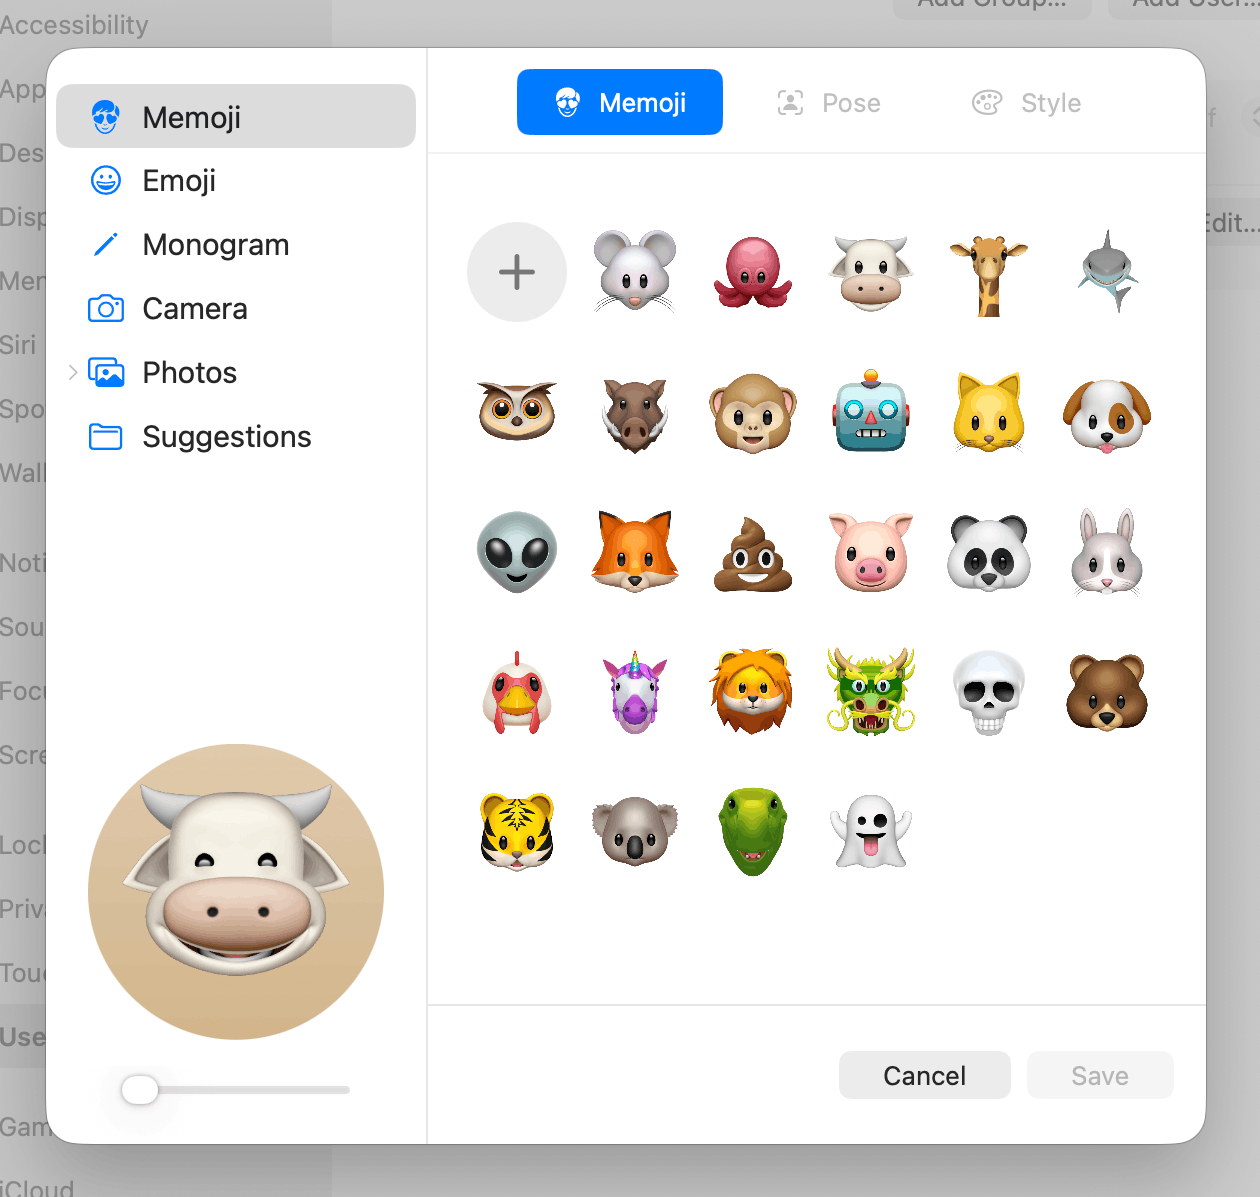
A super cute way to personalize your device! Go to system settings > users & groups > click on profile photo > use the options to customize.
#4: Change Your Wallpaper
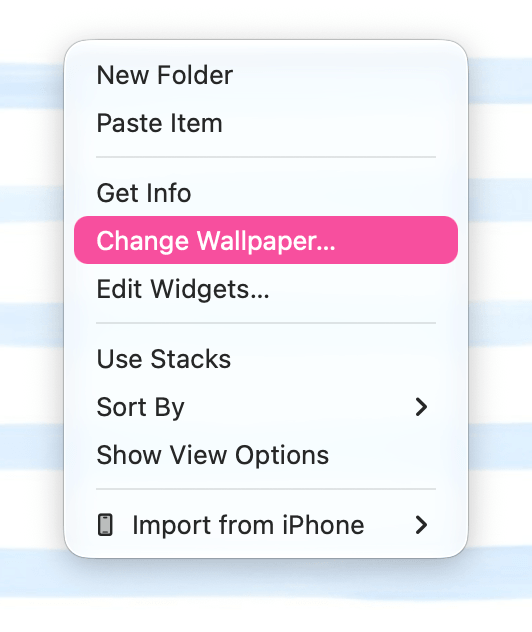
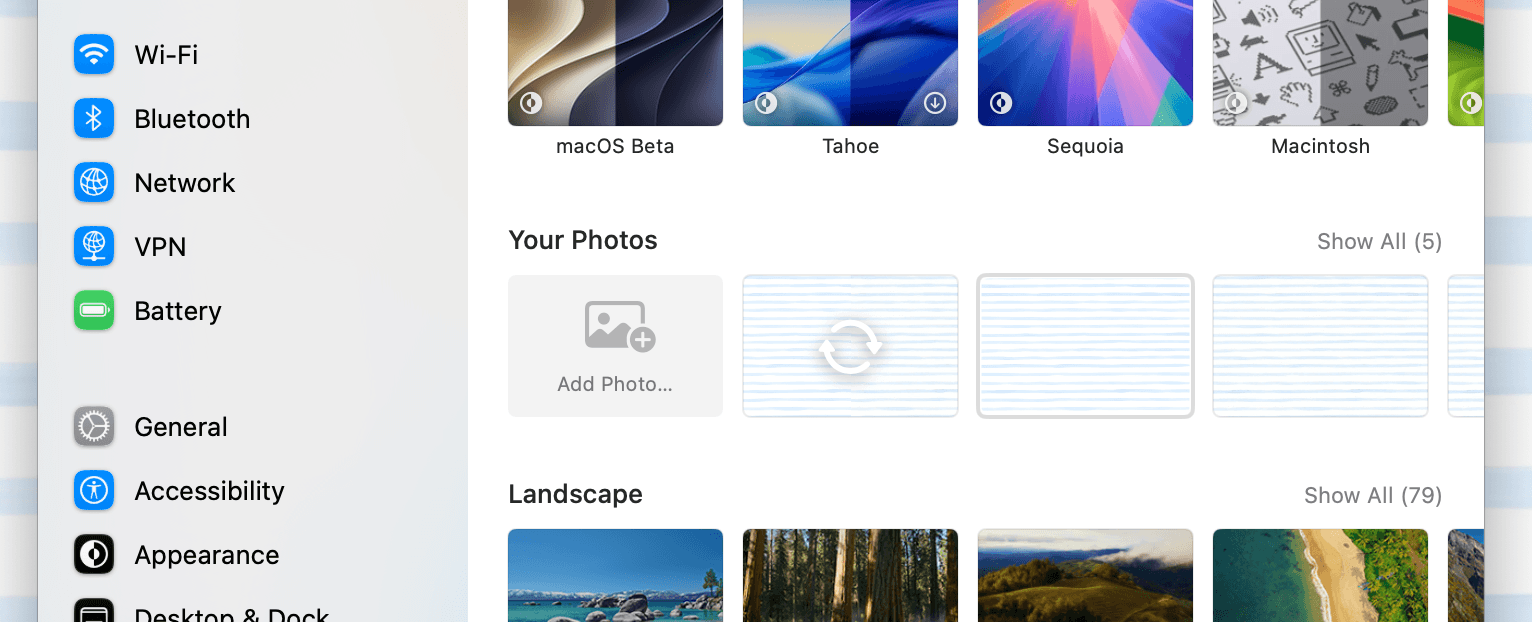
A classic and must-know for any customization enthusiast! First, make sure your wallpaper image is downloaded.
From your desktop, right click on an empty area > change wallpaper. From there, add your wallpaper from your files.
#5: Add A Widget


From your desktop, right click on an empty area > edit widgets.
The widget menu will pop up and display all the Apple native widgets and widgets you’re using on your iPhone (yes, your iPhone widgets show up here - make sure both devices are signed into the same Apple ID). Click on the plus icon on each widget to add it to your desktop.
You can also find widgets on the App Store from apps like WidgetWall. To add widgets from here, download and open WidgetWall. Scroll through the widgets and click on the plus icon on each widget to add it.
#6: Tint Your Apps, Widgets, & Folders


Next, we’re going to give everything on your MacBook the same color tint so it looks nice and cohesive.
Go to system settings > appearance > scroll down to theme. Select tinted (or another option of your choosing). Then click choose color, and either select a default color from the list or click choose color again to set a custom color.
From here, you can use the sliders to customize your color tint or select color picker to use the eye dropper tool to grab a color directly from your wallpaper or widgets.
#7: Use Cute Folder & App Icons
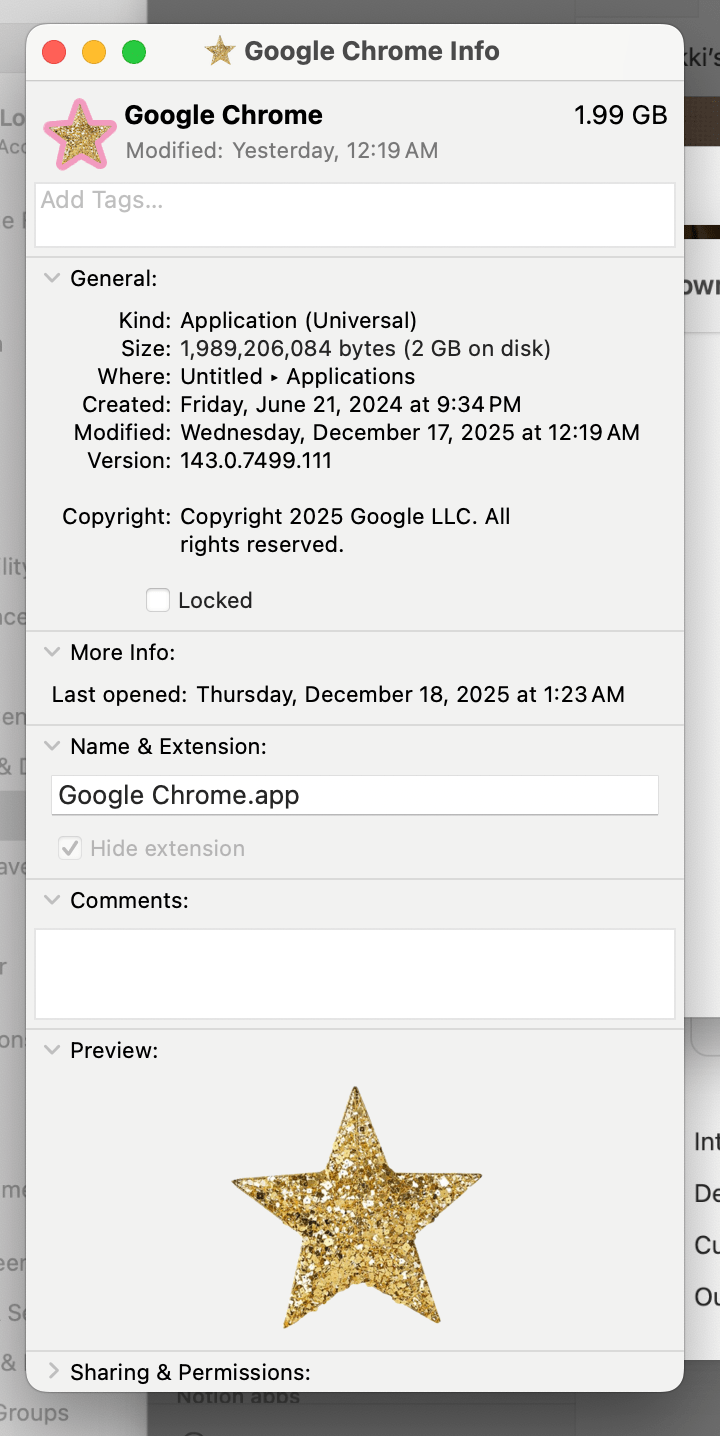
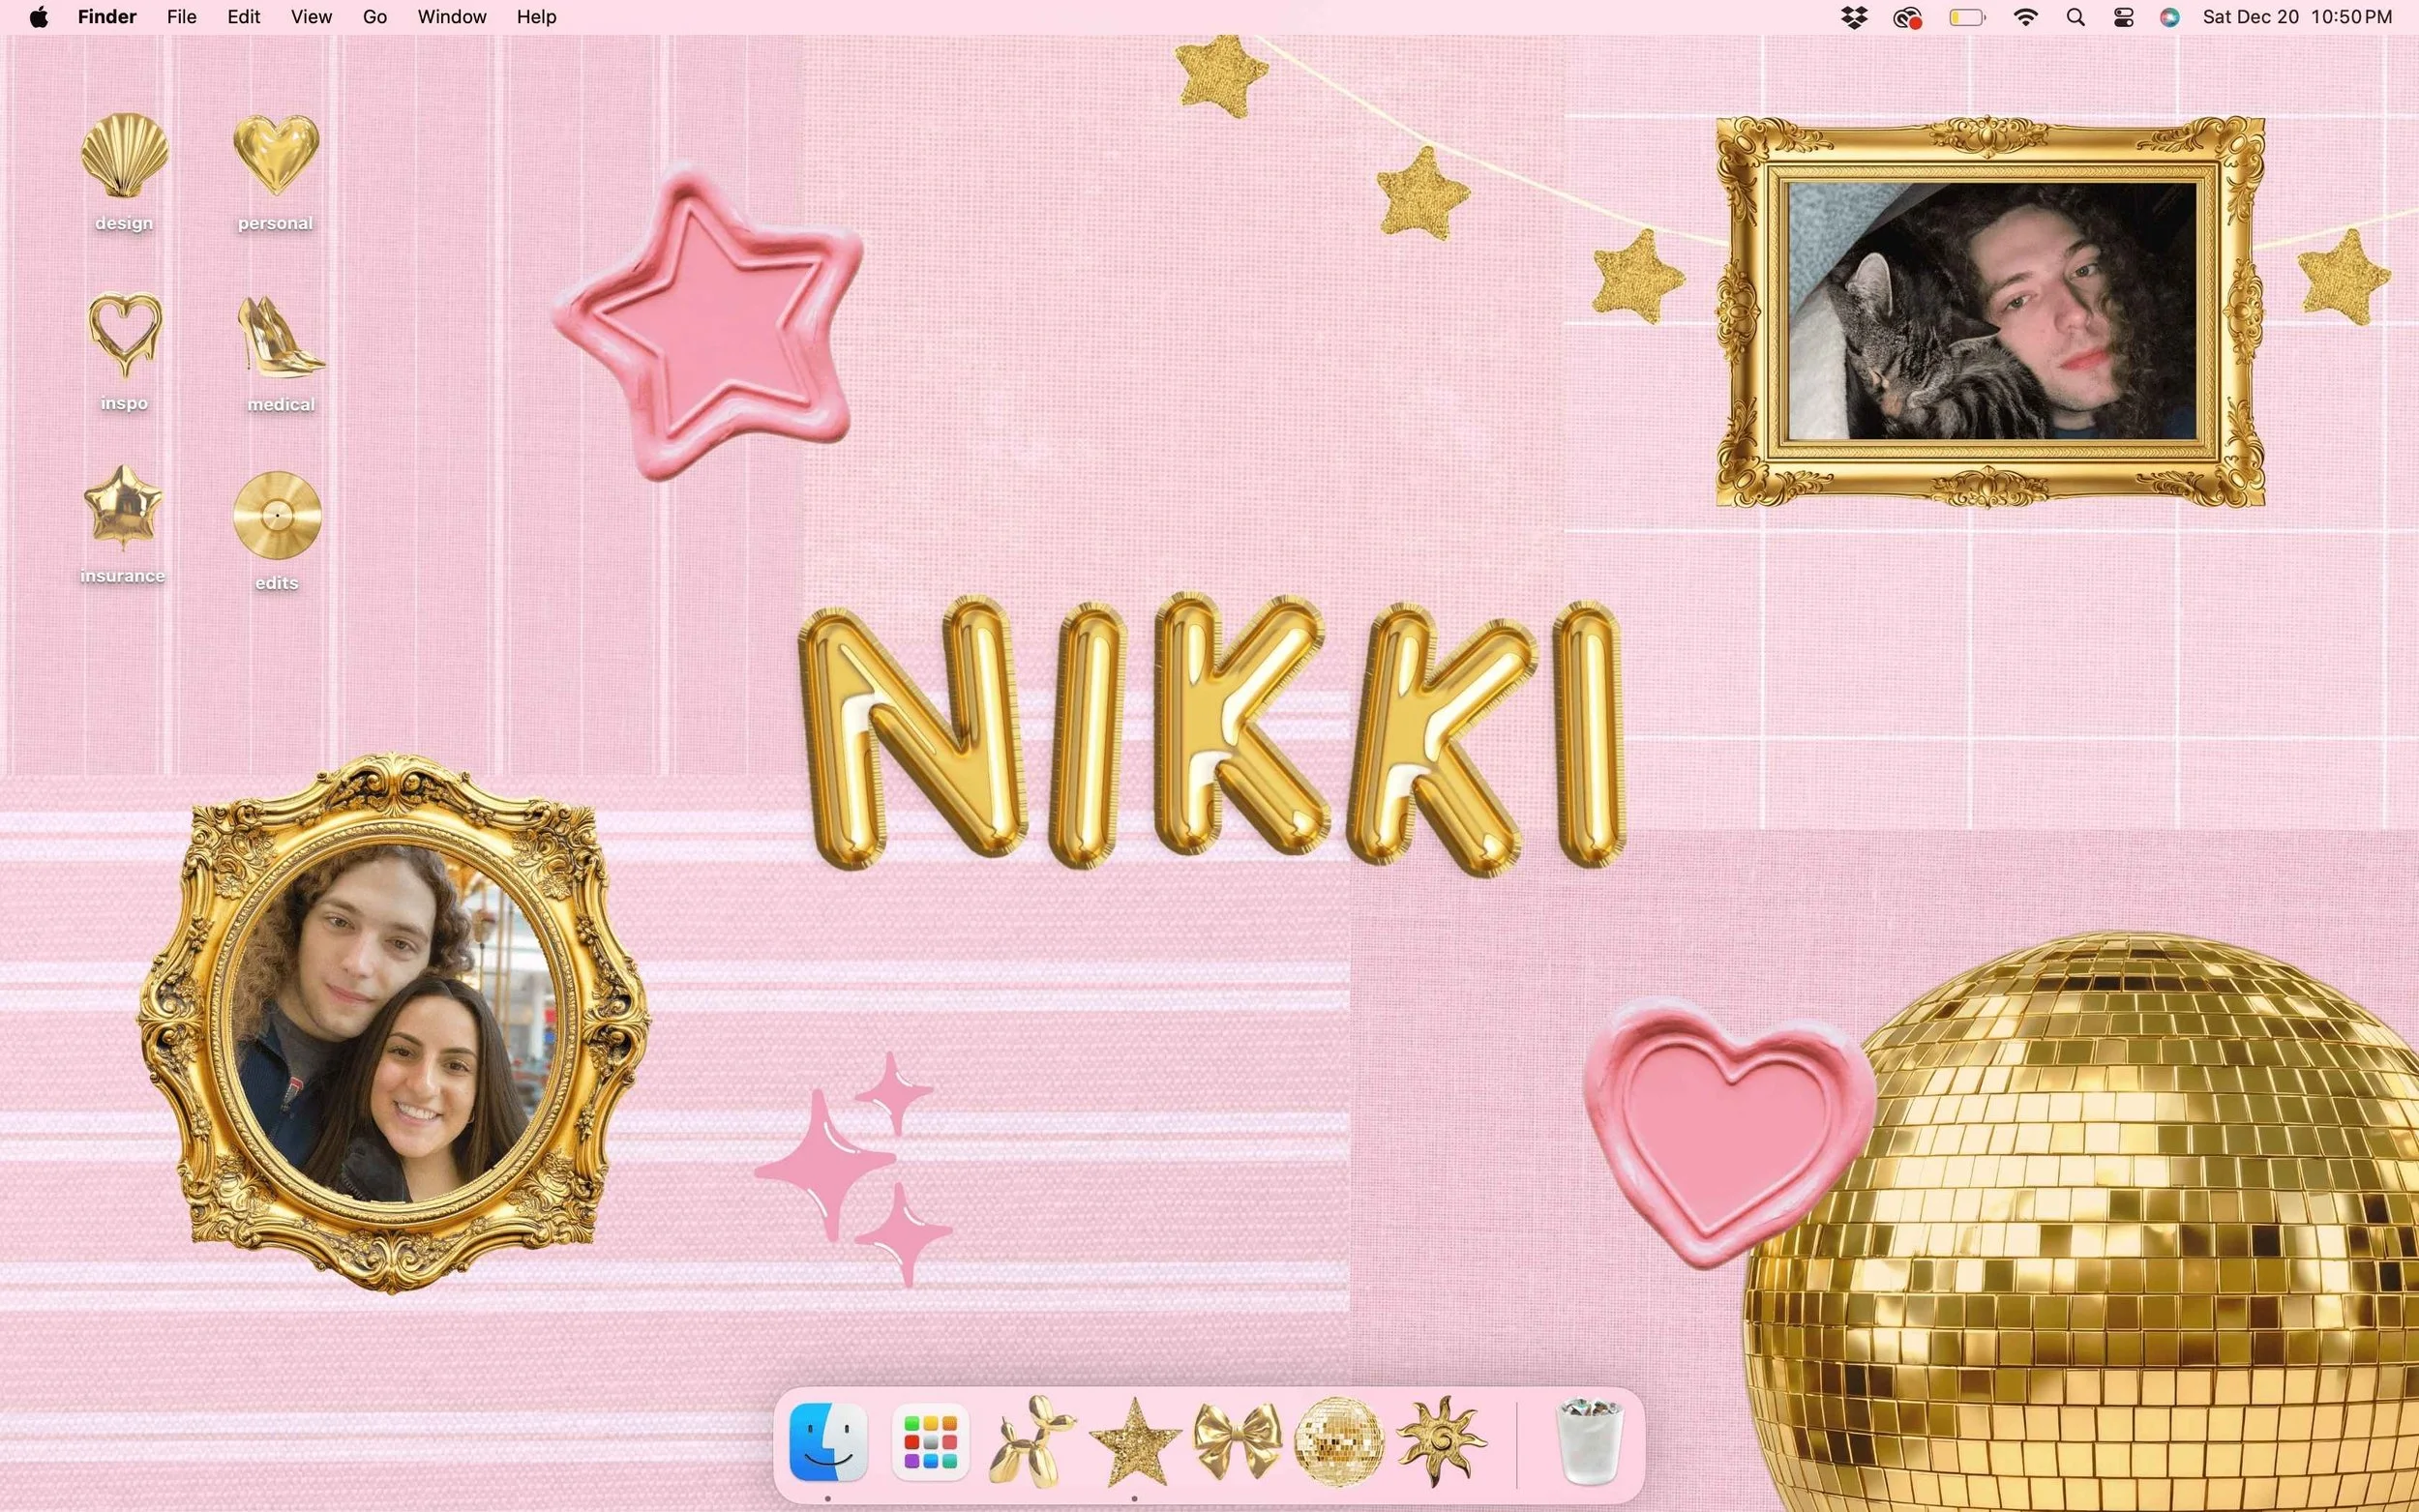
Download or create the custom app/folder image you want, then copy it from Finder. In Finder, locate the app/folder whose icon you want to change in your applications folder.
Right-click the app, choose “get info,” click the small app icon at the top (upper left) of the info window, and paste (command V) or drag in your custom image.
Once applied, the new icon will appear in the dock after you quit and reopen the app (or restart the dock).
Related: 3 Simple Tech Upgrades You'll Wonder How You Lived Without (For A More Organized & Efficient Setup)
#8: Customize Your Dock

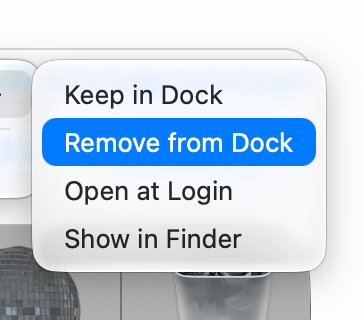
It always feels amazing clearing your dock! Right click and quit any apps you don’t need right now. For apps you don’t want on your dock, right click > options > remove from dock. When you open an app, it will automatically be added to your dock.
#9: Set Accent Color
Open system settings and go to “appearance.” Right below it under “theme,” choose an accent color from the list. The change will apply immediately across buttons, highlights, and other interface elements across your MacBook.
#10: Customize Your Menu Bar

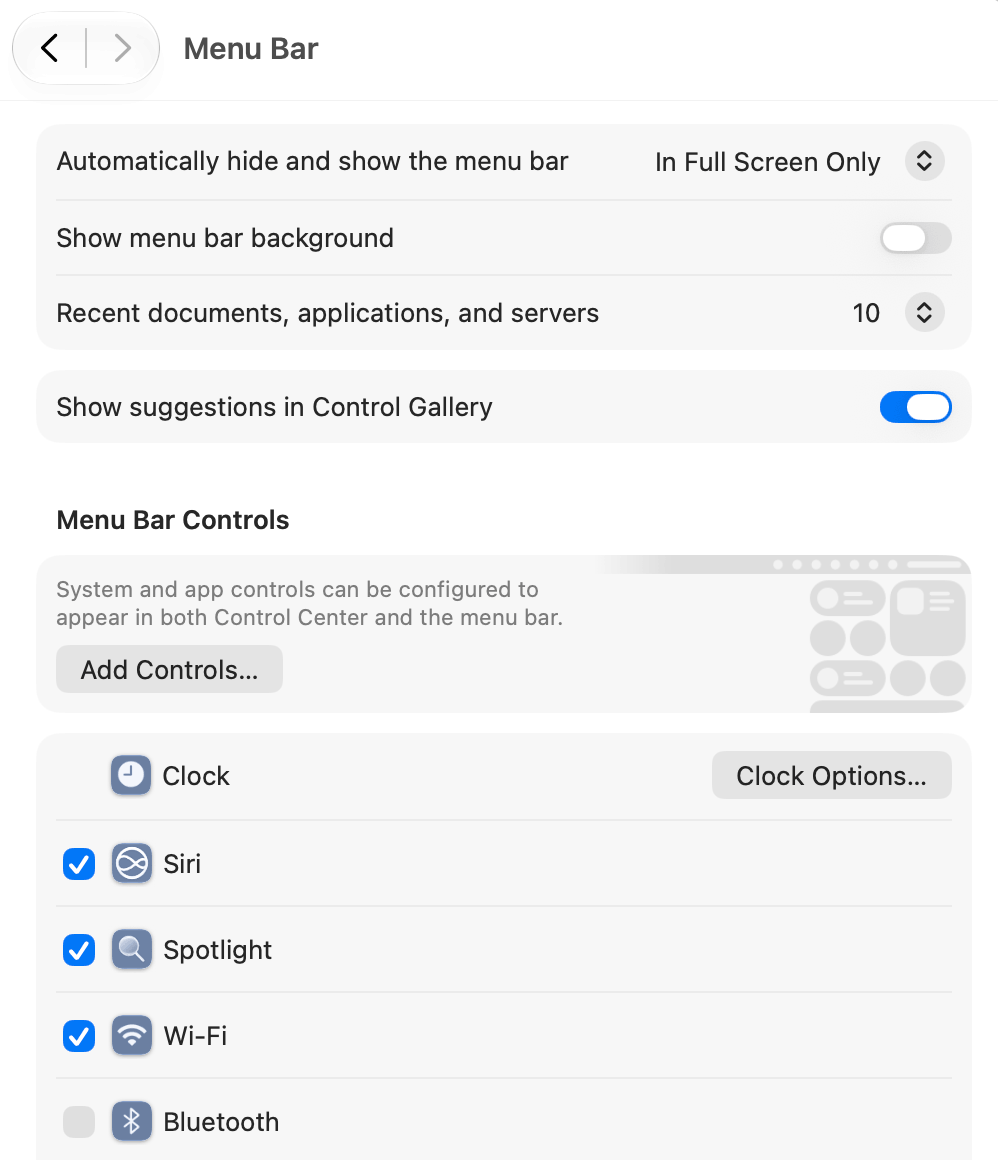
Your menu bar is the black bar across the top of your MacBook screen. To customize your menu bar, go to system settings > menu bar and choose which controls you want to show in your menu bar.
Turn on options like battery, sound, wi-fi, bluetooth, focus, or screen mirroring to keep your most-used features easily accessible.
You can also hold command (⌘) and drag menu bar icons around to rearrange their order. Directly on your menu bar, you can also right click > remove to delete things from your bar.
#11: Customize Mouse Size & Color

Open system settings and go to “accessibility,” then select “display.” Scroll down to the pointer section and adjust the pointer size slider to make your cursor larger or smaller.
Use the color options to change the pointer fill and outline. Your changes will apply instantly, making the cursor easier to see and match your aesthetic!
#12: Light/Dark Mode
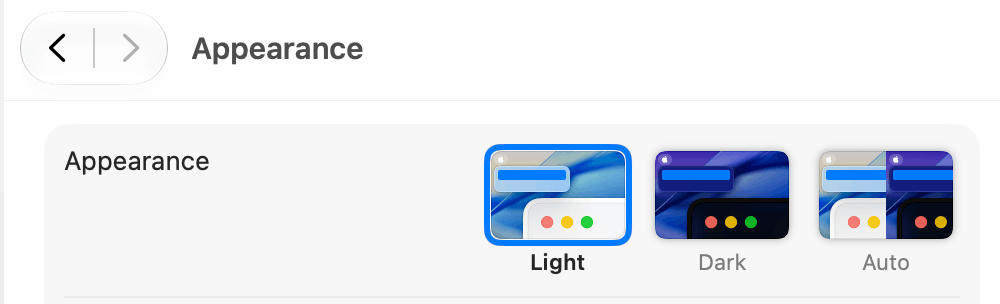
Another classic! Go to system settings > appearance > choose between light, dark, and auto. Auto means you MacBook will automatically be in light mode during the day and dark mode at night.
#13: Use Color Filters
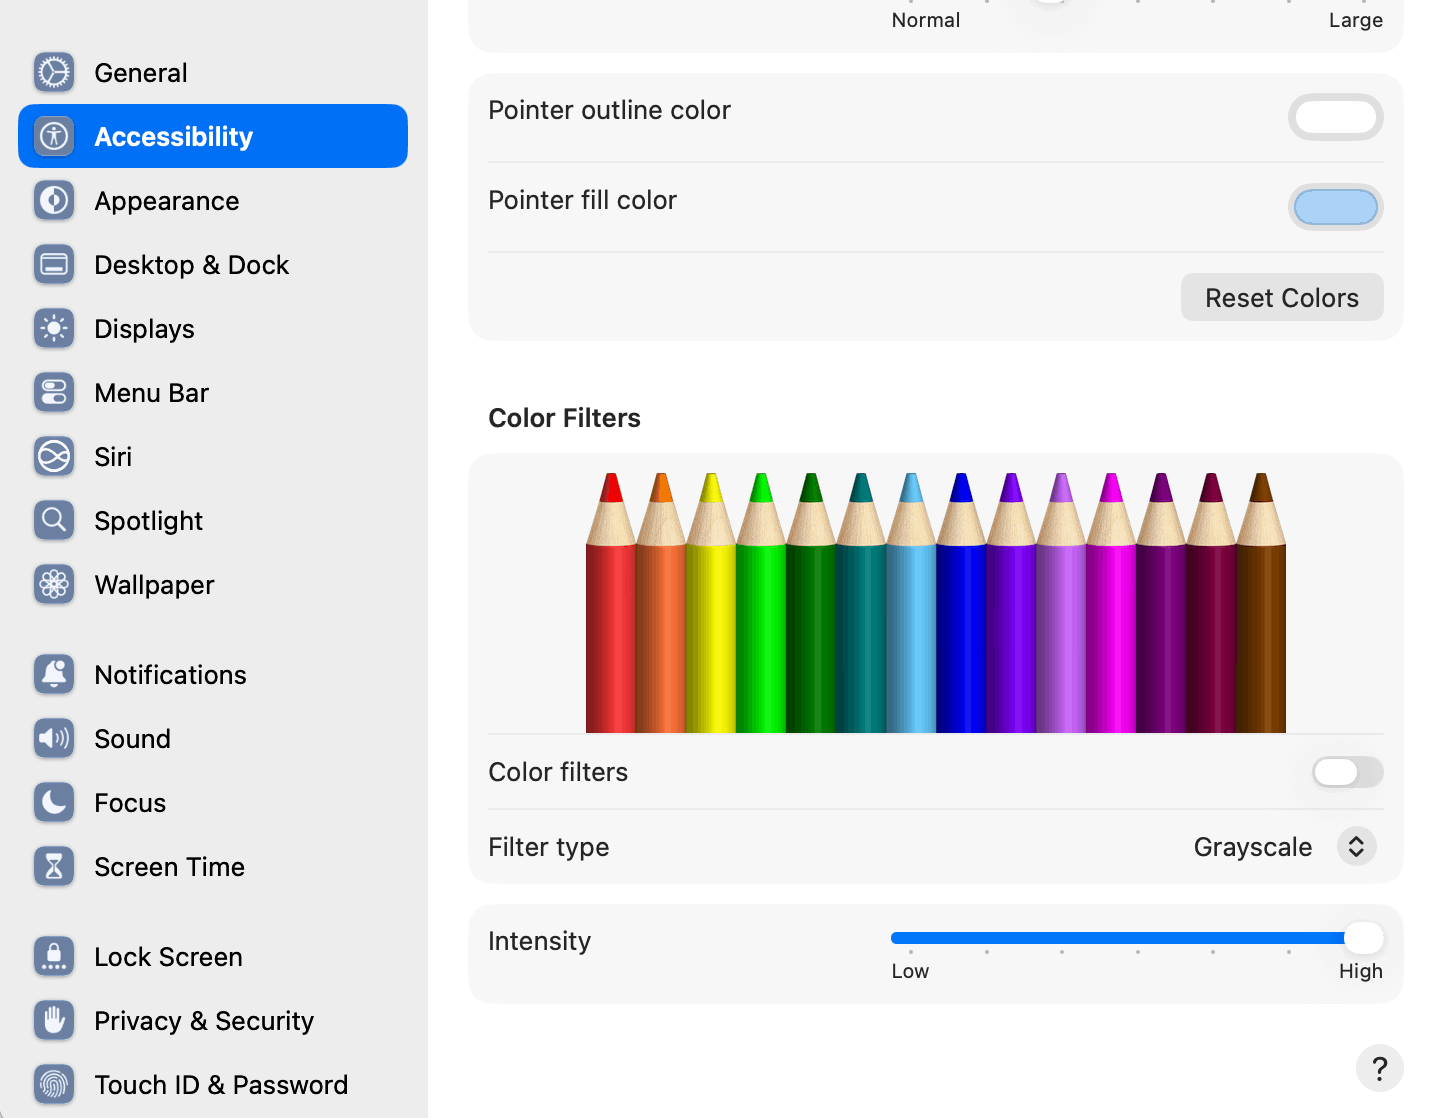
Did you know you can tint the color of your screen overall using a feature called “color filters?” To access this feature, go to system settings > accessibility > display > color filters > toggle on “color filters.”
You can choose from one of several color filter options in the dropdown menu and use the intensity slider at the bottom to further adjust the tint.
#14: Add A Desktop/Web Companion
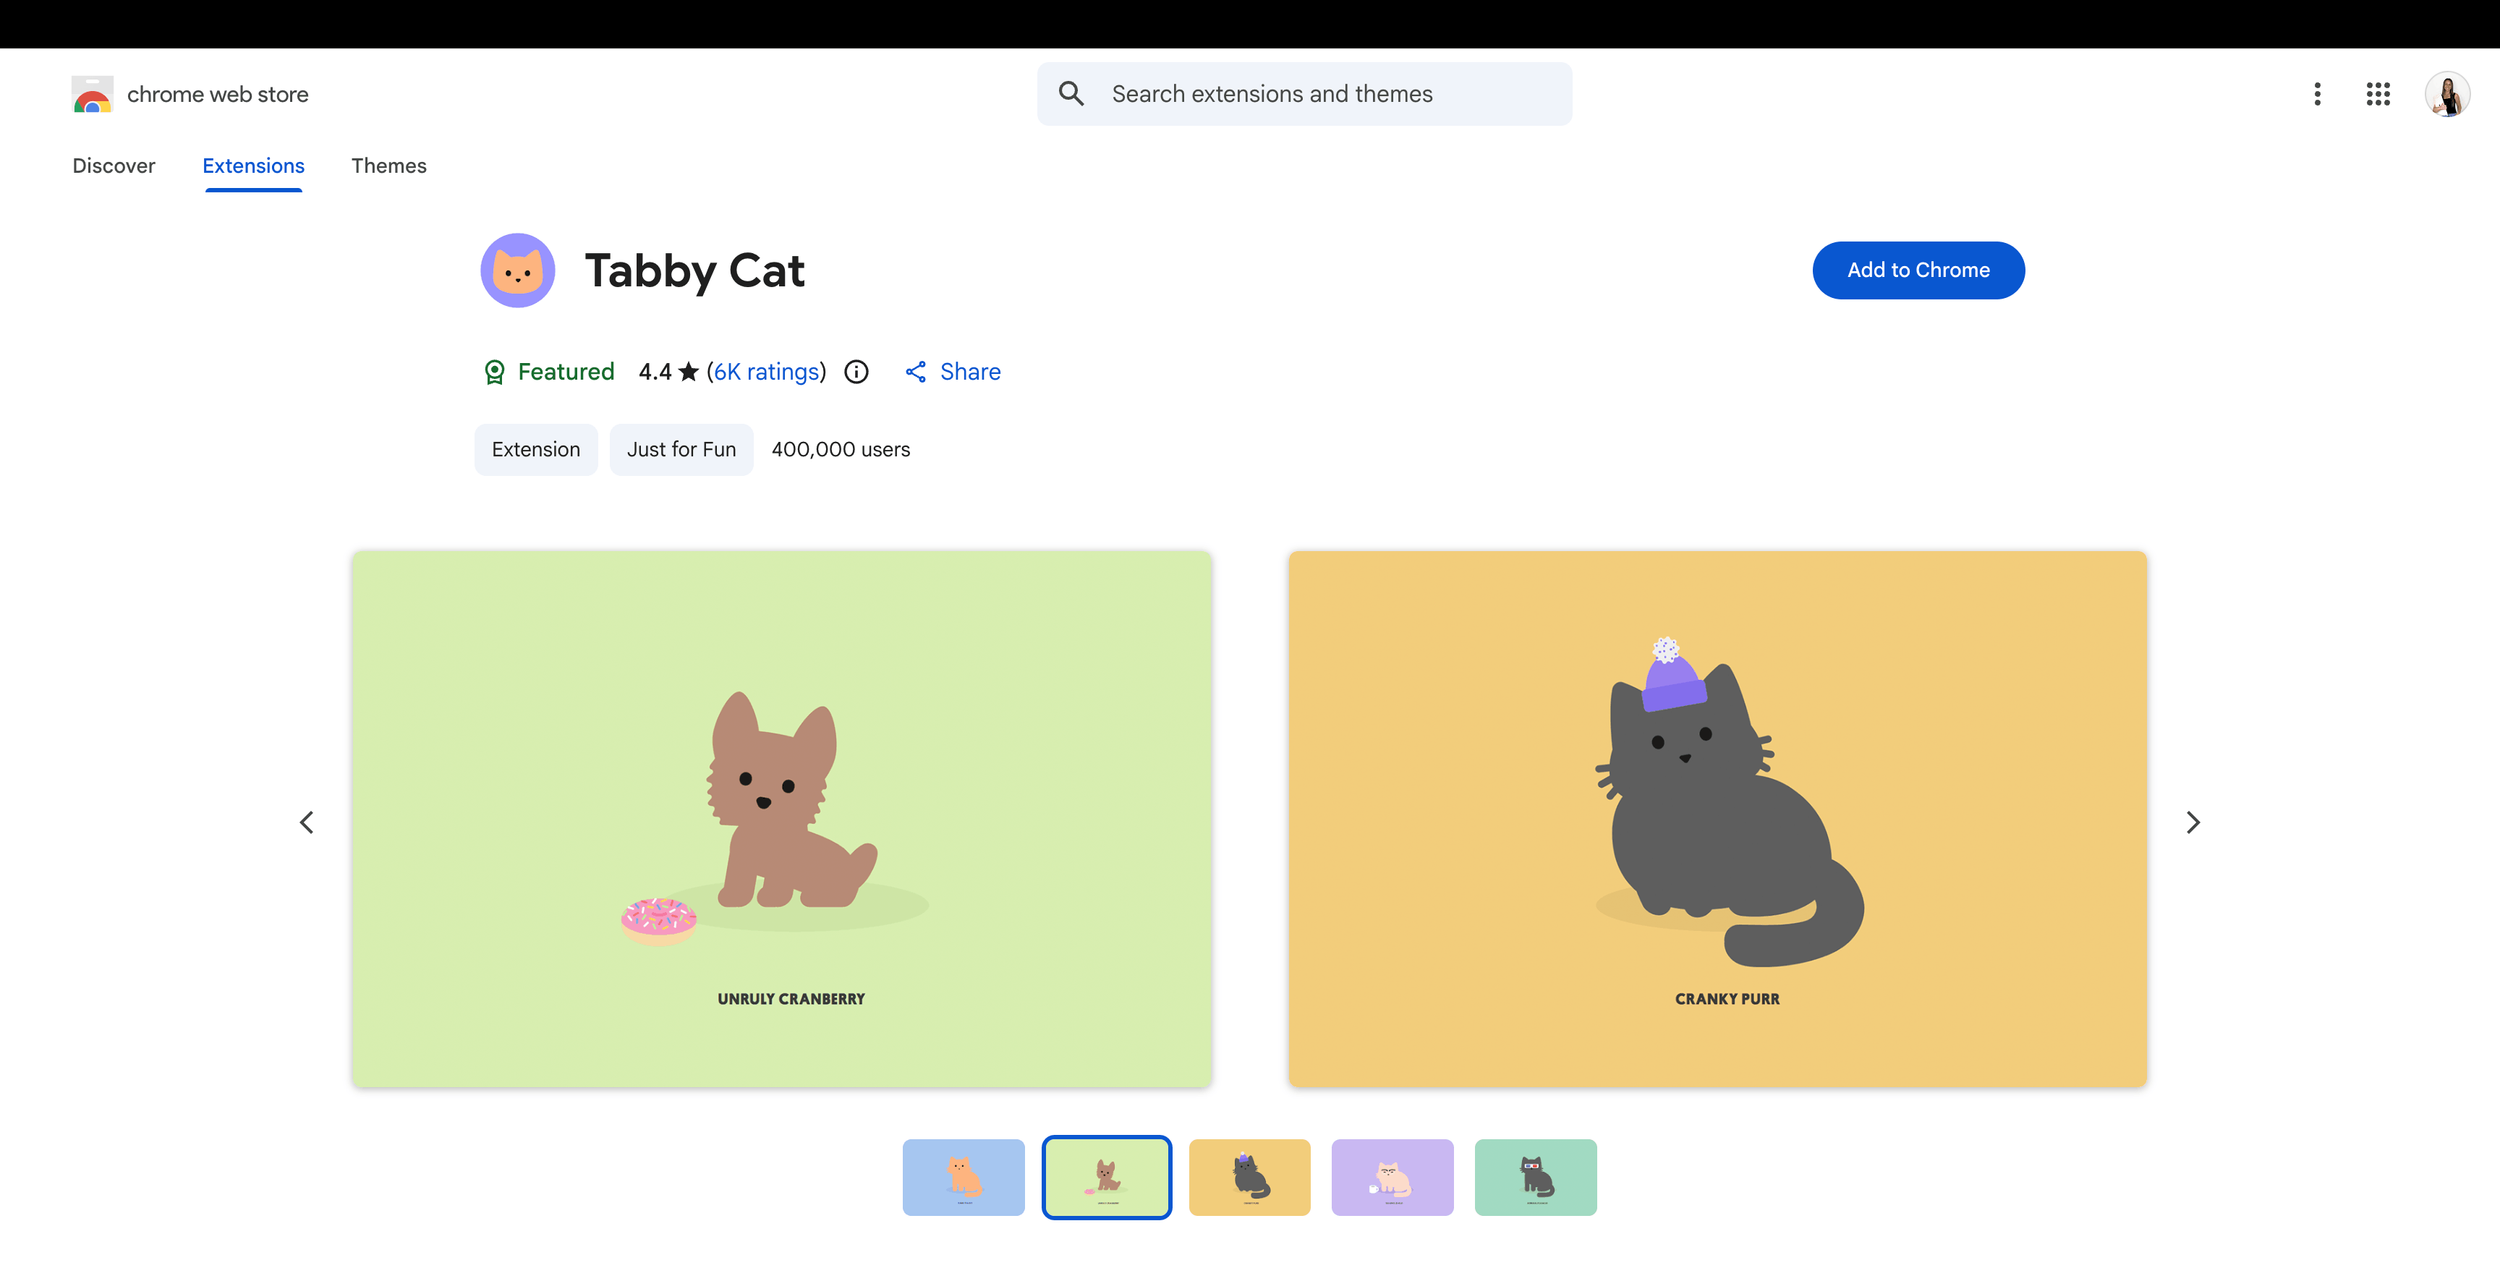
Add a cute little friend to your MacBook! For this one, I have two (free/freemium) recommendations for you.
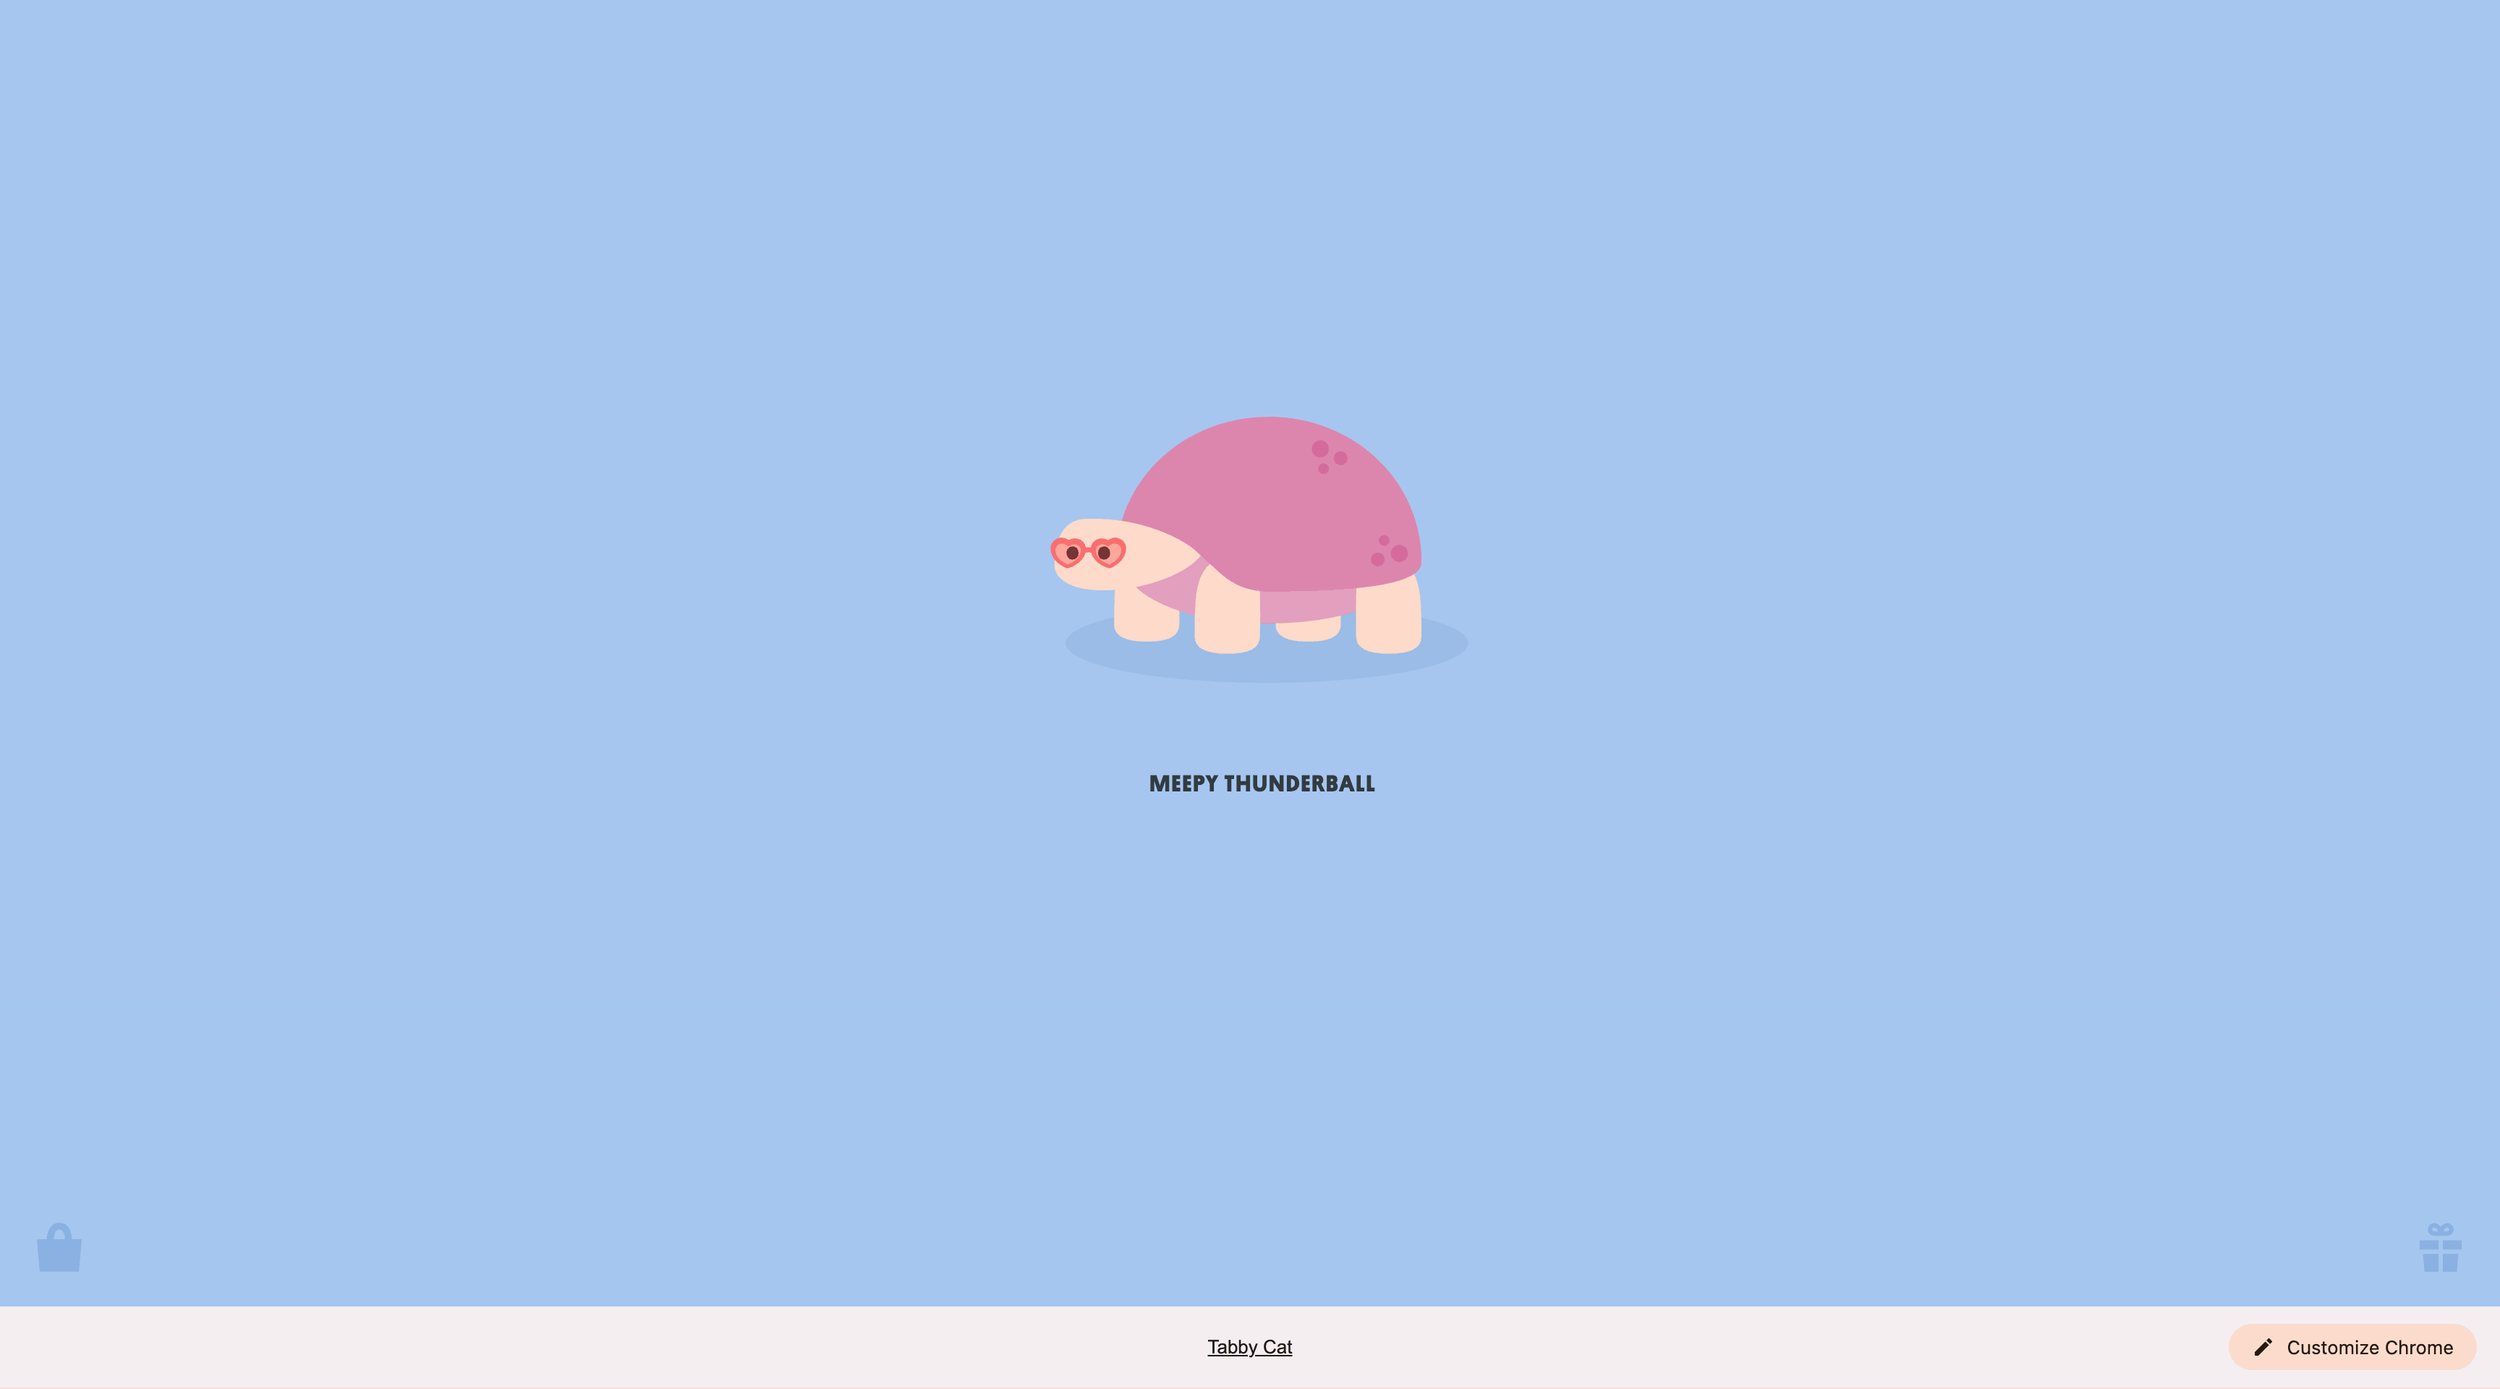
First is Tabby Cat (Chrome Extension - totally free): https://chromewebstore.google.com/detail/tabby-cat/mefhakmgclhhfbdadeojlkbllmecialg. This one has a little pet show up every time you open a new Chrome tab!
If you click “goodies” in the bottom left there’s fun stuff like heart shaped glasses for your pet and more! Click the house in the upper left corner to see all the pets.
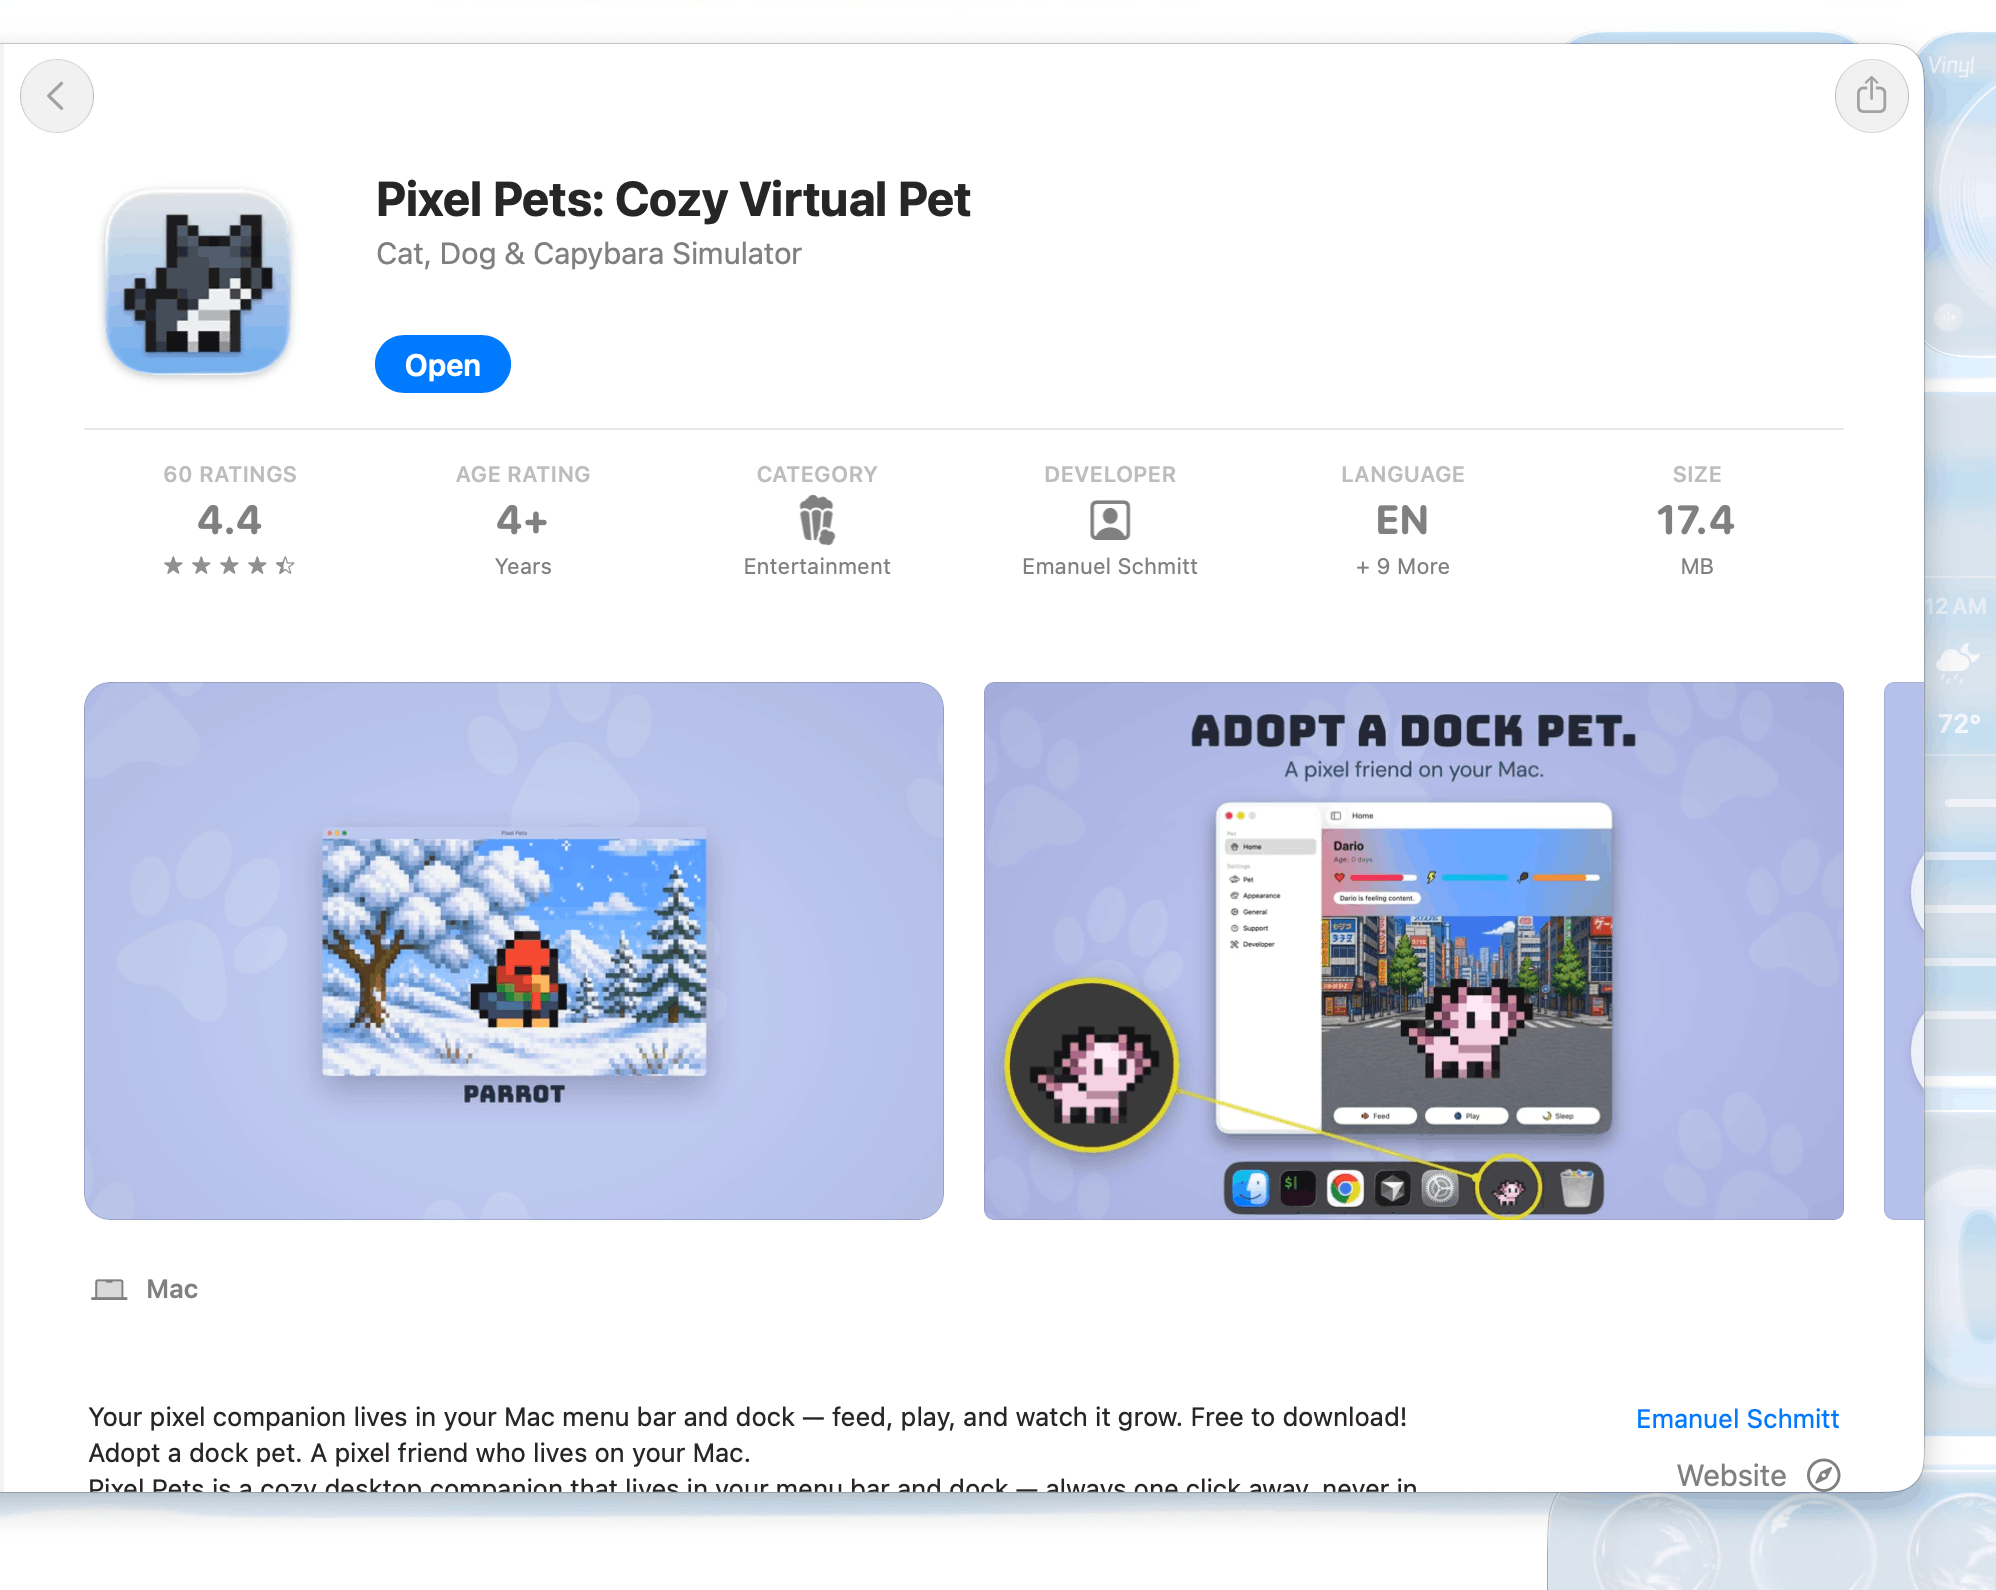
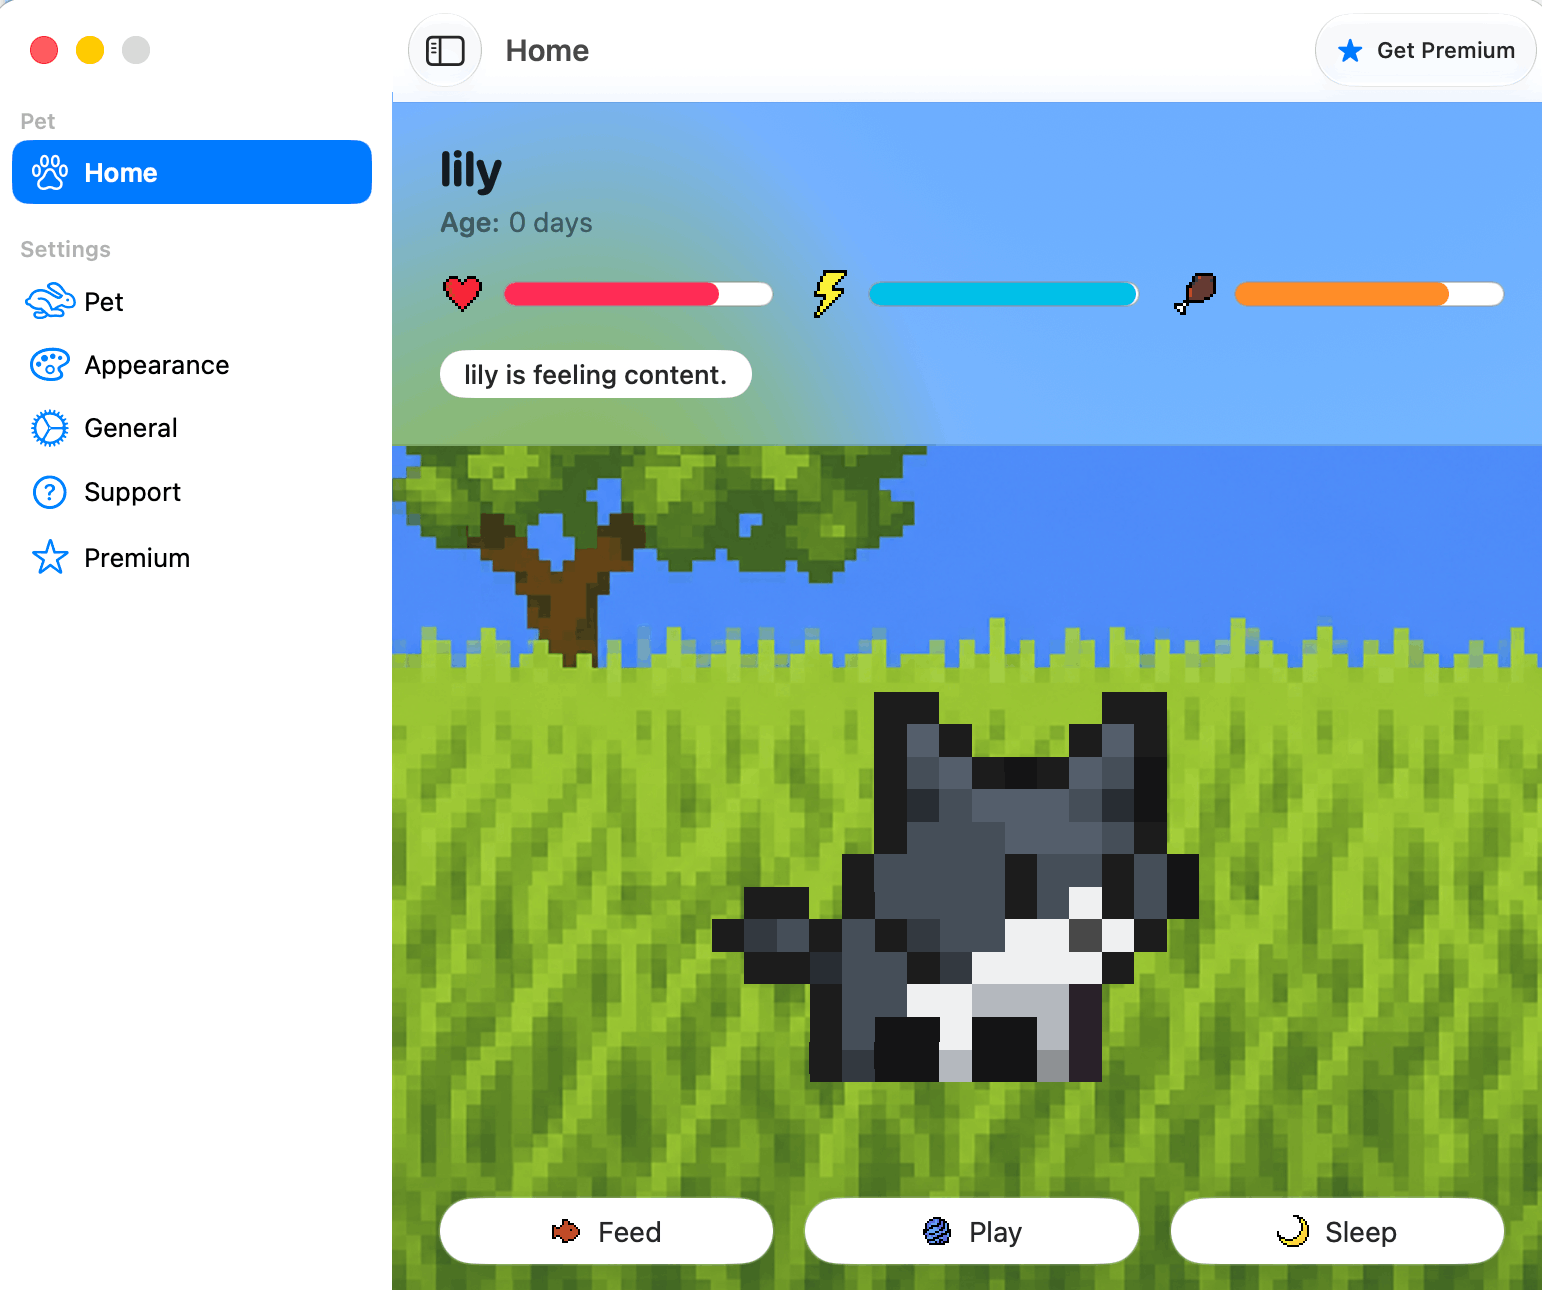
Second is Pixel Pets: Cozy Virtual Pet (lives on your desktop and dock - freemium) https://apps.apple.com/us/app/pixel-pets-cozy-virtual-pet/id6749202392?mt=12
Only the cat is free for this one but they have lots of cute options! This one is more of a game you play to care for your virtual pet.
Important! When you install it, after you complete/skip the tutorial you’ll be brought to a screen where it prompts you to pay. Click on the bottom where it says something like “continue for free with cat” to use the app for free!
#15: Custom Background On Messages

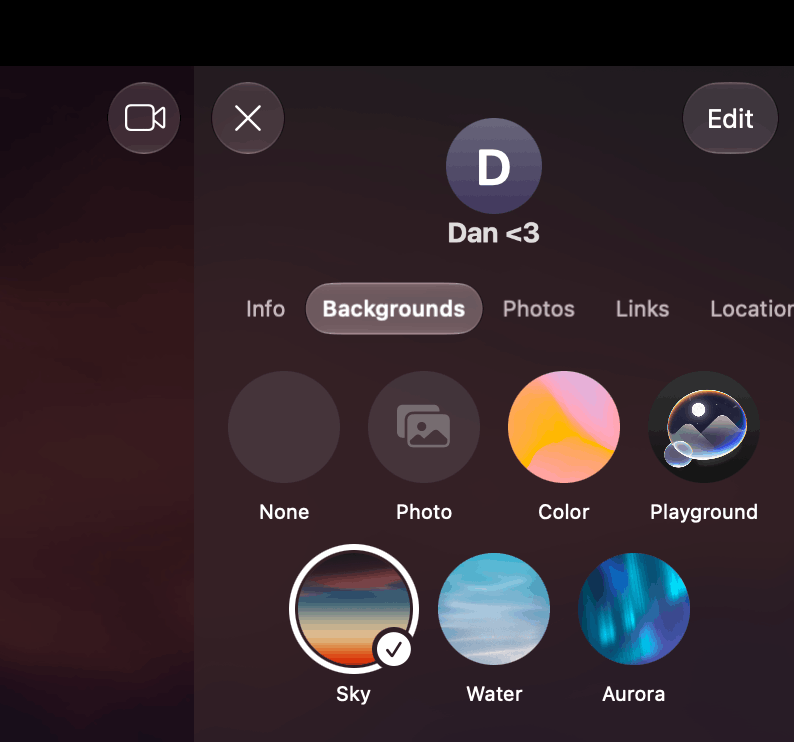
This one was new in iOS/macOS 26! This feature lets you add custom backgrounds to your conversations, but it should be noted that you can only do this on conversations between two iOS users.
To do this, go to messages > tap on a conversation > tap on the profile picture on the top of the screen > backgrounds > choose a wallpaper or photo.
Then use the customization options to customize your background. You can choose a photo from your photo library or use one of the default, animated options that Apple provides you!
Related: 7 NEW iOS 27 Customization Features (Fun & Aesthetic Ways To Customize Your iPhone)
#16: Use Emojis & Symbols As Folder Names
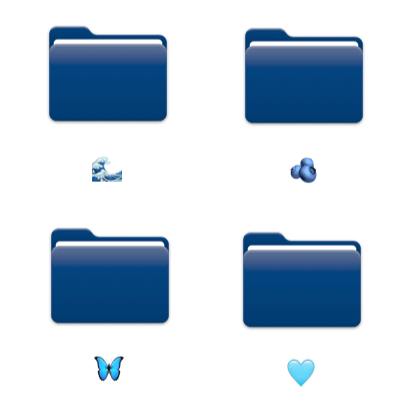
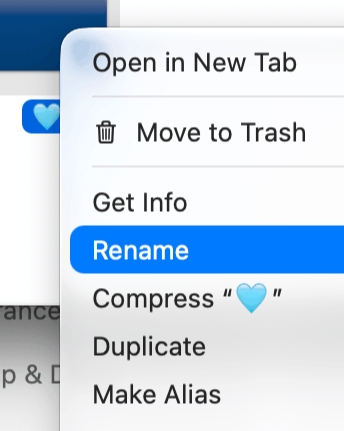
Add cute symbols and emojis to your folder names! You can do purely decorative ones but I’d also suggest picking emojis that relate to what’s in the folder so you know what’s in there. To change a folder name, right click on the folder > rename > type > enter.
#17: Customize Your Safari Start Page
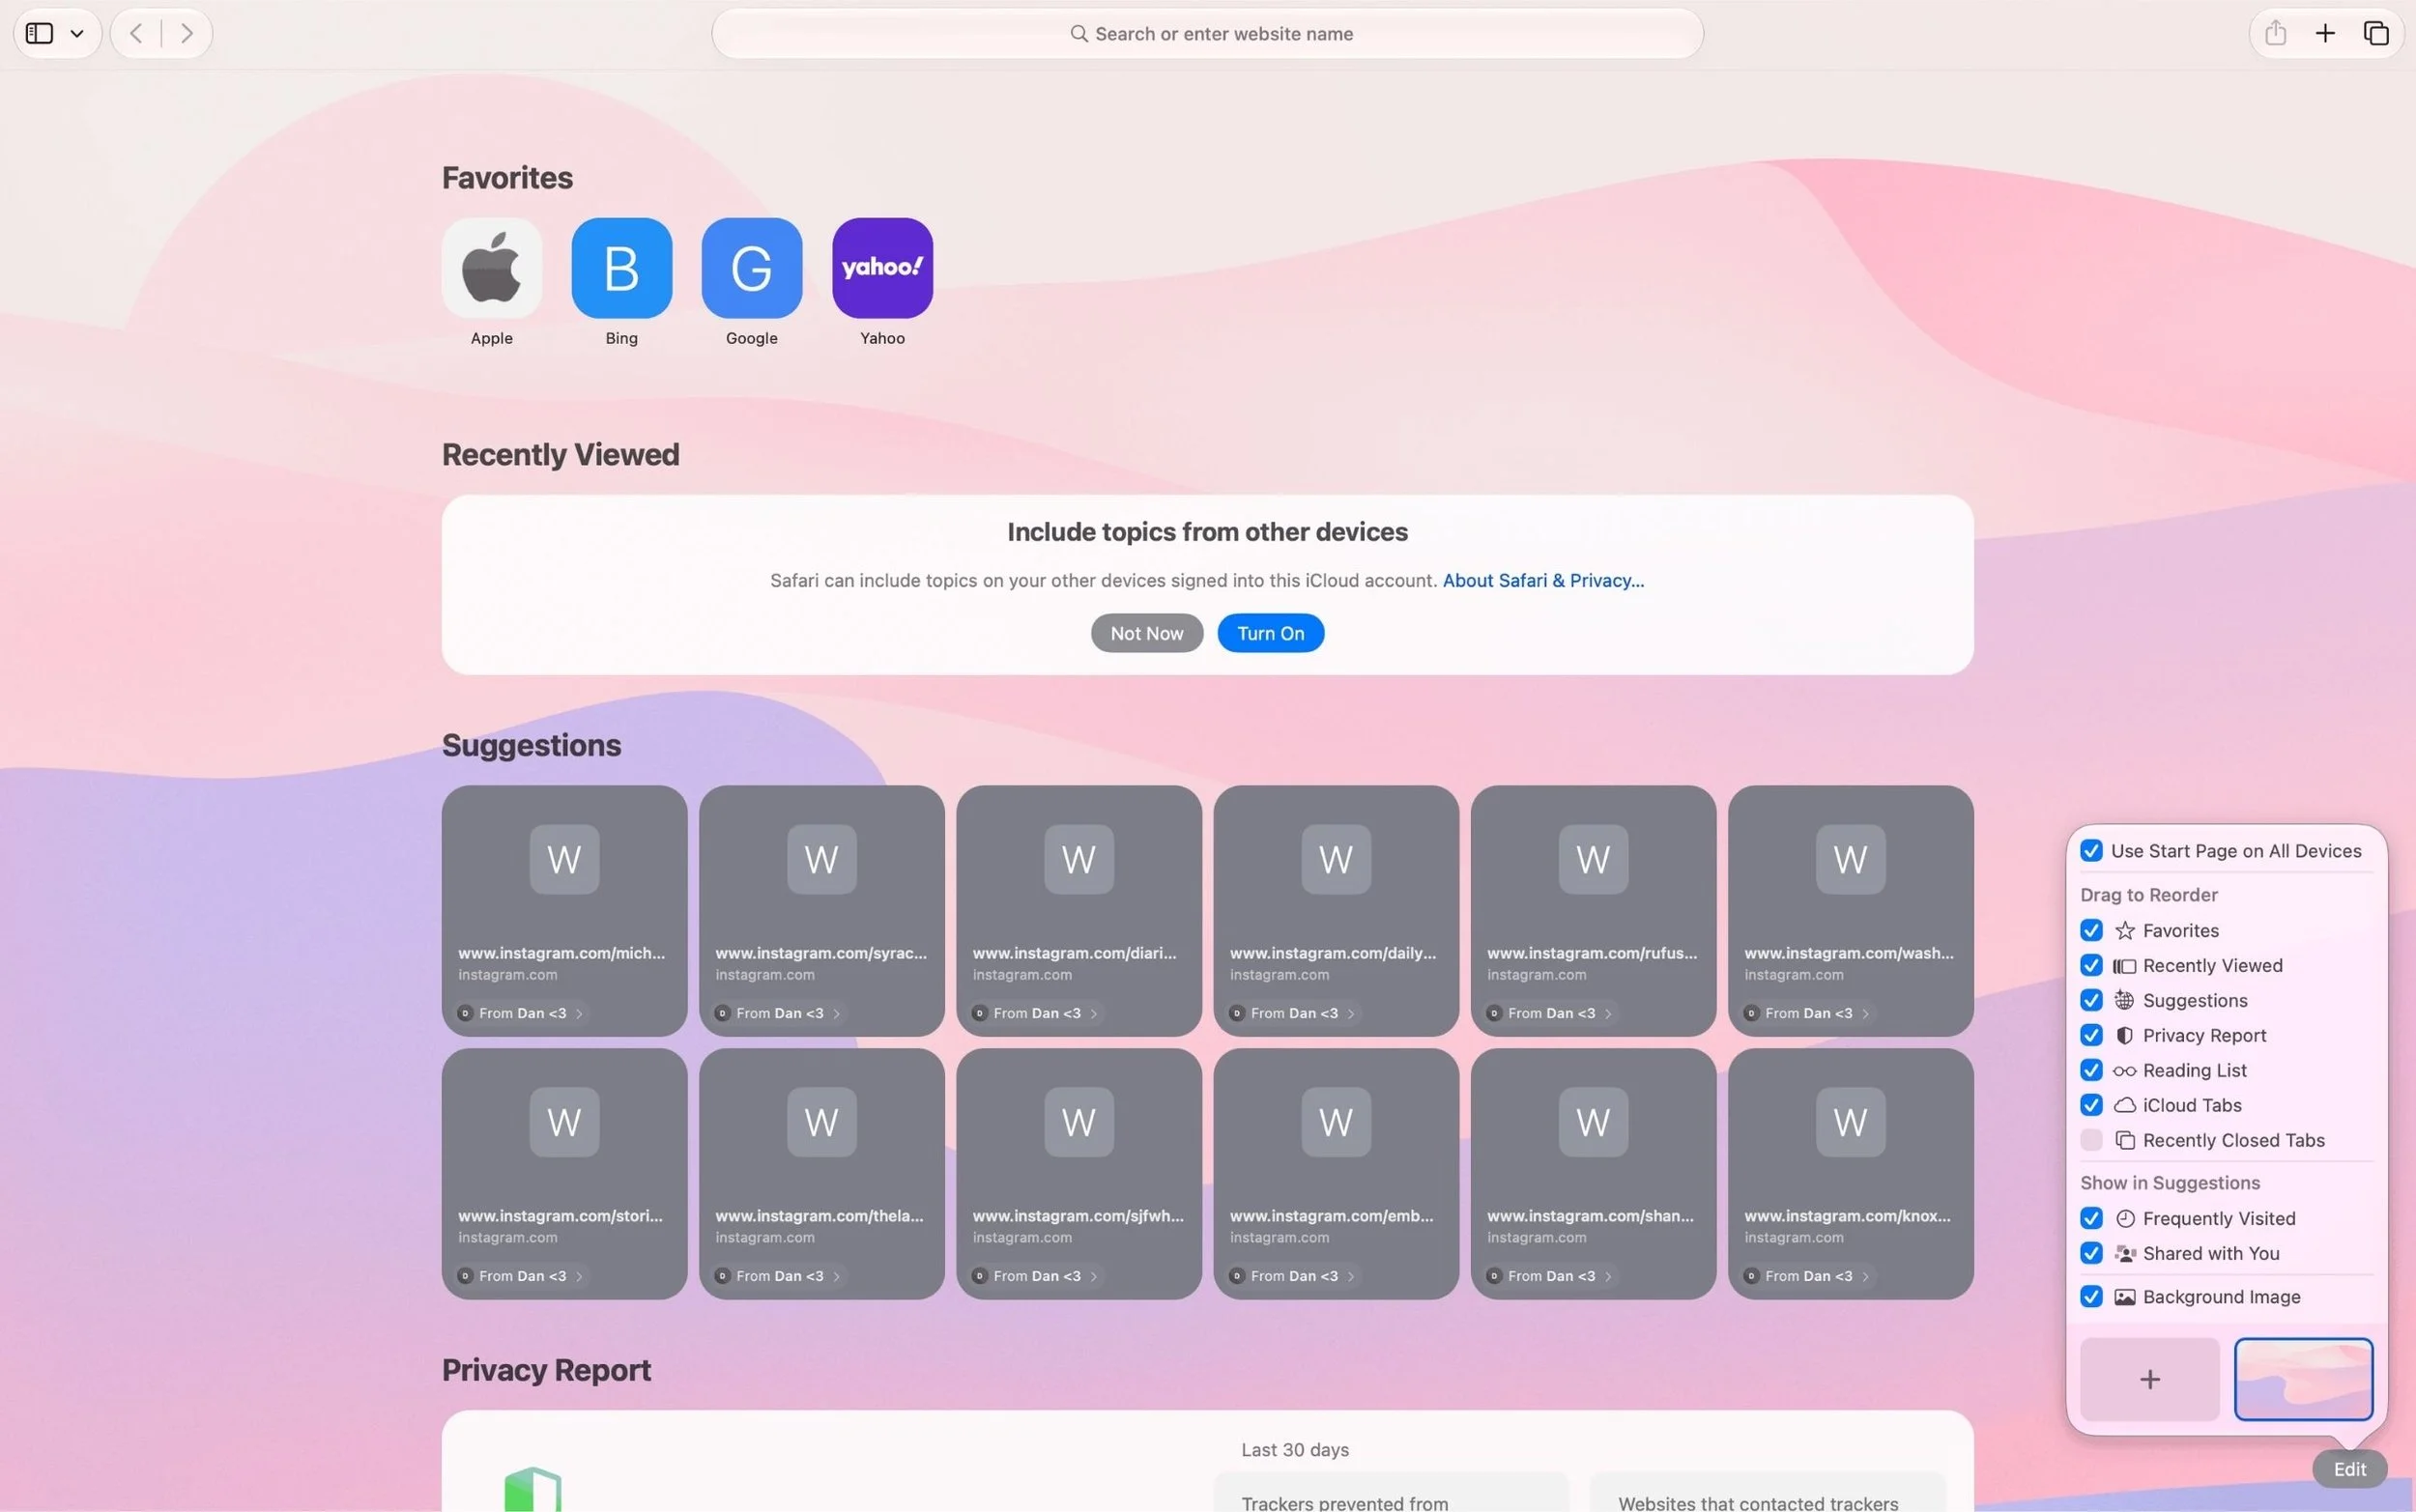
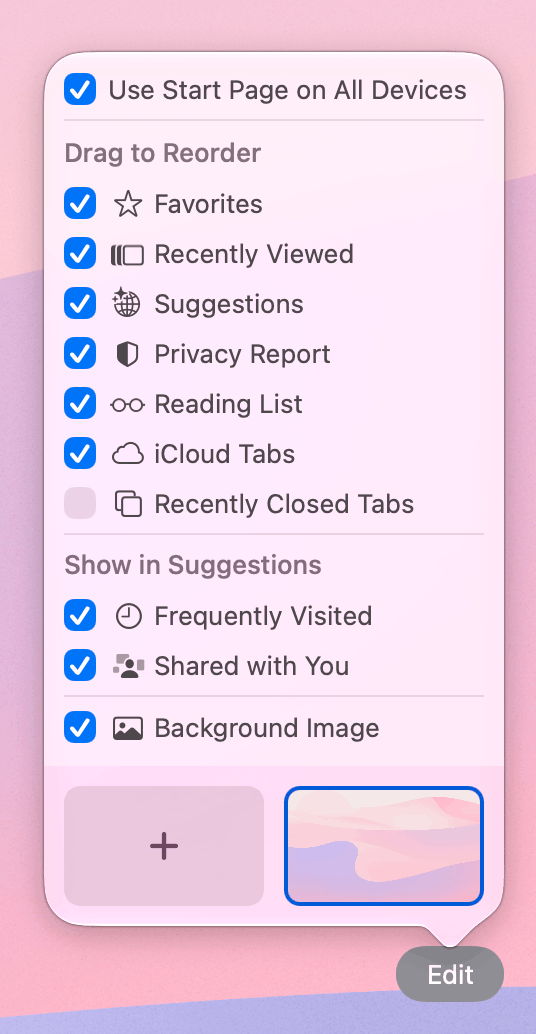
A couple quick and easy ways to make your Safari start page more aesthetic and functional! Open Safari and click “edit."
Change the background at the bottom by choosing a default one or uploading a custom one. Drag to reorder the start page sections to your liking. Check/uncheck sections to show/hide them.
#18: Customize Your Chrome Theme & Shortcuts
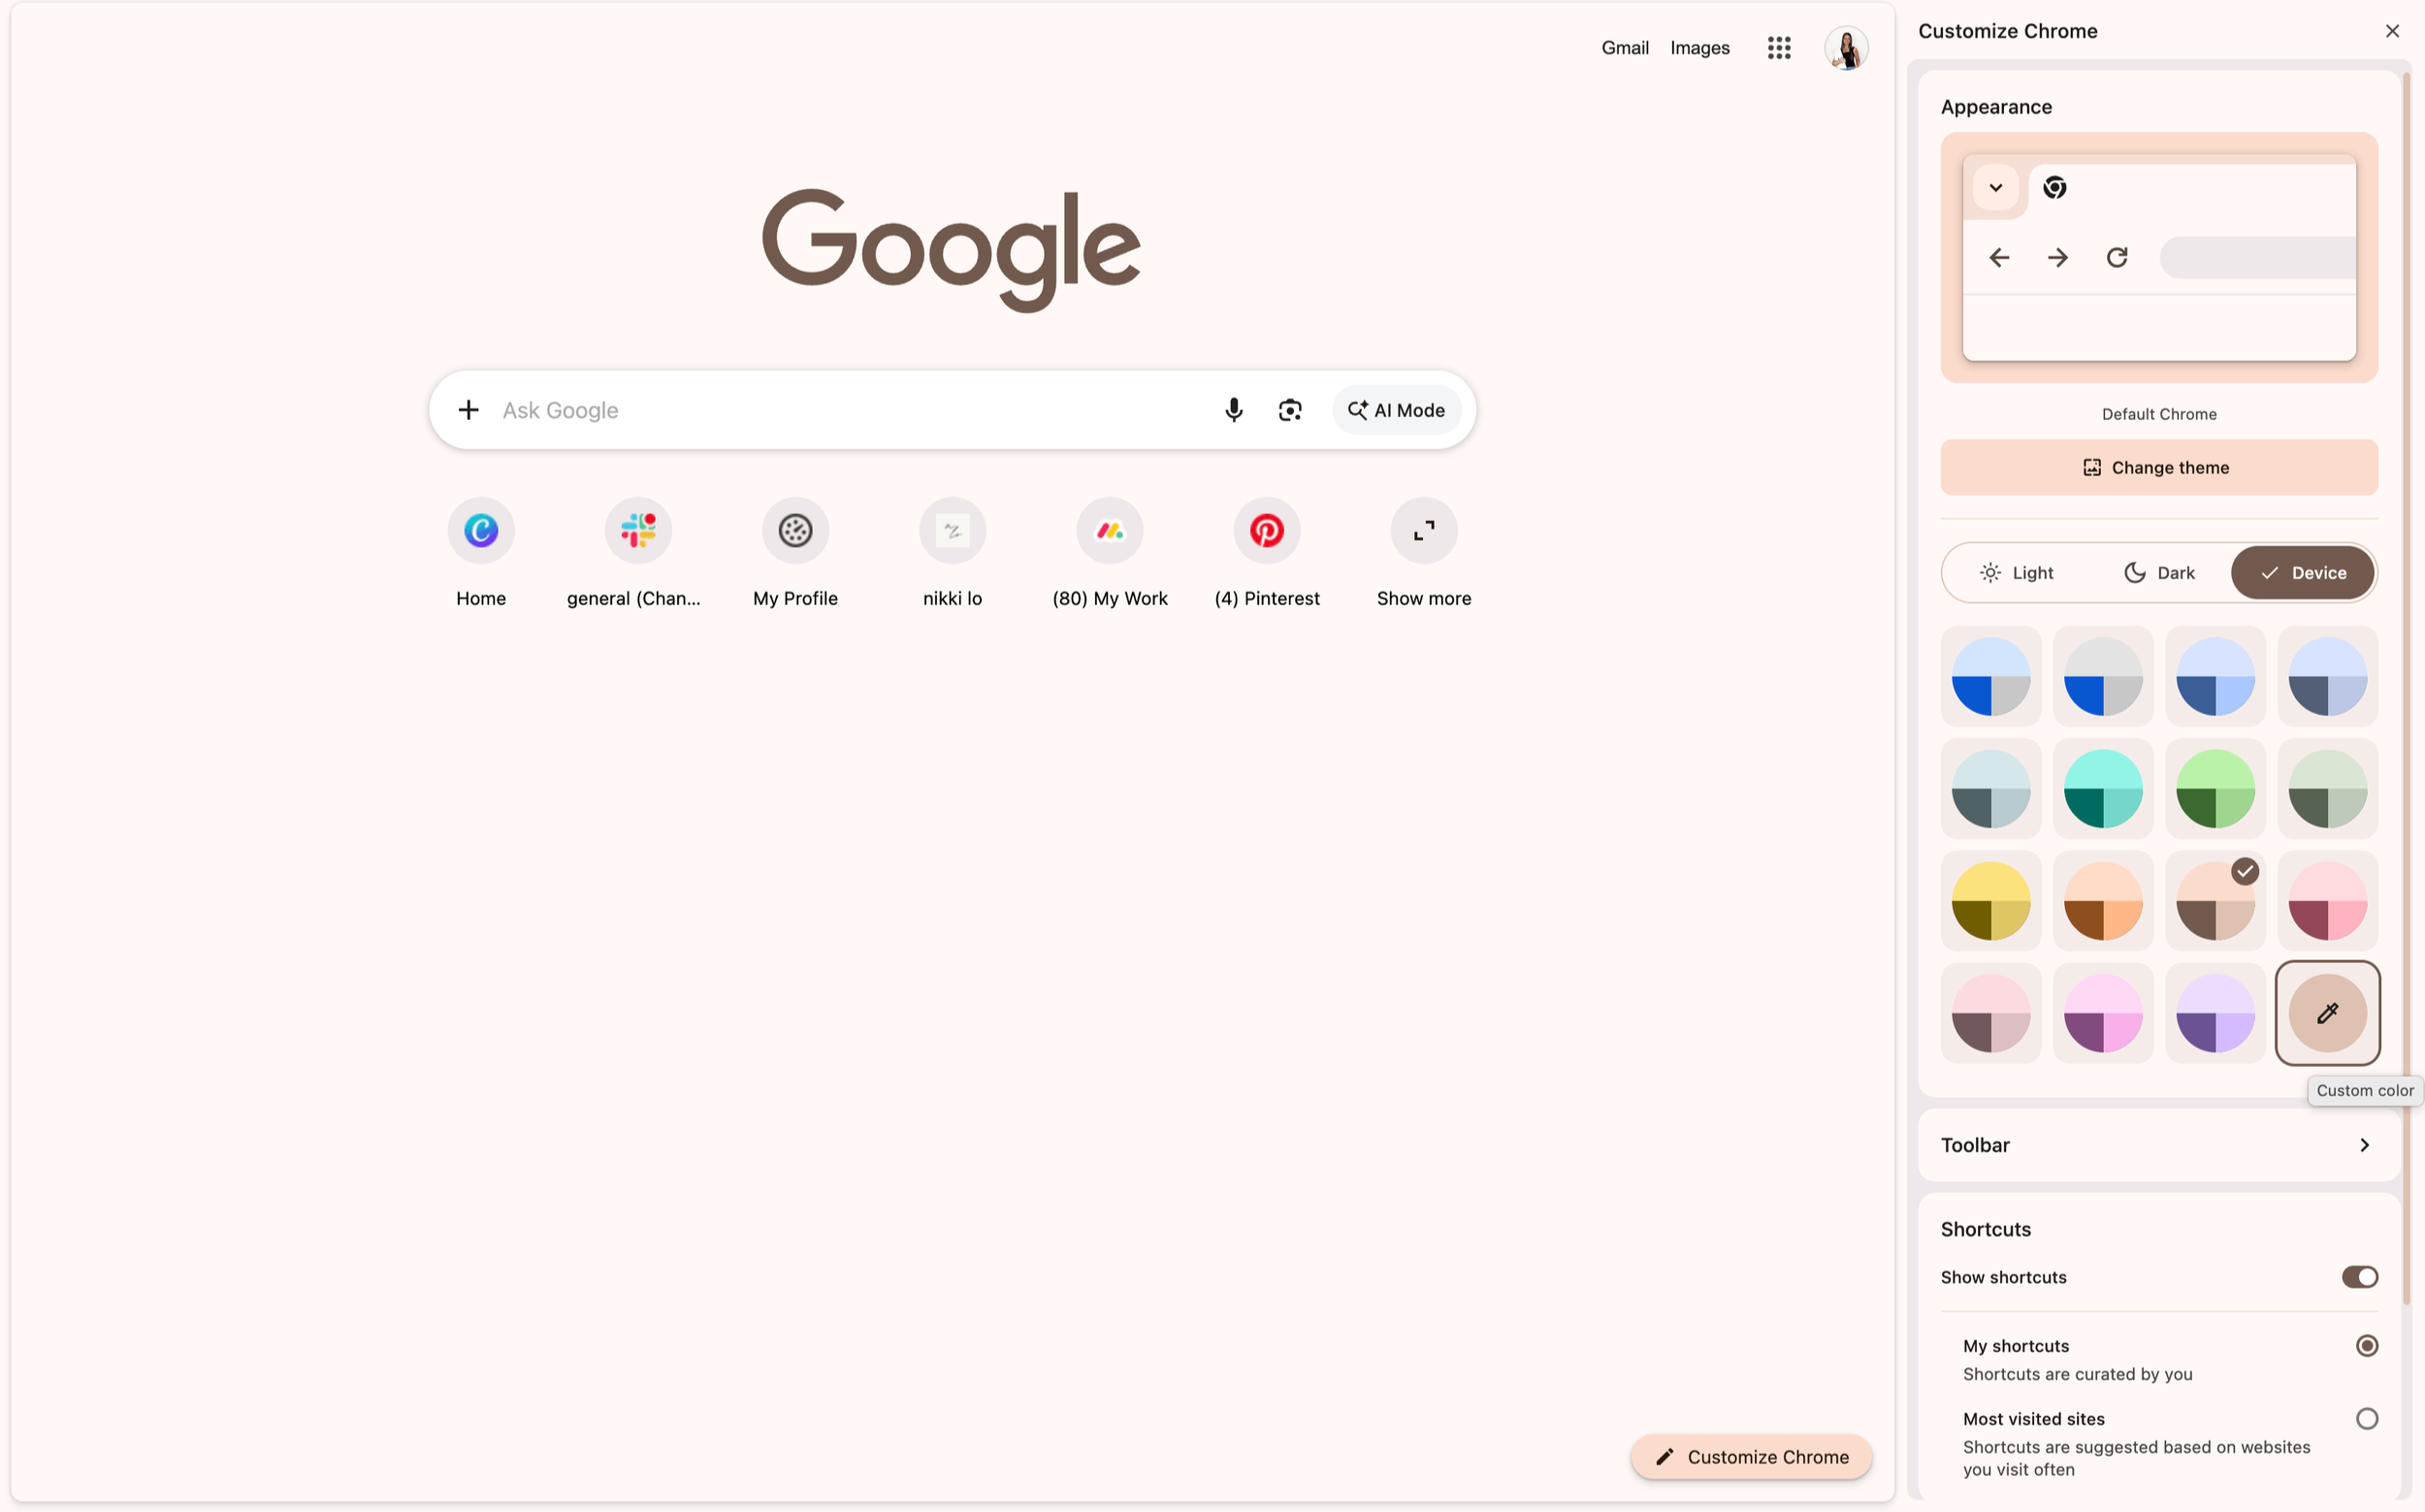
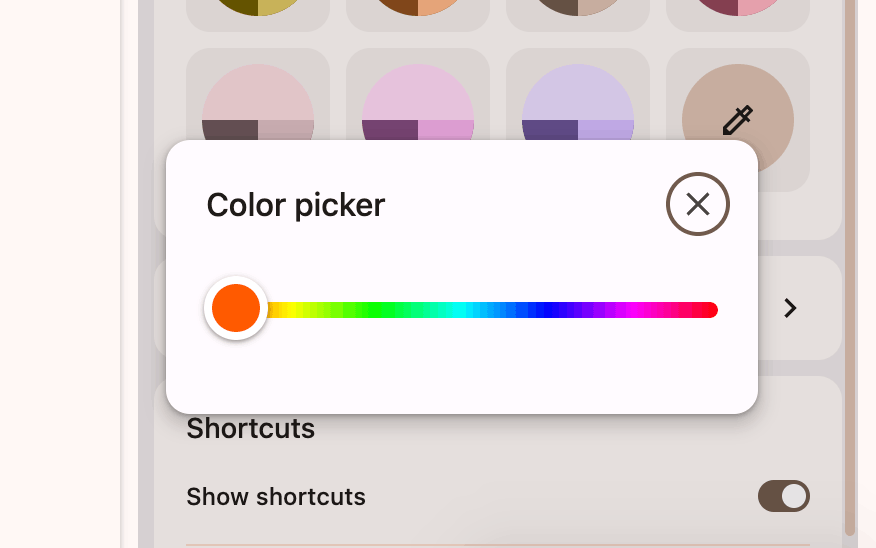
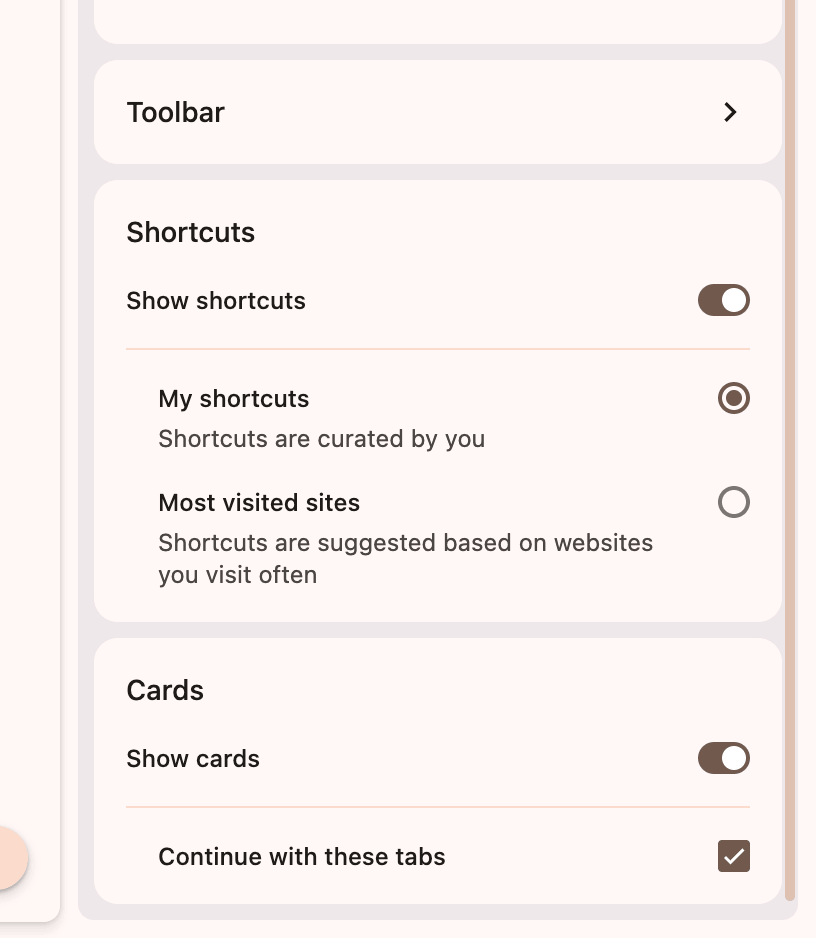
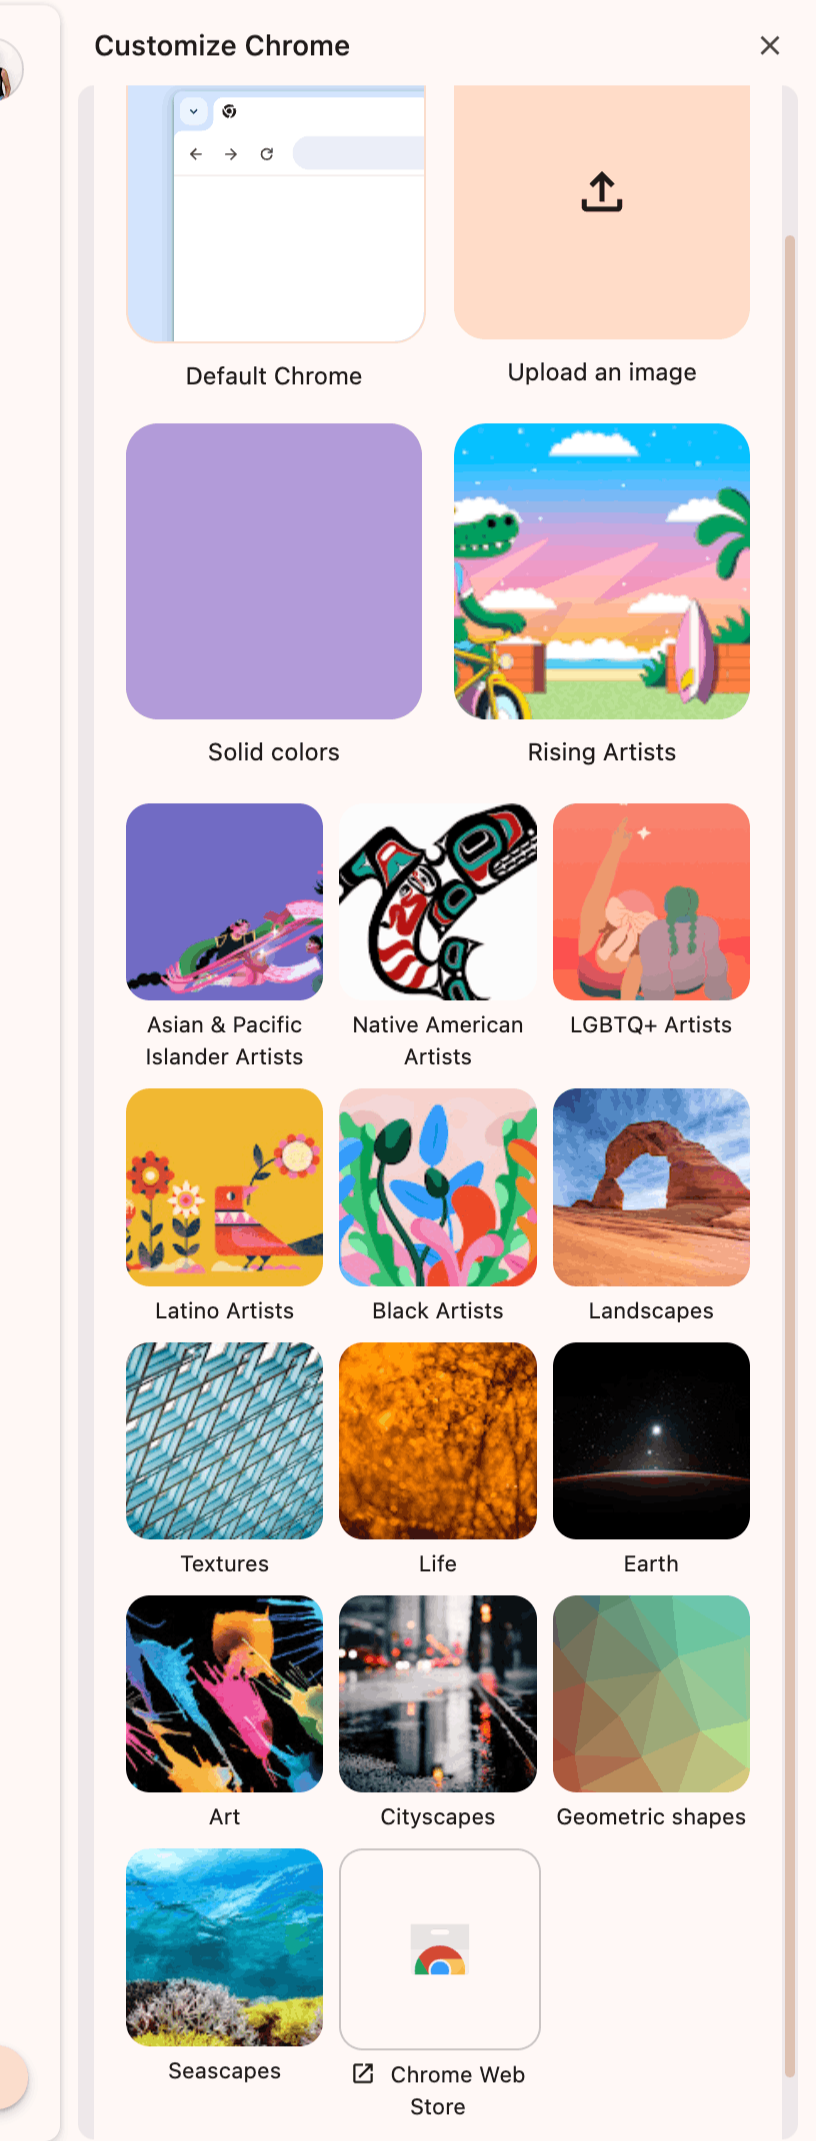
Make your Chrome pretty! When you open a new tab, click “customize” in the bottom right and you’ll see a bunch of color options, a color picker to set a custom color, options to customize your toolbar/cards/shortcuts, and a link to more themes on the Chrome Web Store.
My favorite free aesthetic themes on the Chrome Web Store:
Shaded purple (very soft and dreamy): https://chromewebstore.google.com/detail/shaded-purple/ilncmopnkmdbmioemmookjmhcelhlklf
Pink Pixel Hearts (pink and cutesy with polka dots): https://chromewebstore.google.com/detail/pink-pixel-hearts/gpndhpnjnmbdnahgceiddnoimlkjohnb
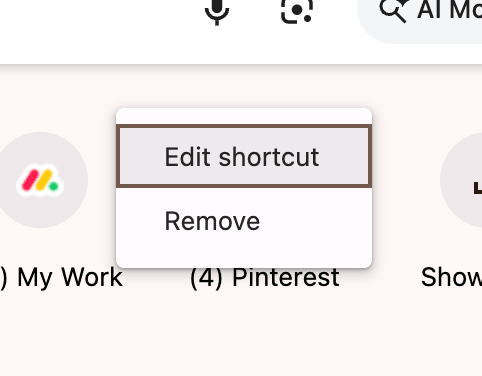
Click the three dots on each shortcut to either edit or remove it.
#19: Edit Your Control Center
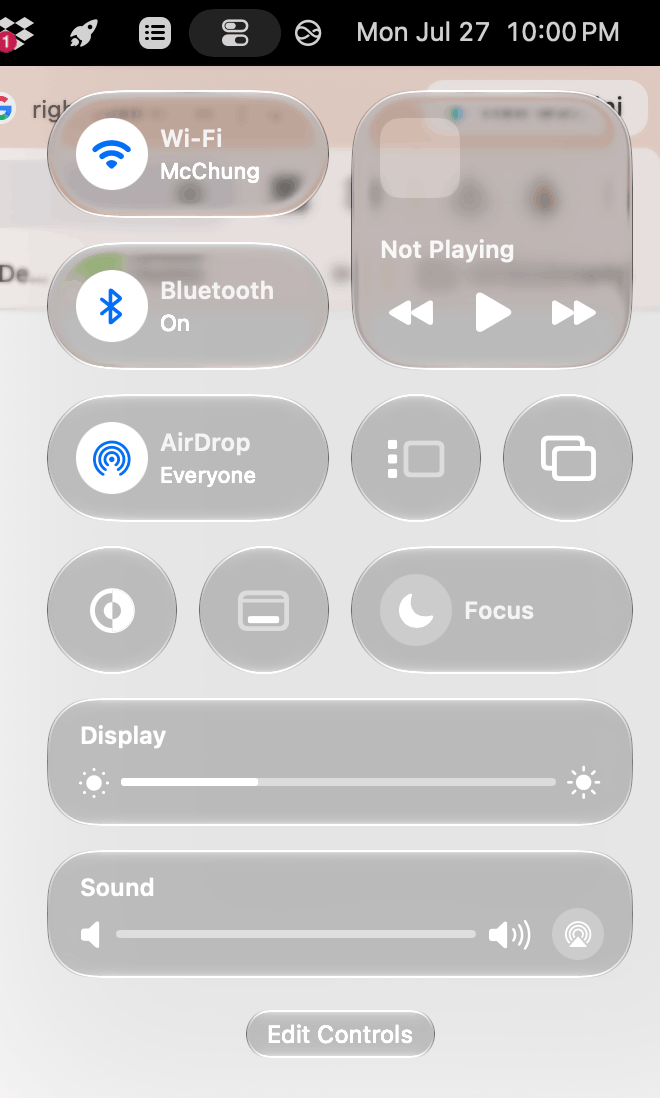
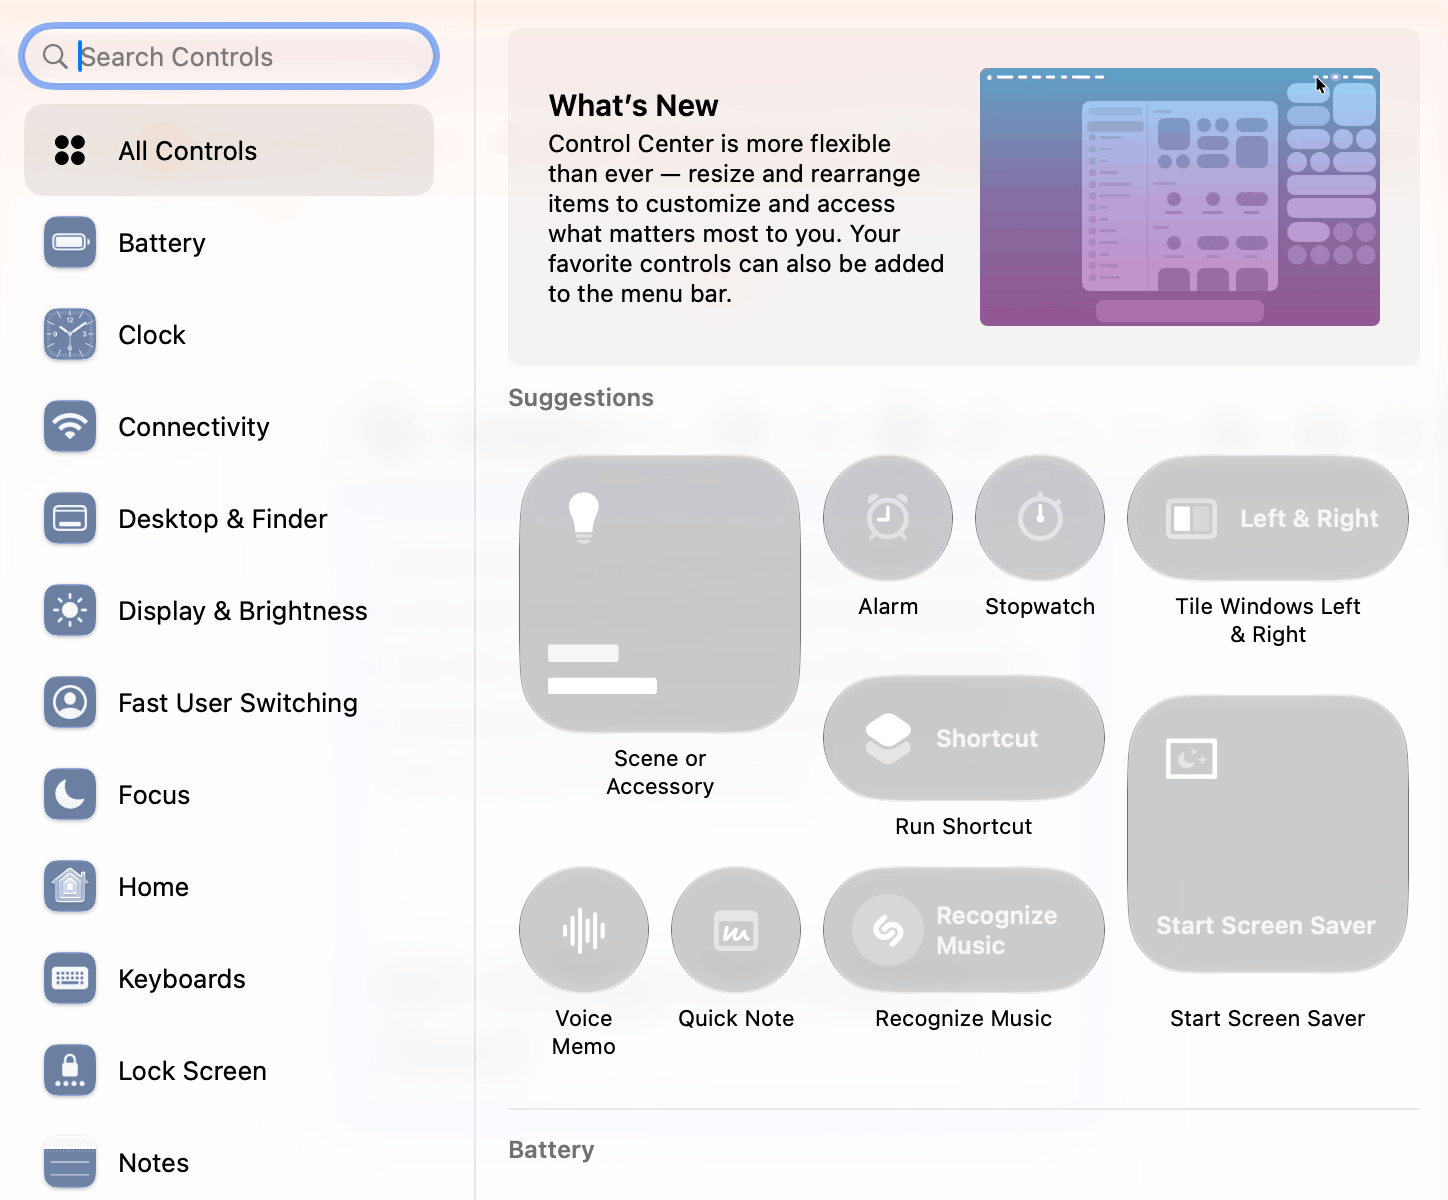
Access your control center by going to your menu bar and clicking the little icon (second from the right, it looks like two little rectangles stacked on each other).
From there, click on “edit controls” at the bottom. Use the plus and minus icons to add and remove controls. When you mouse over controls, you’ll see a handlebar that you can drag to make it bigger or smaller.
Closing Thoughts
Thank you for reading “19 Aesthetic Ways To Customize Your MacBook With macOS 27 Golden Gate” Happy customizing!
Read this next: How To Customize Your MacBook To Be PINK & Aesthetic! (Tutorial With Free Wallpapers & Icons)
For handmade digital art prints, icon packs, wallpapers, & more designed by me, be sure to stop by my digital boutique: Designed By Nikki Lo.
Connect with me!